|
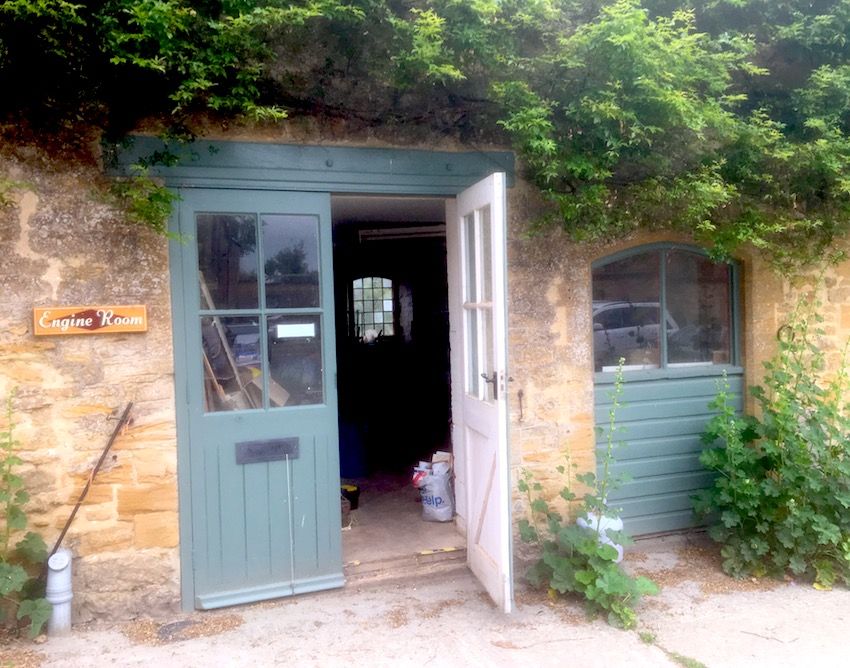
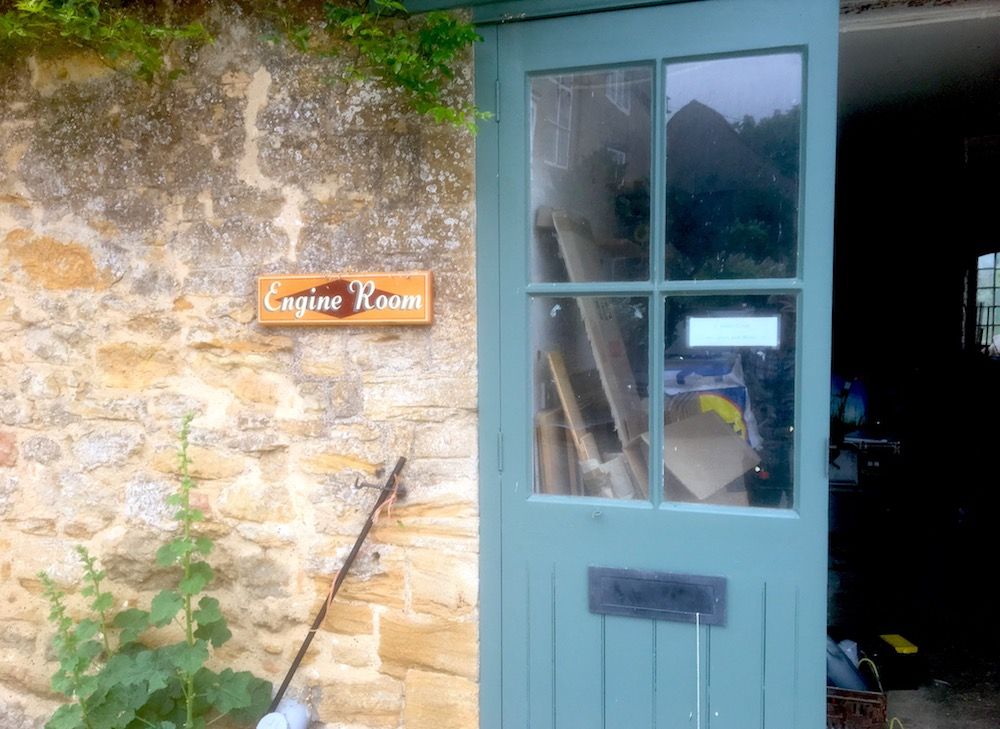
On 1st August 2019 Fret & Nut will be re-locating to a new workshop at Flax Drayton Farm which is located in rural South Somerset, only half a mile from the A303, 5 miles from Crewkerne and Ilminster, 10 miles from Yeovil, and 16 miles from Taunton. The workshop is bigger and has an improved layout, and I shall be working alongside my friend Steve Rowse who repairs musical instrument and hi-fi valve amplifiers. This will create a "one stop shop" for all our customer's guitar and amplifier repair needs across Somerset, Dorset and Devon, and further afield. Here's a link to Steve's website - http://www.stevesamps.co.uk The workshop is called "The Engine Room" and here are some pictures. As a result of this move I will not be taking on any new repair work from around mid July until (probably) the beginning of September whilst we sort everything out. I'll keep you posted!
1 Comment
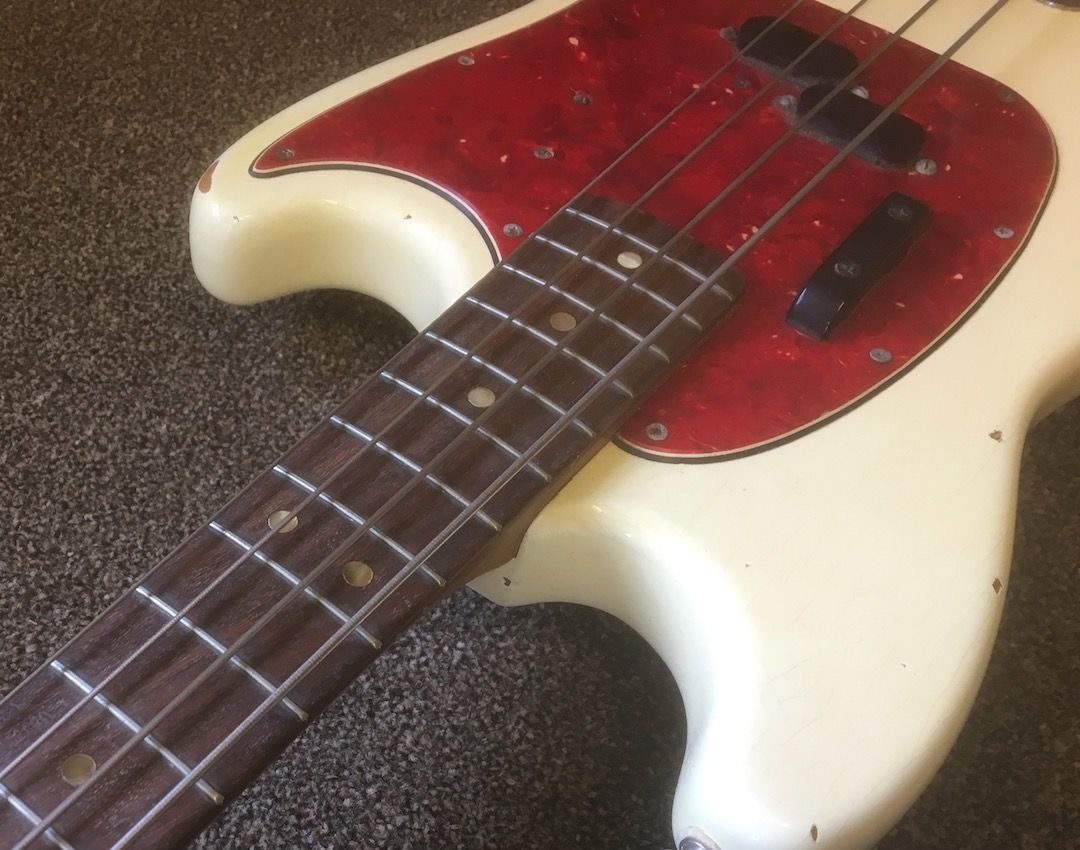
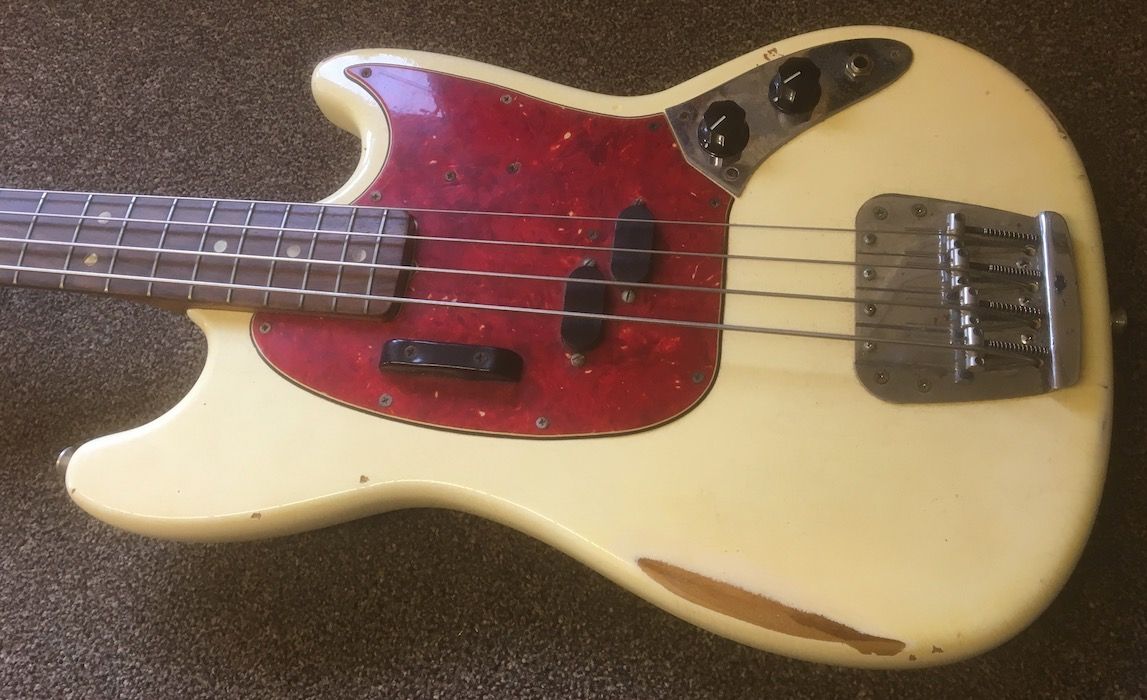
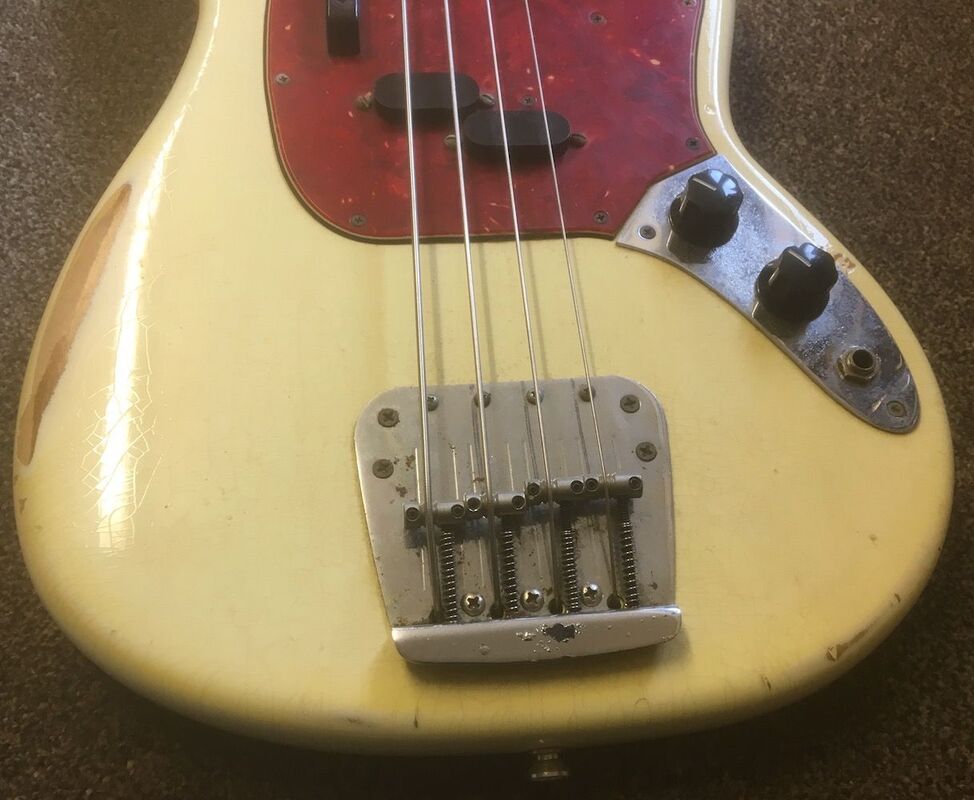
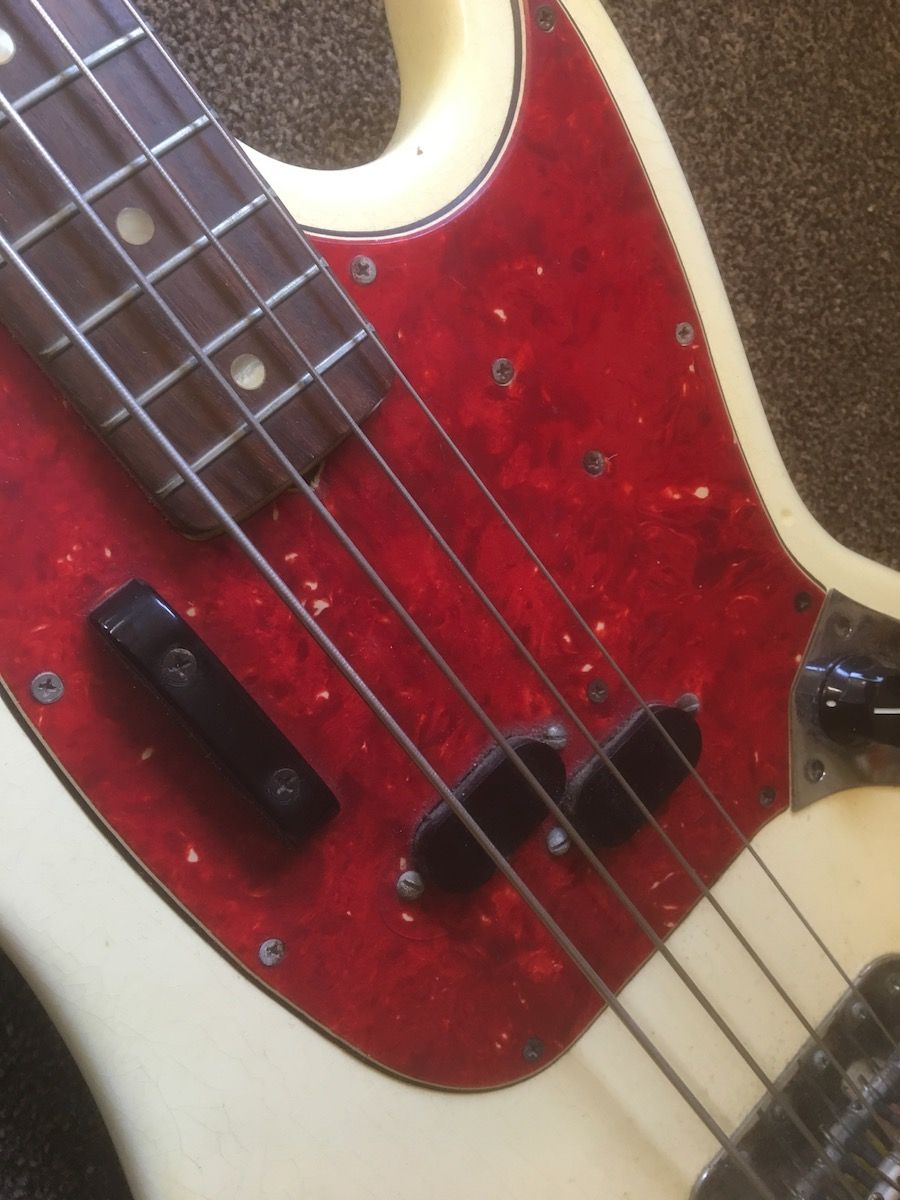
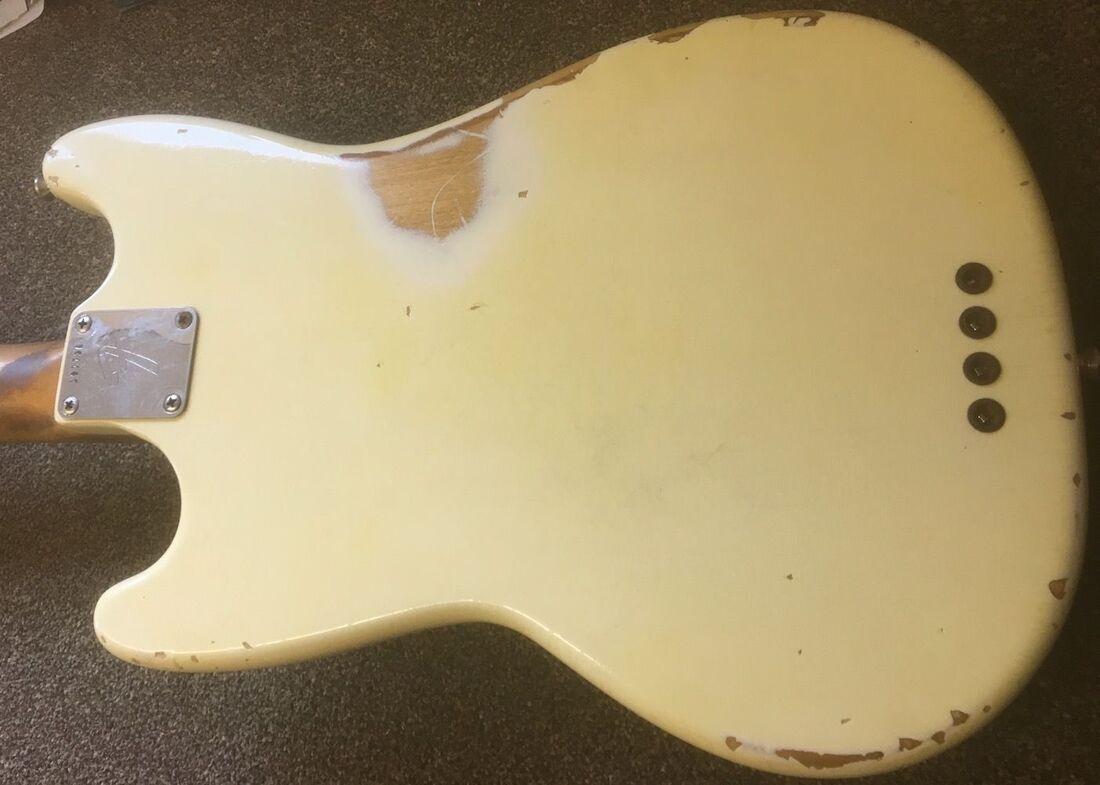
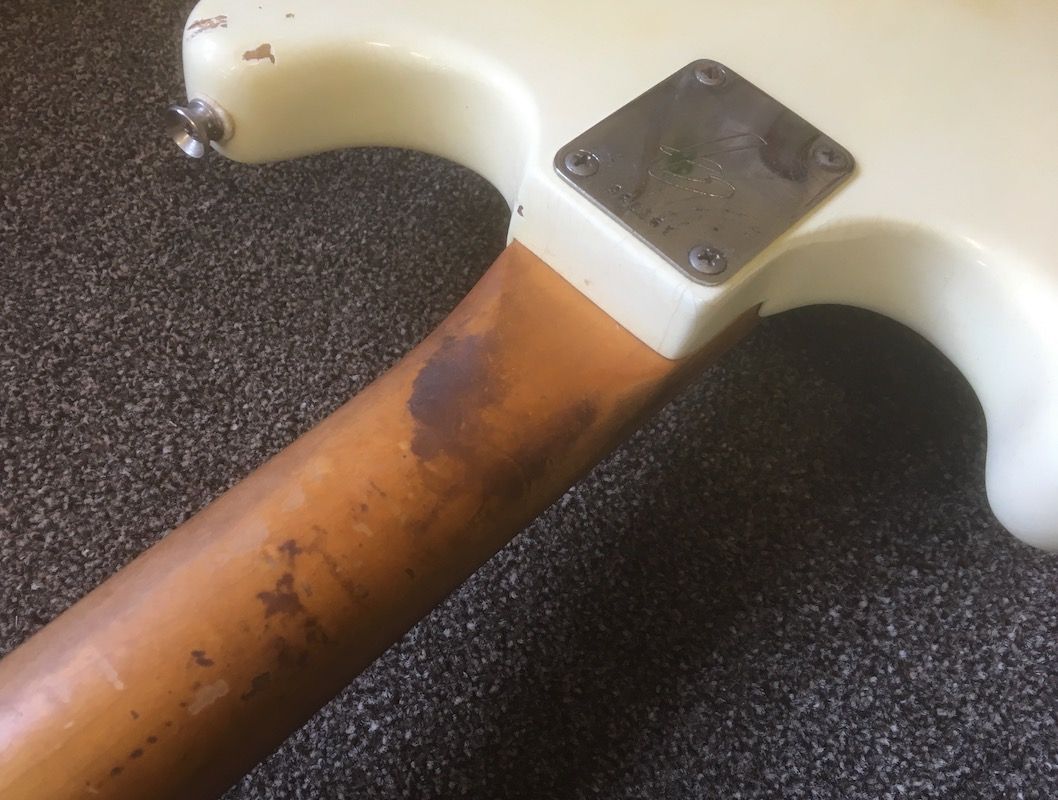
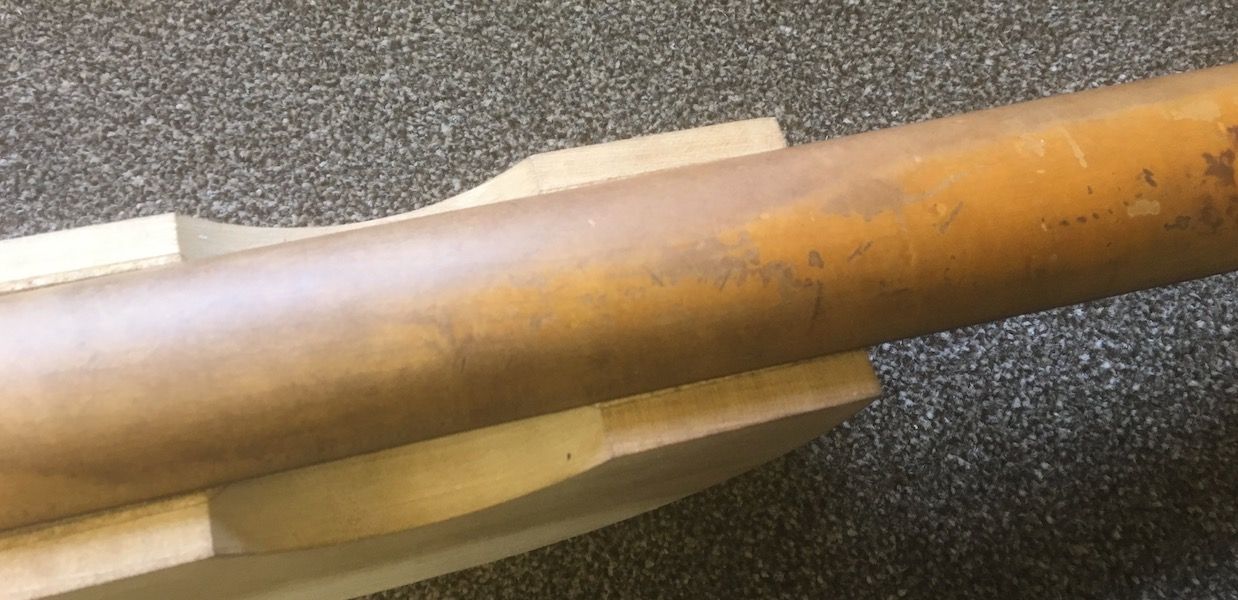
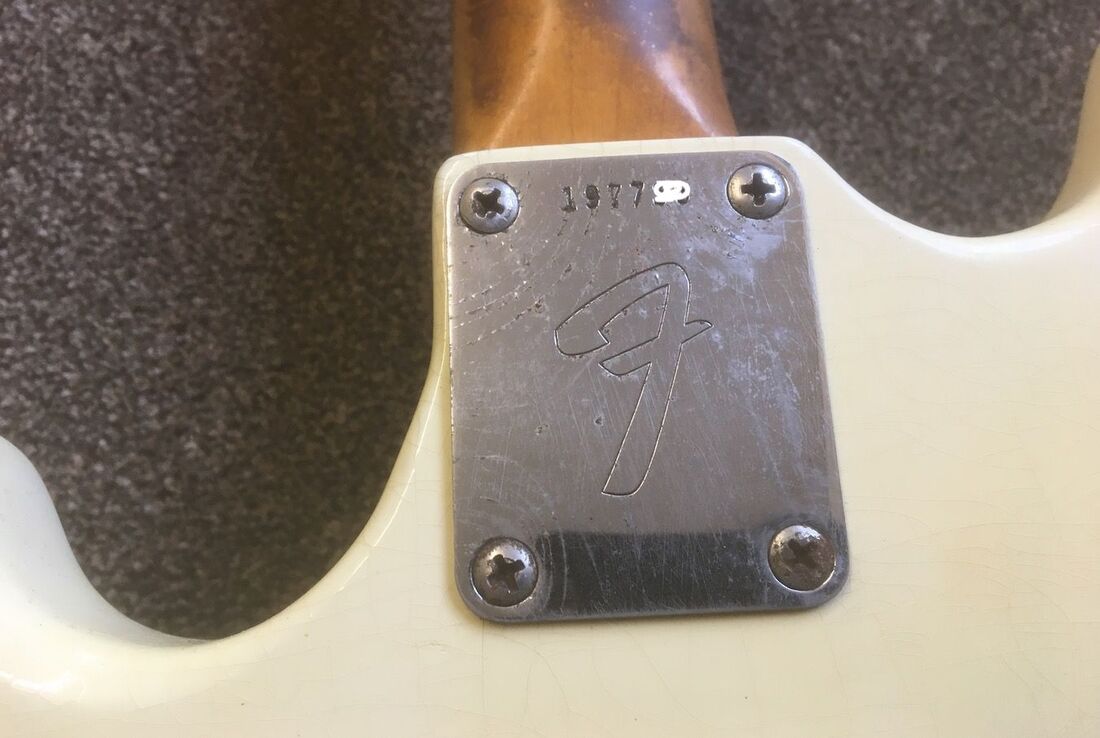
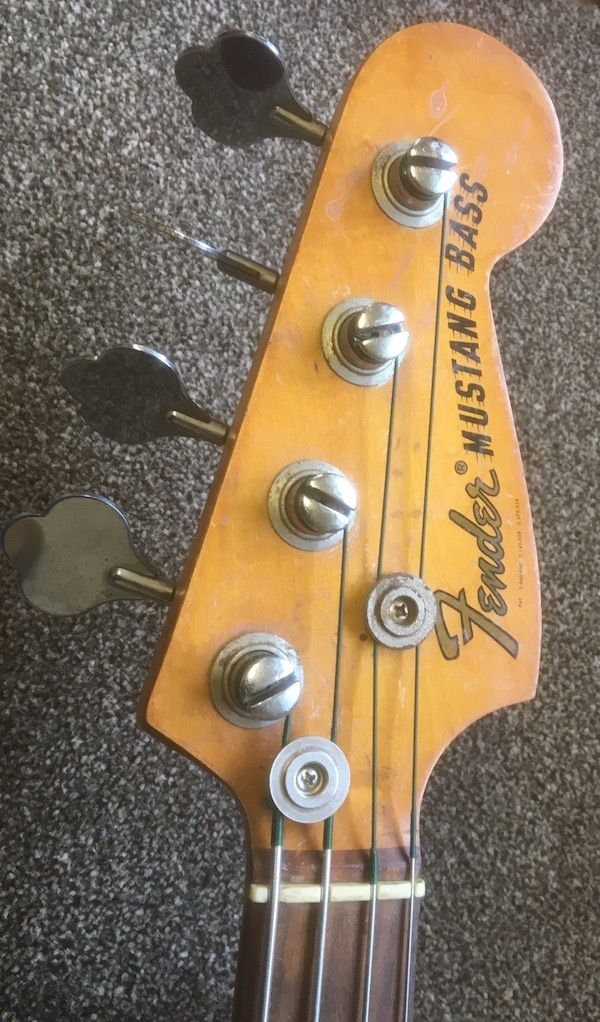
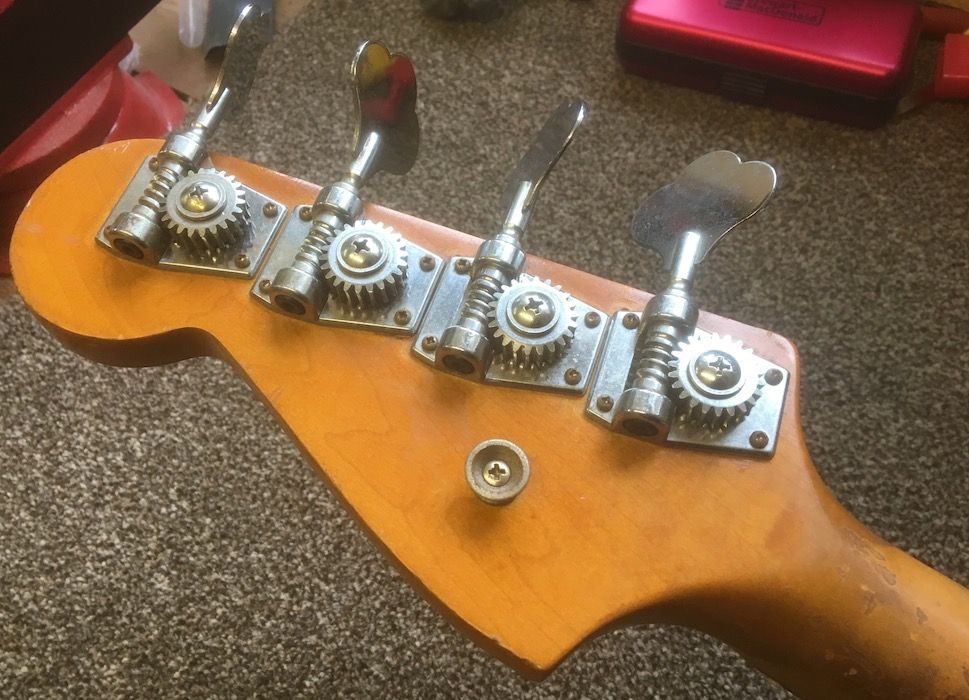
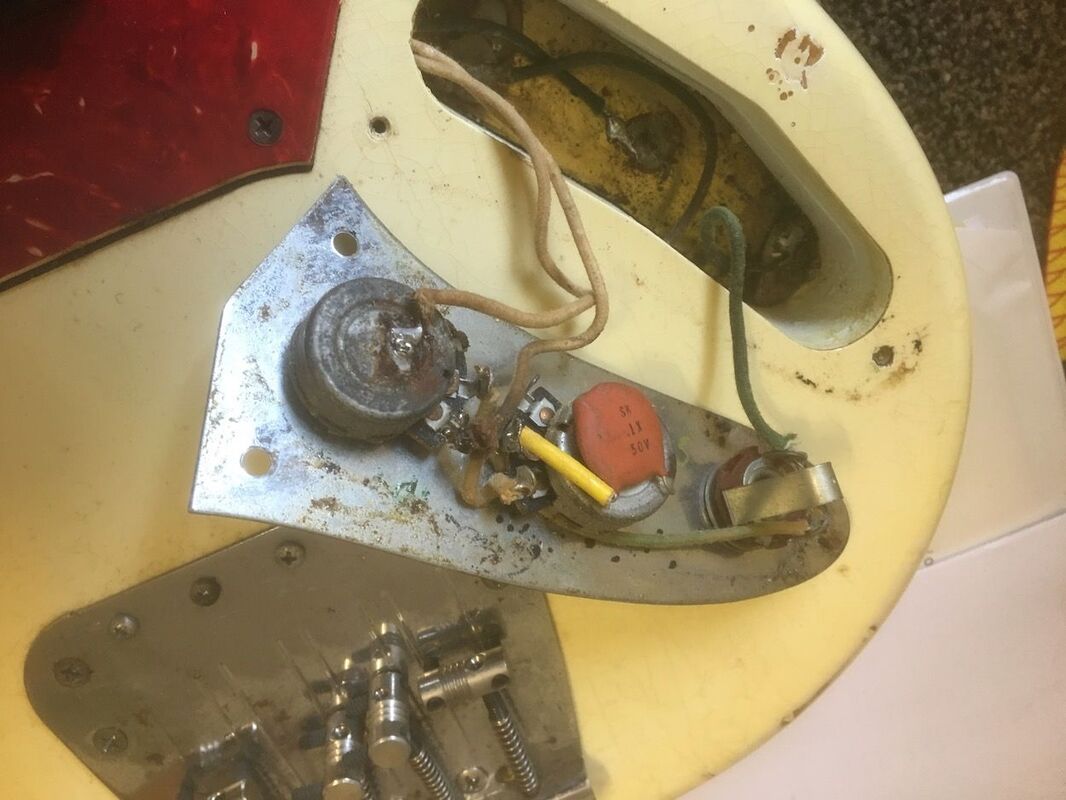
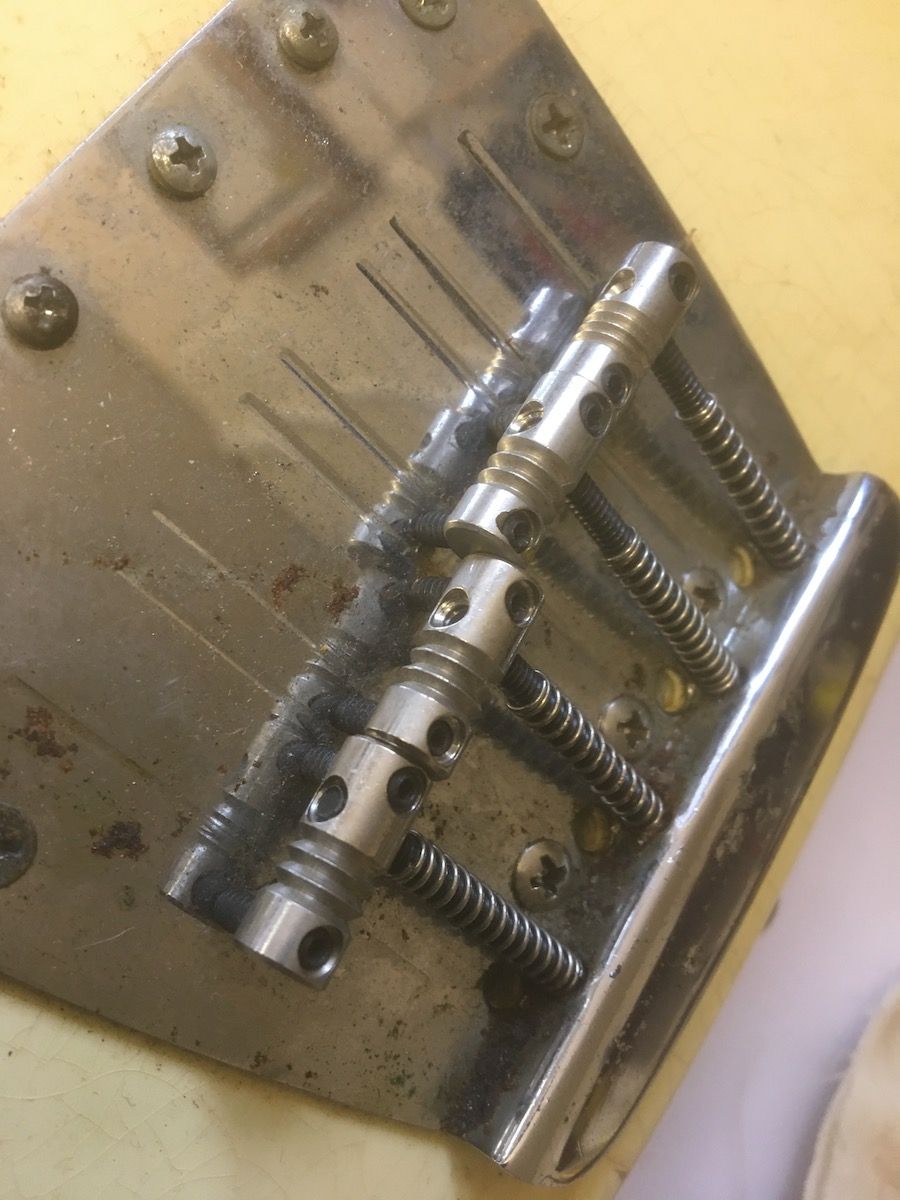
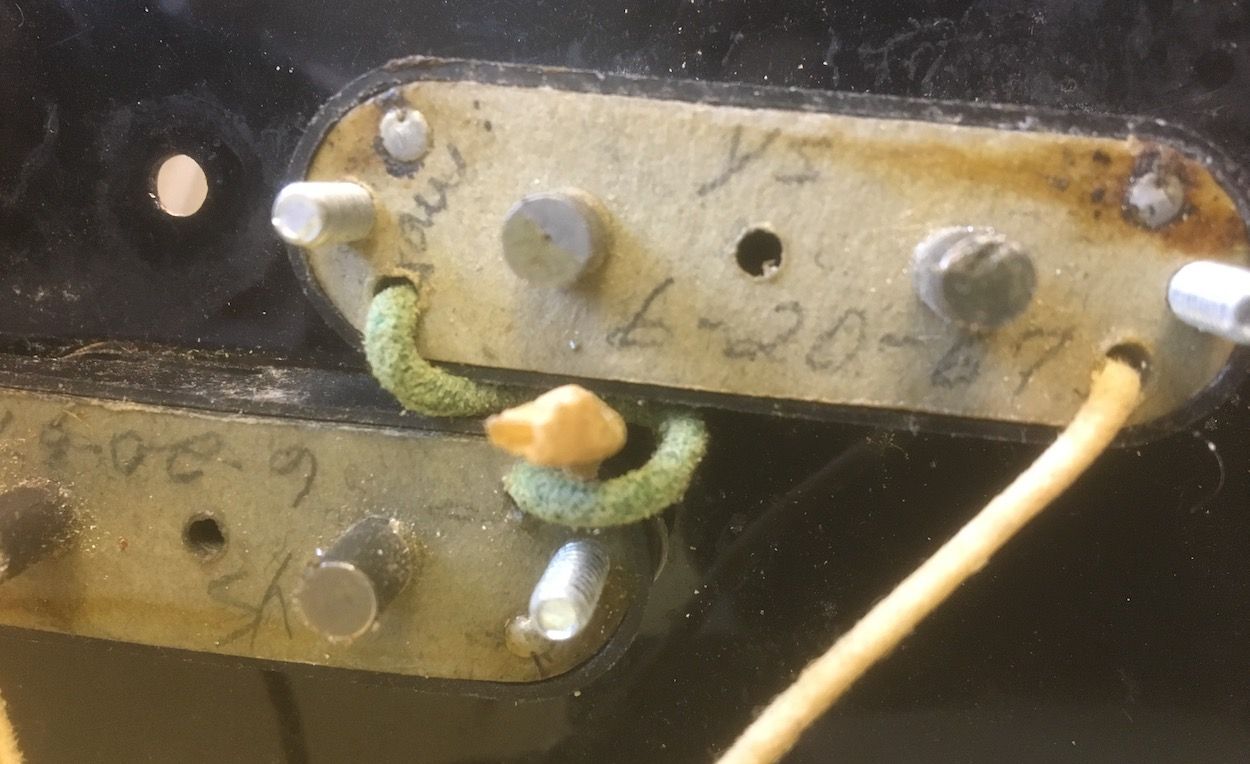
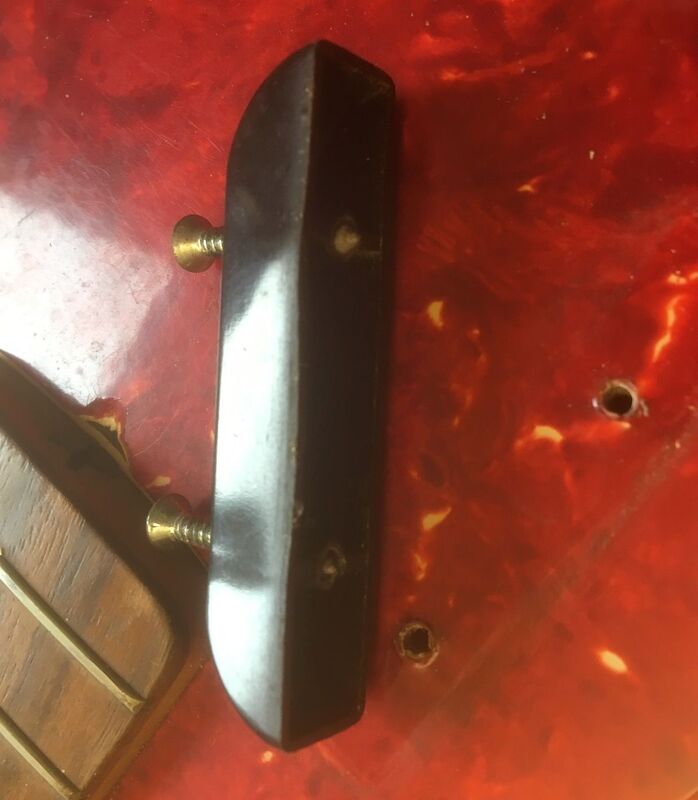
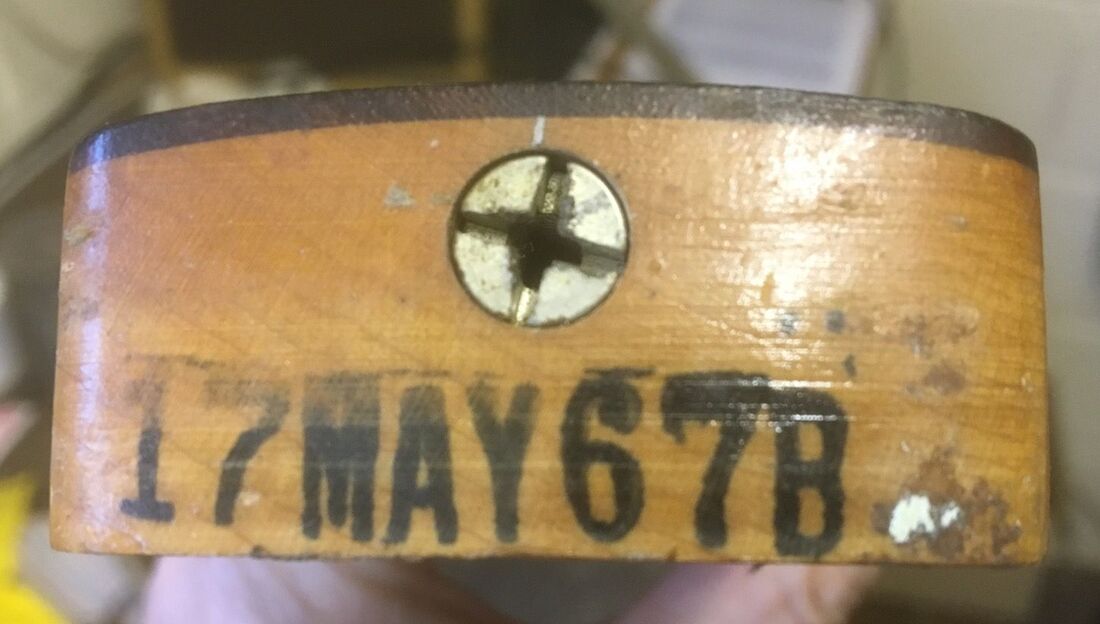
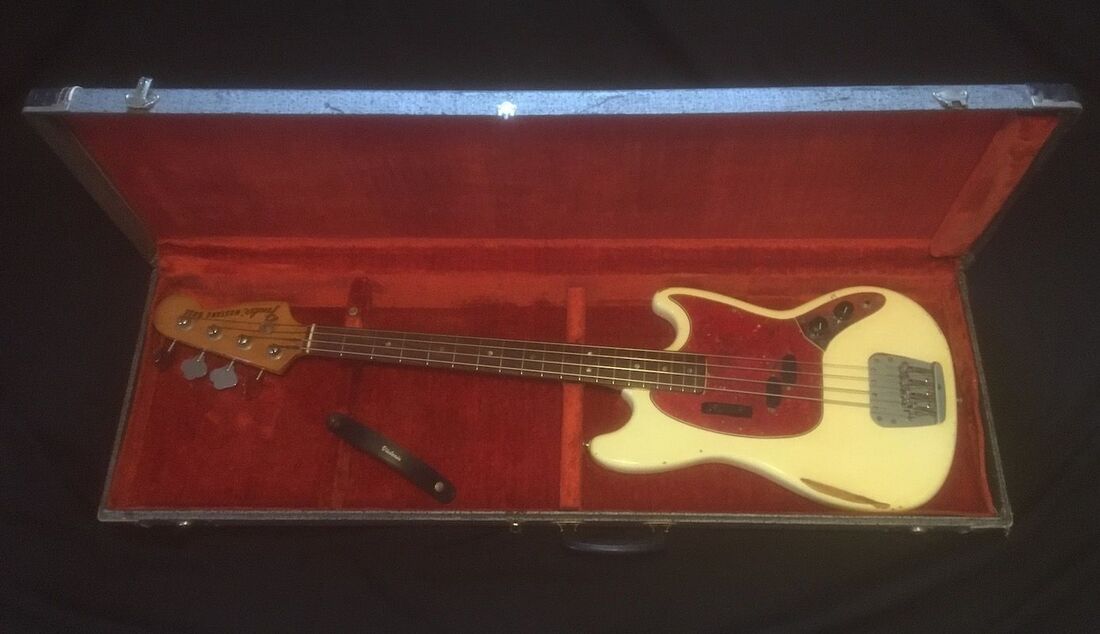
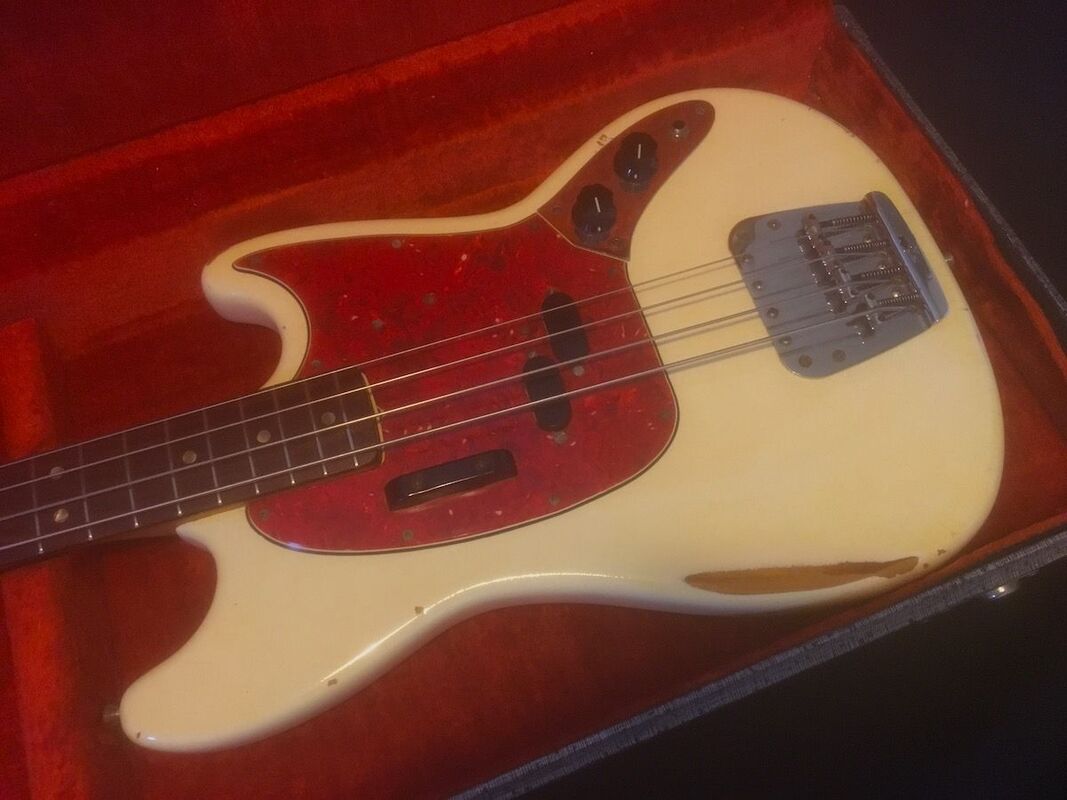
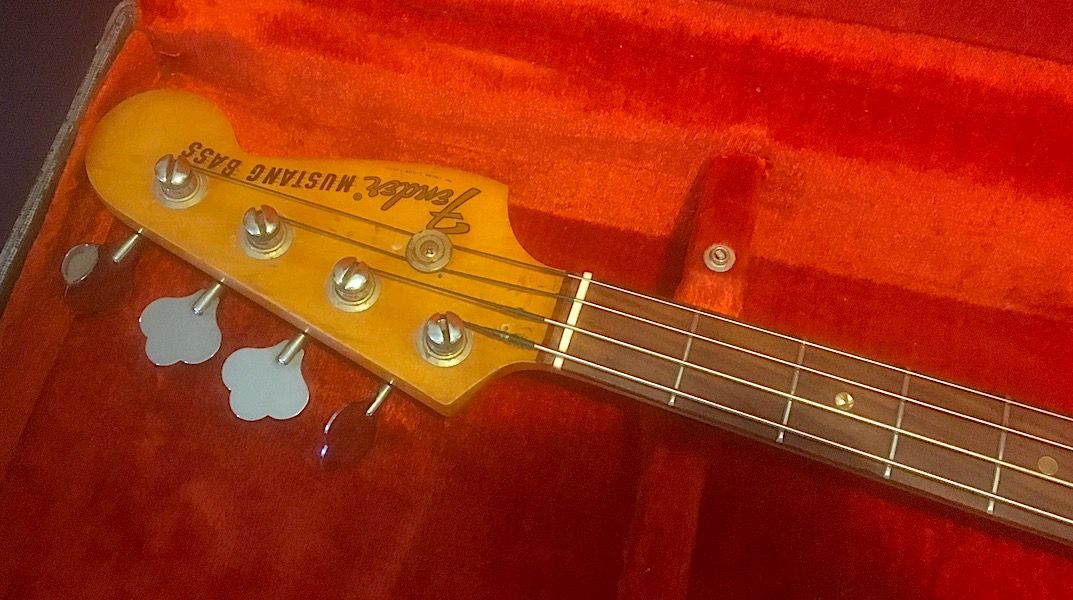
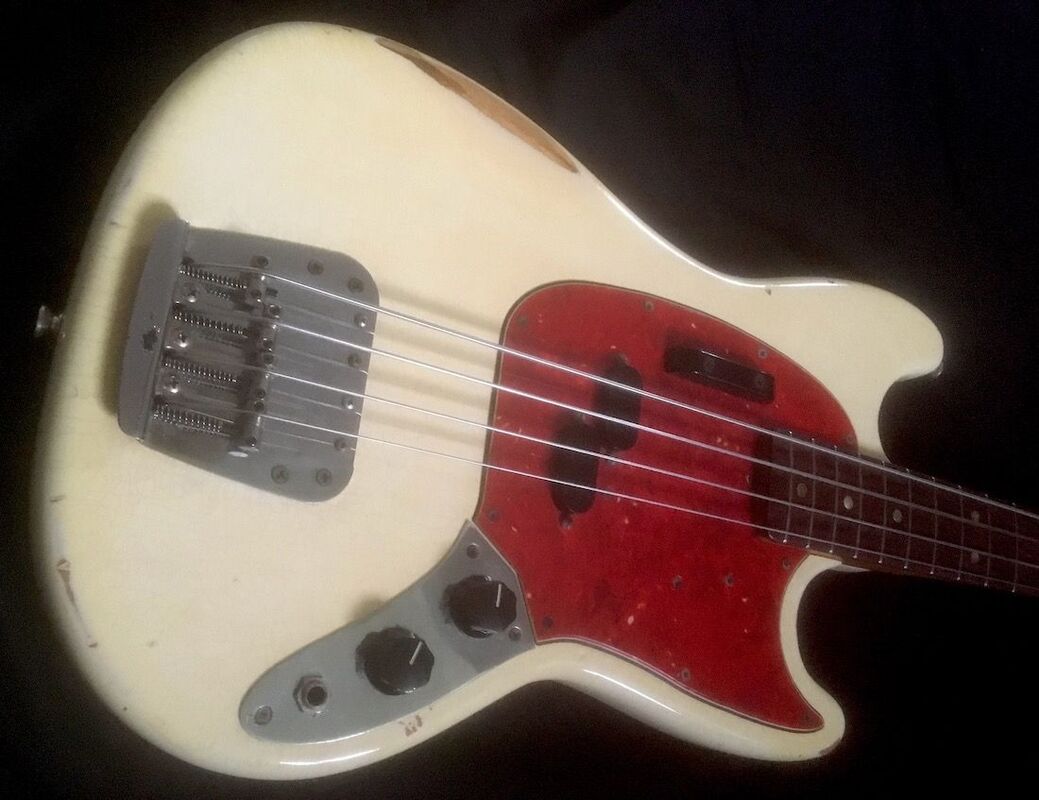
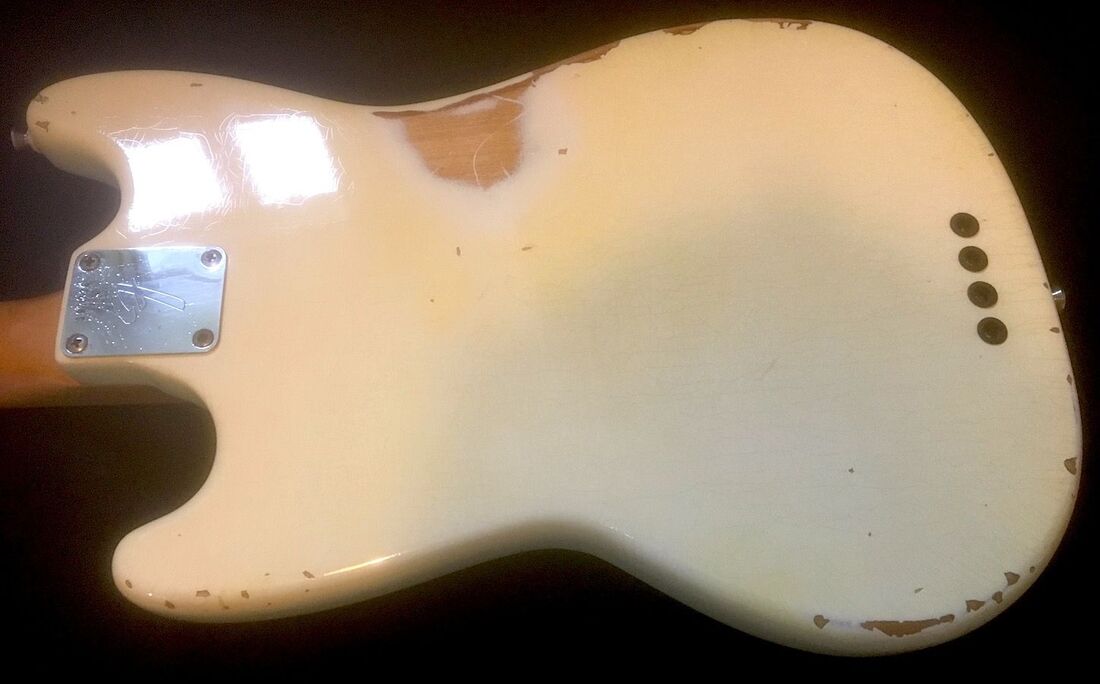
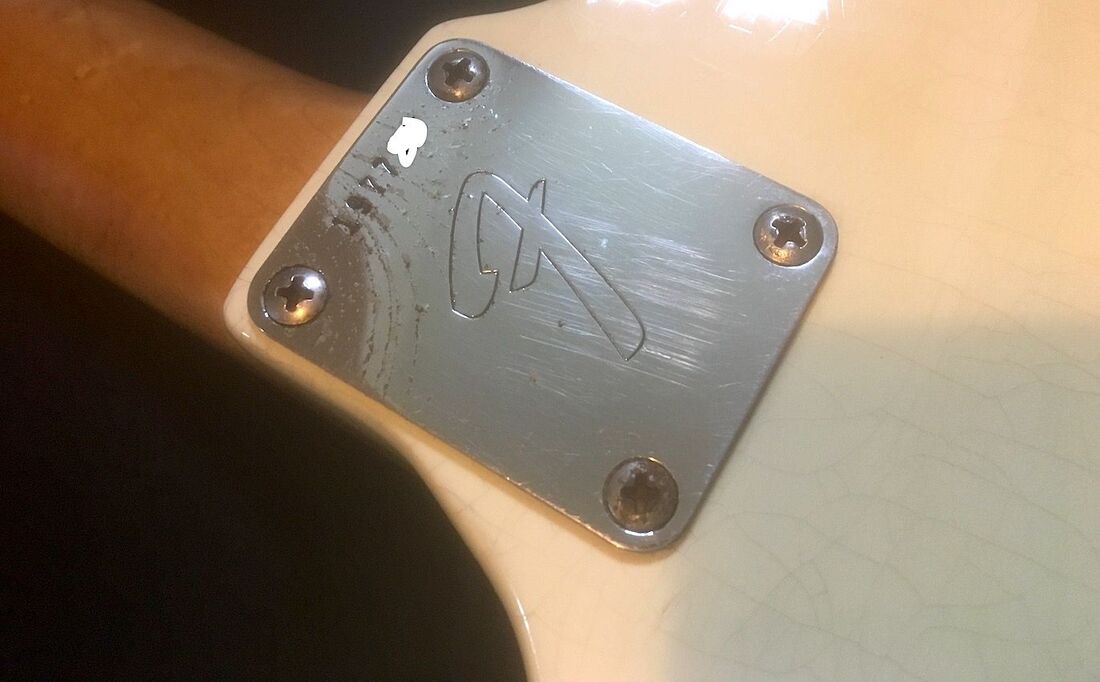
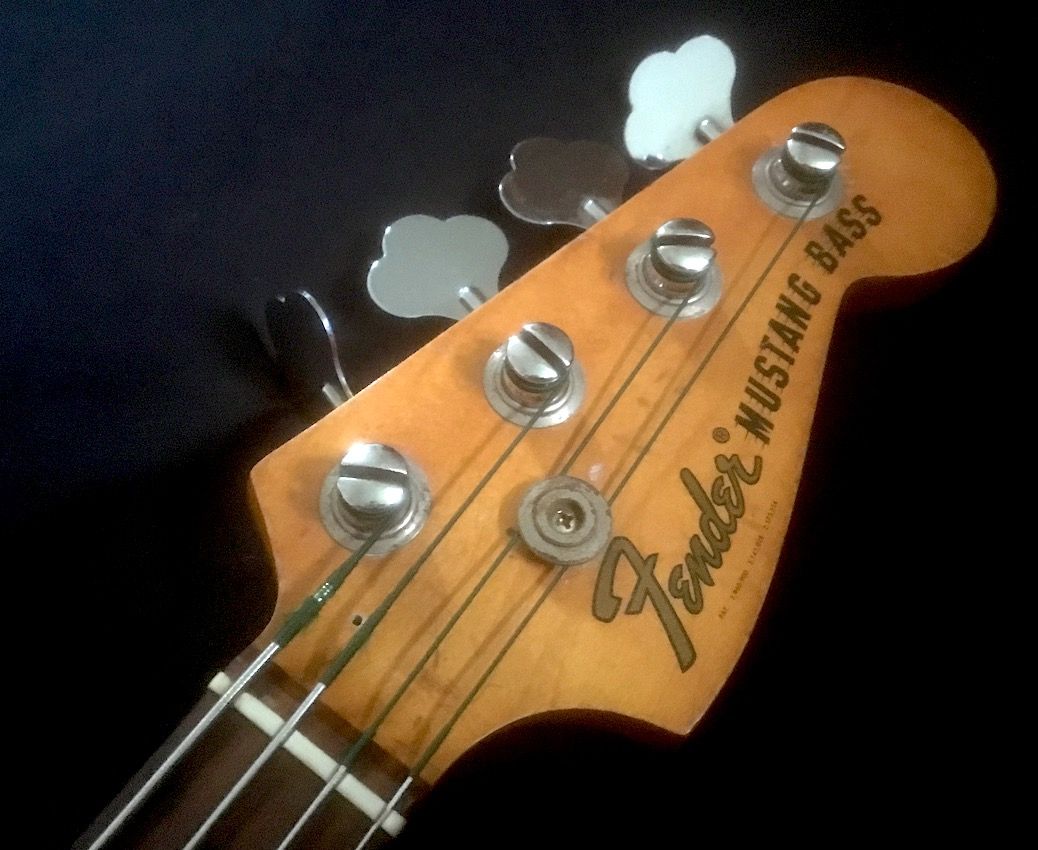
The Fender Mustang bass, introduced in 1966, was originally marketed as a "student" bass with it's short 30" scale. It's easy to play, especially suited for those with small hands, or for guitarists used to smaller necks. It nevertheless packs a fair punch and has been used by several notable players...Bill Wyman ( Rolling Stones) , Tina Weymouth (Talking Heads), Trevor Bolder (Bowie) and Colin Moulding (XTC) spring to mind. Here we have a sweet vintage Fender Mustang bass that I took apart to verify originality, check the set up and generally give a good clean.. The bass has the original Olympic White nitro cellulose finish which has crazed all over and has various patches of wear and dings that one would expect with a well played instrument that's over 50 years old. The body finish is nicely set off against the original red tortoiseshell pick guard. The neck plate number , with a Fender "F" stamp and serial number 1977xx corresponds with a 1966 or 1967 instrument. The neck has not been cleaned in years, as evidenced by the ingrained dirt in the maple ... this will take some elbow grease to remove! The transition logo on the instrument doesn't help dating the neck in this case as this logo didn't change to the all black logo until 1976 on the Mustang Bass (so this just indicates the neck is pre-1976)..for definitive dating, the neck needs to be removed. Someone has added an additional string tree for the E and A strings in the past, somewhat unnecessarily - this can be removed and the hole filled and retouched.The original cloverleaf tuners are in place and work well. The original bone nut fell out when the strings were removed, so just needs re-gluing in place. It looks rather worn but in facts functions perfectly. The frets are also in good condition and look to be original. Removing the control plate reveals the original cloth covered wiring, capacitor and original pots ( although they are somewhat corroded and so not possible to read the dates on the back of them). The original pickups are dated 6-20-67 so this would confirm the bass is a 1967 rather than 1966 instrument. Again all the wiring is untouched. It has the original bridge plate and individual intonable saddles. A finger rest was originally located on the treble side of the pick guard, however this has been removed and a (non - original) thumb rest installed on the upper part of the pick guard. The original screw holes are still there so a finger rest can be reinstalled back to it's original position if required. Removing the pick guard, the pickup cavity is unaltered. The neck pocket shows the pinholes and unfinished area where the body was originally supported during the spraying process. The neck date 17 May 67 B affirms that the neck is 1967 and original to the body. Here's the bass in it's original orange lined case , the nut re-installed, and having had a good clean!
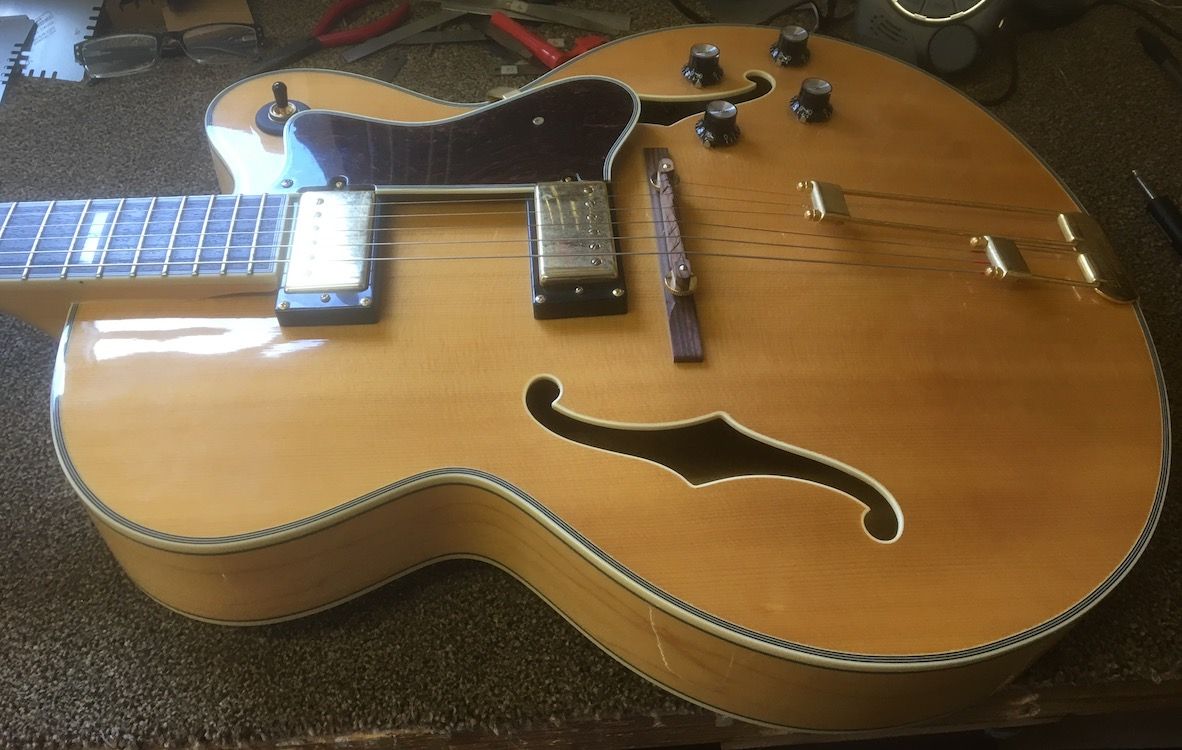
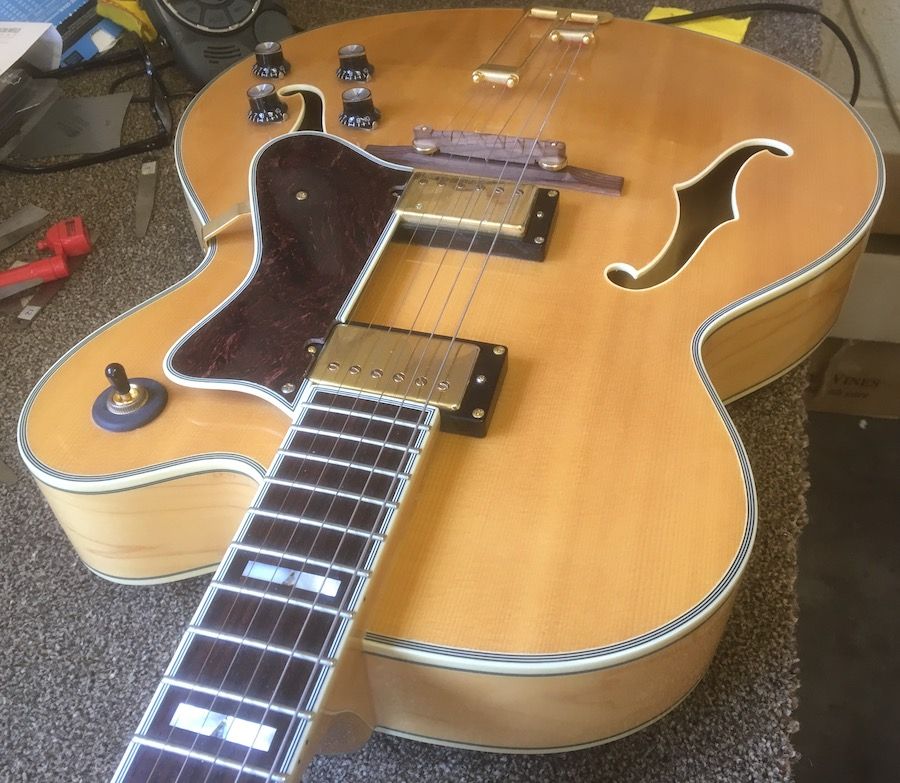
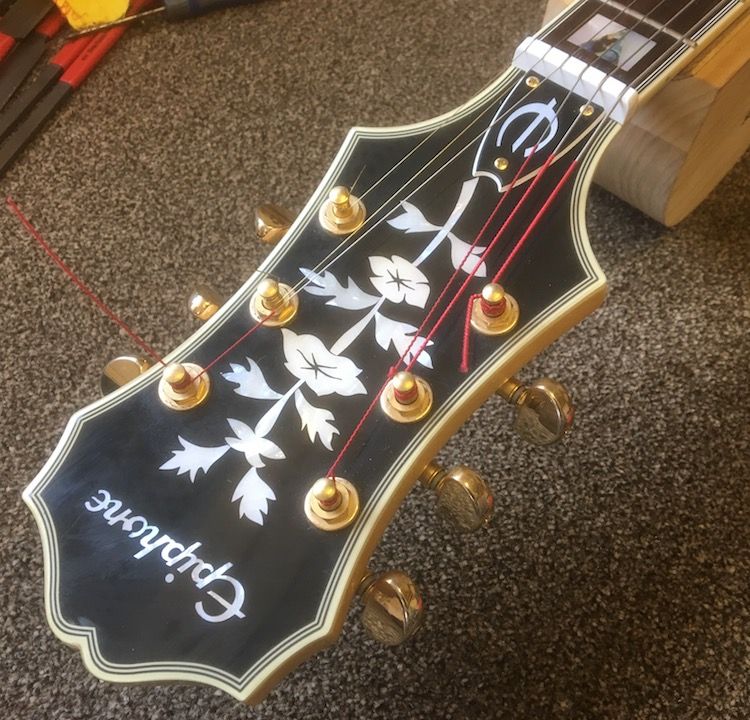
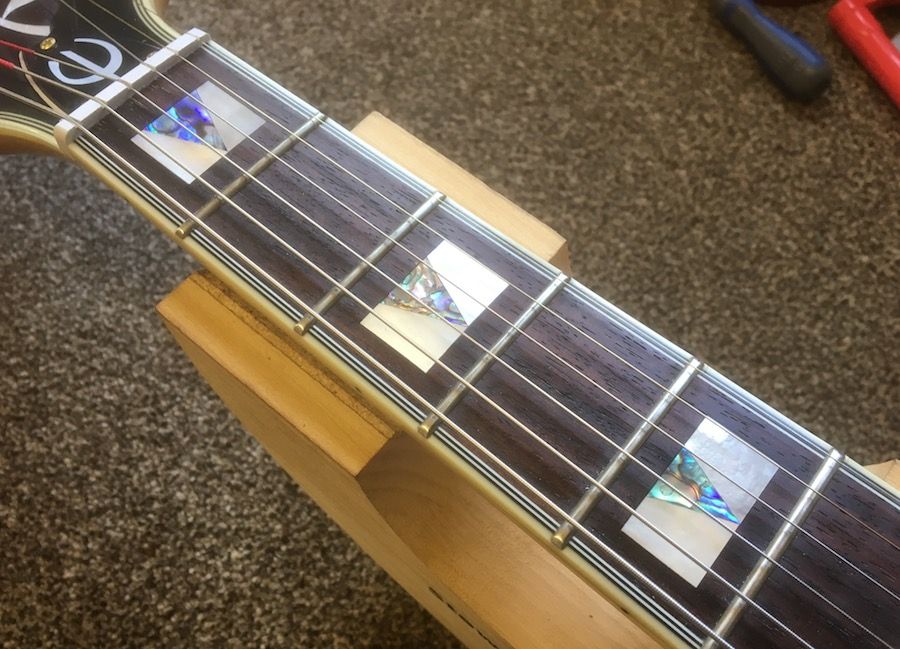
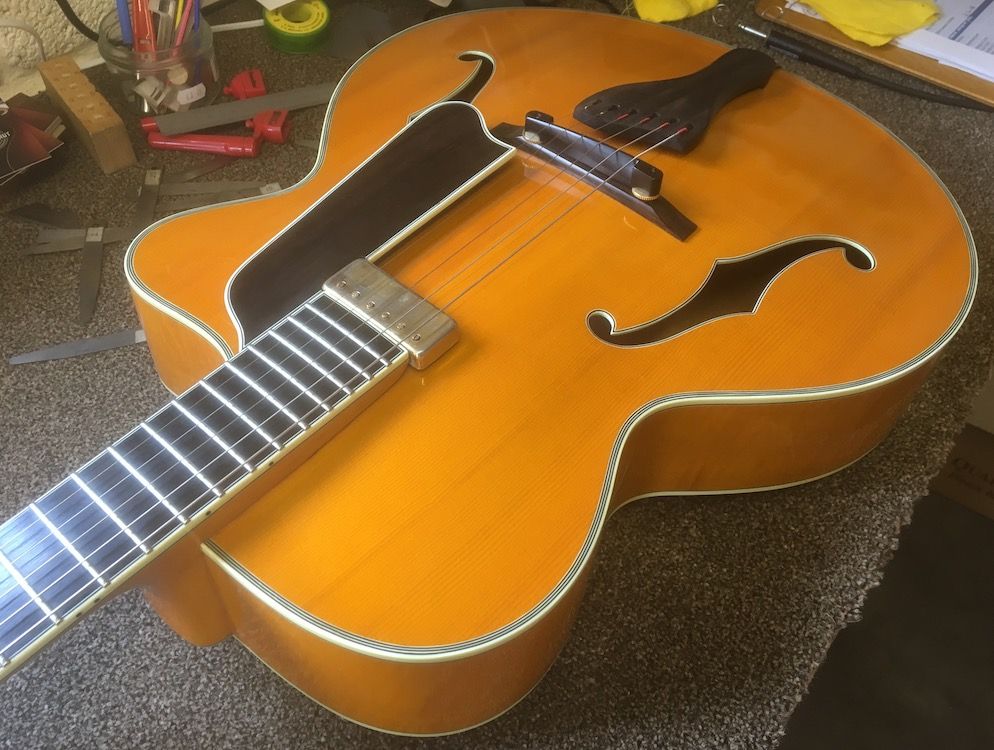
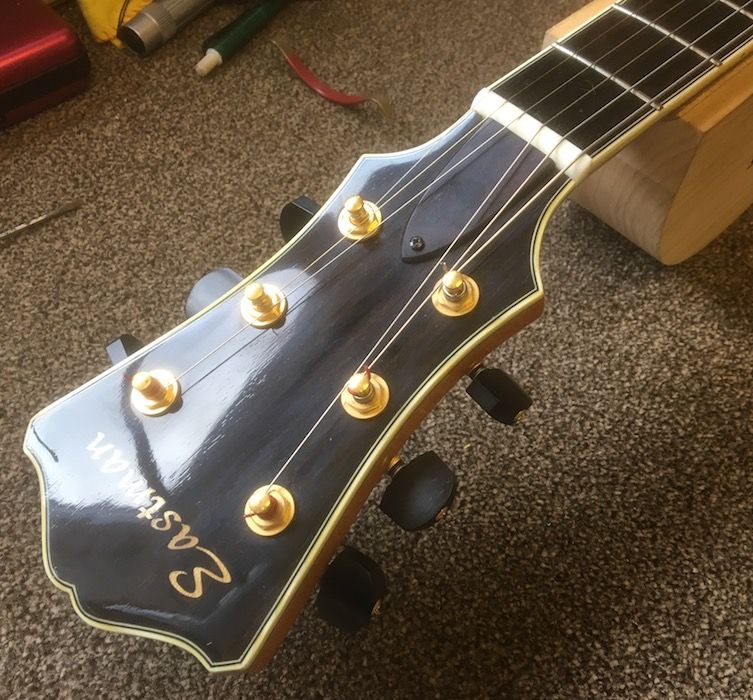
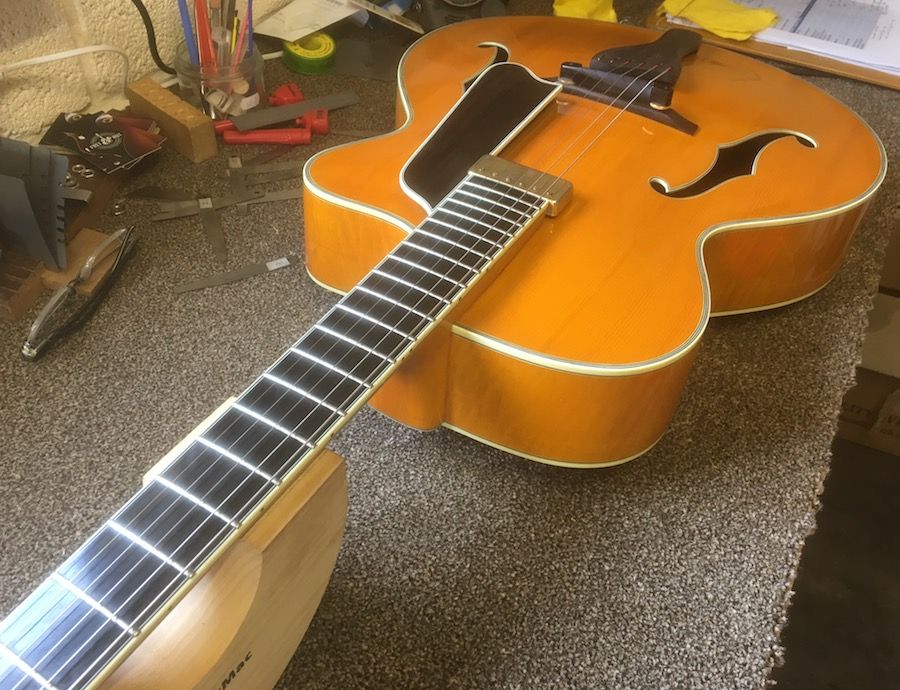
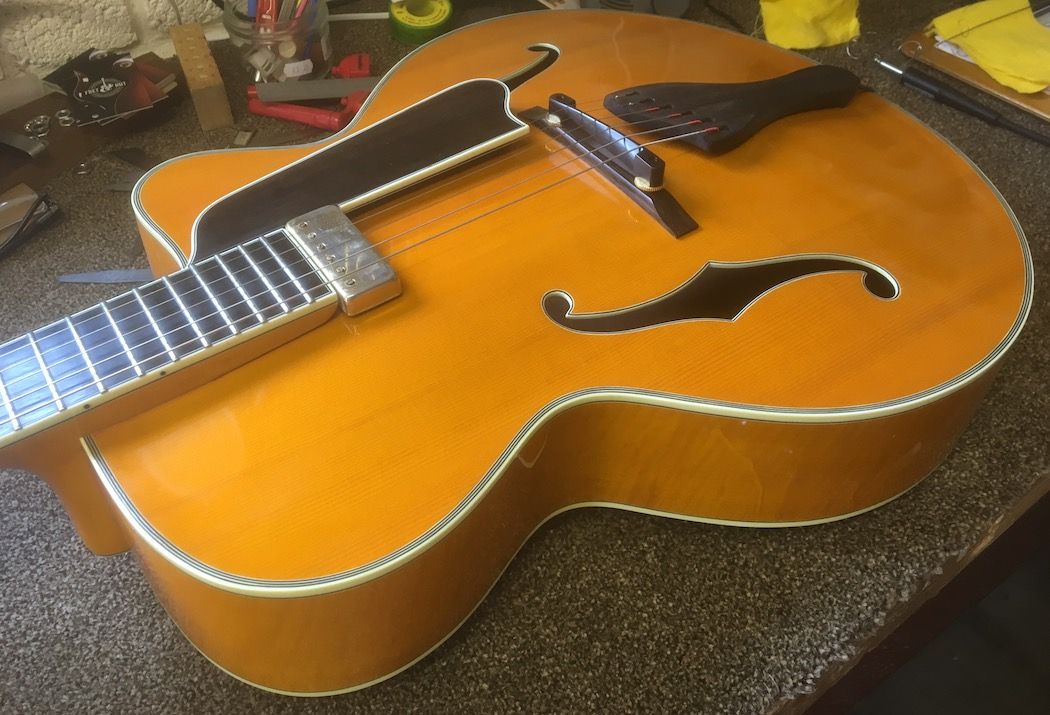
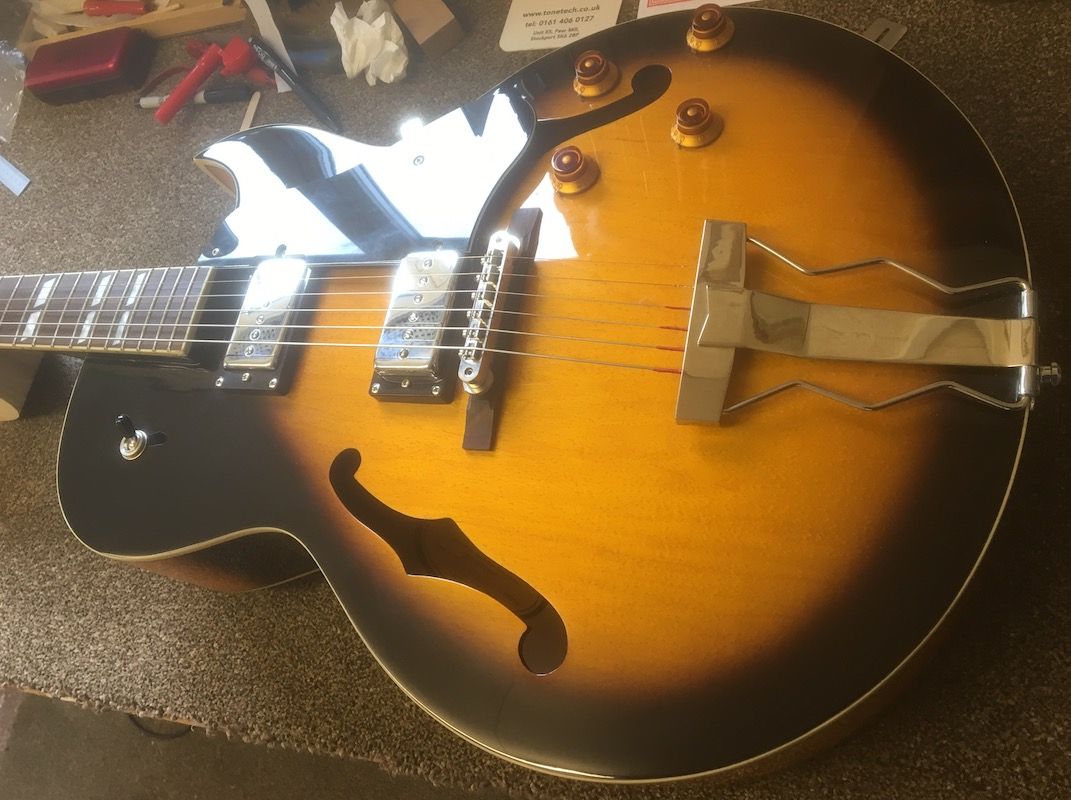
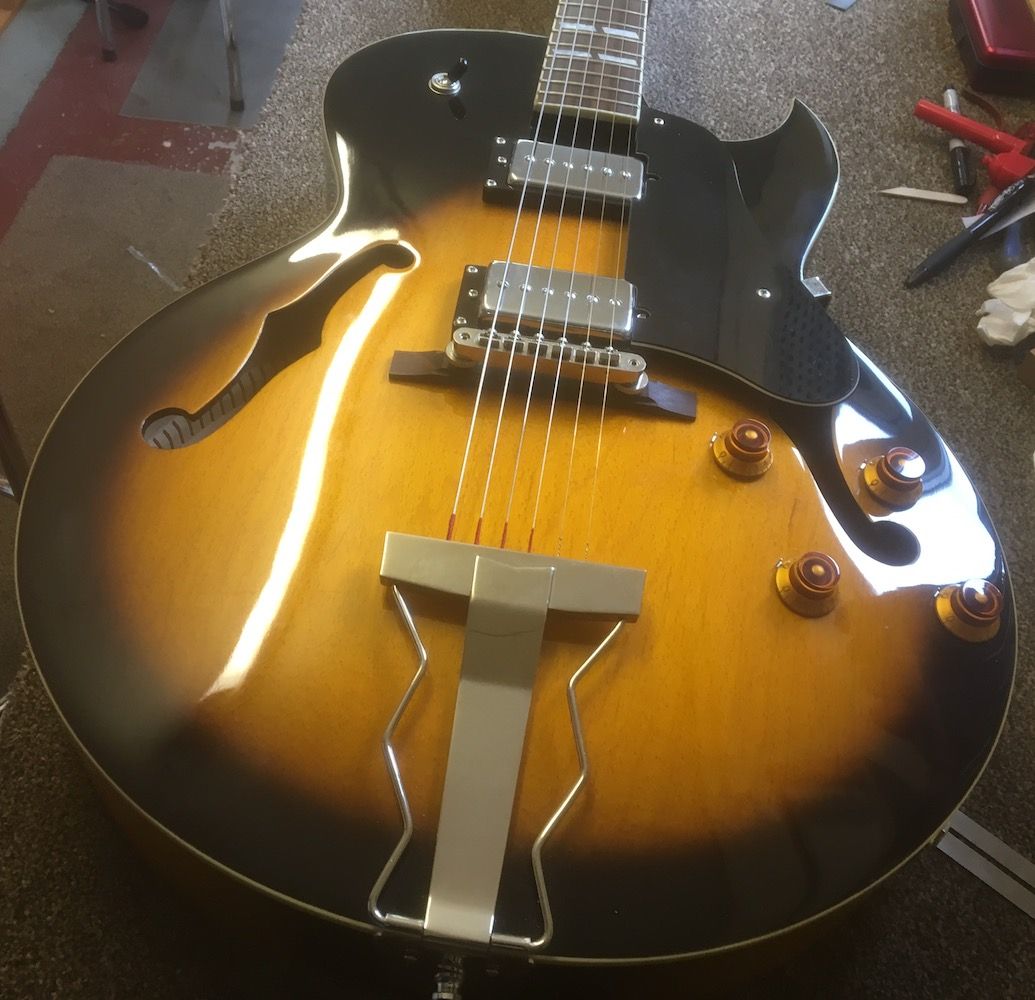
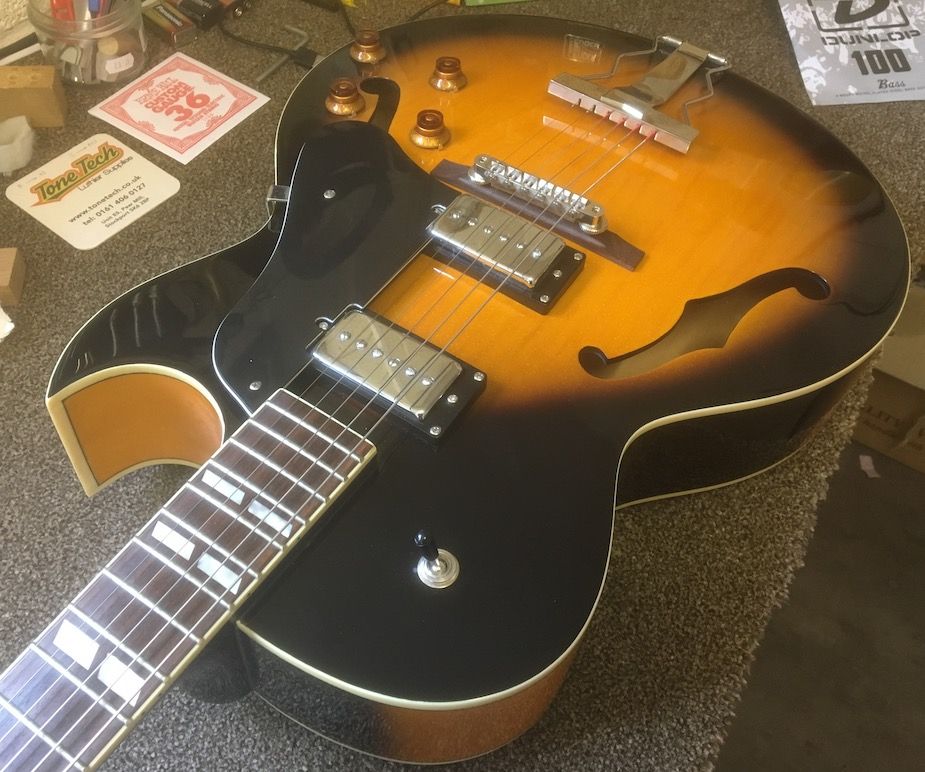
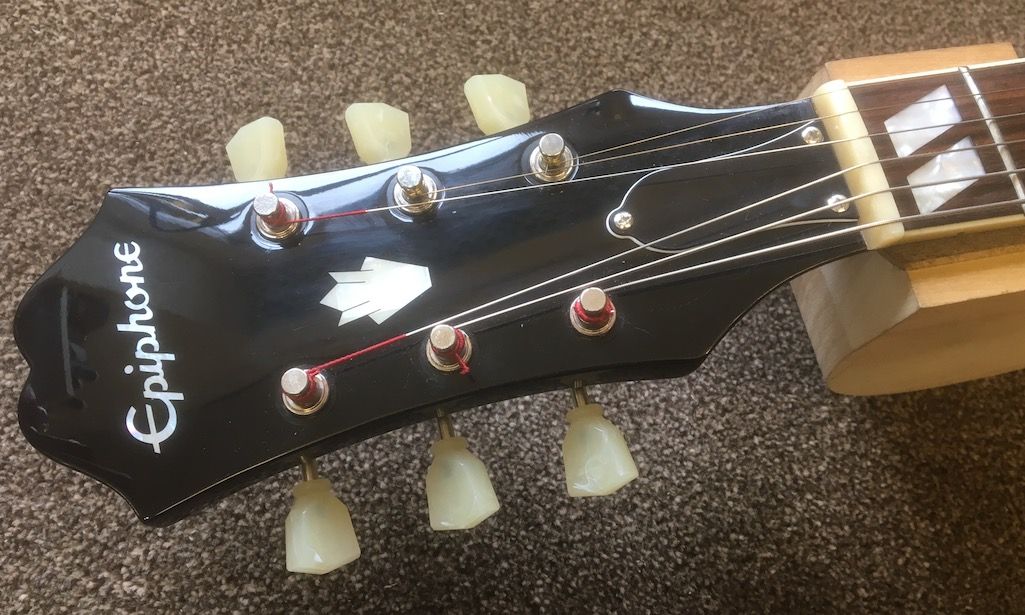
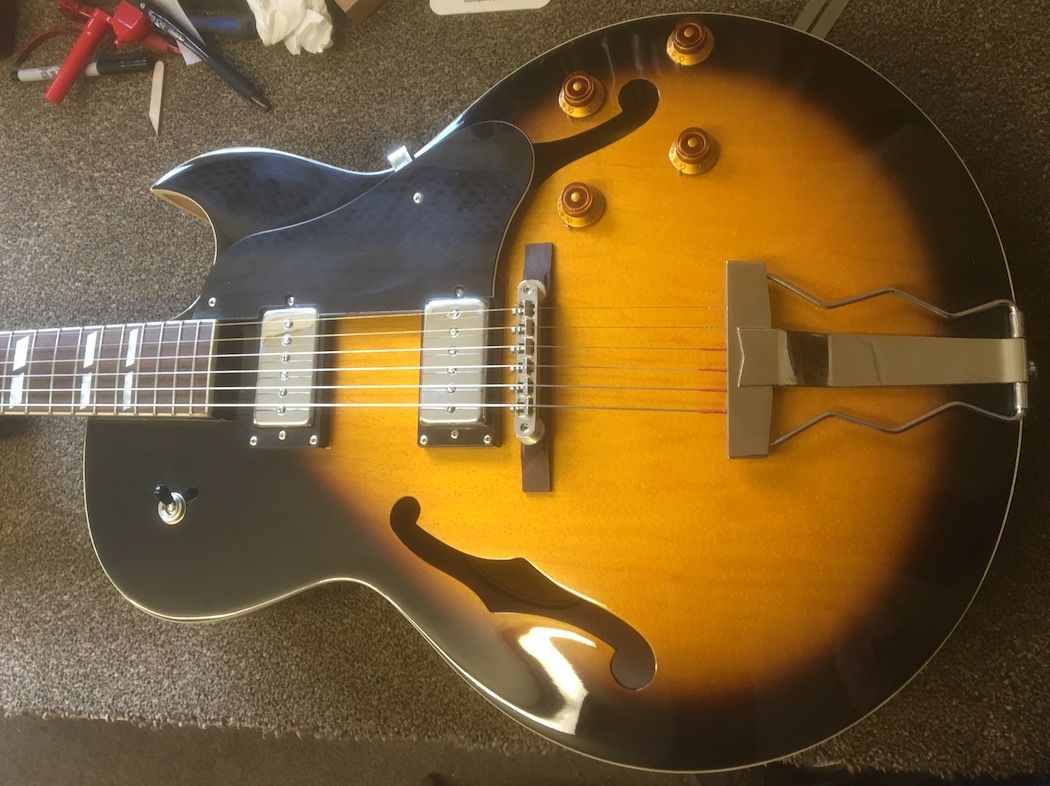
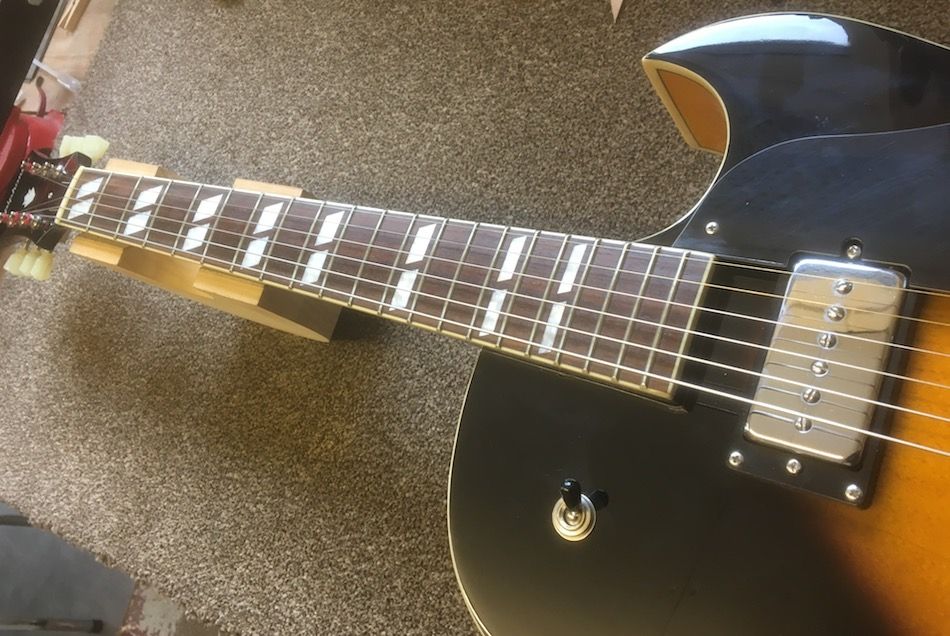
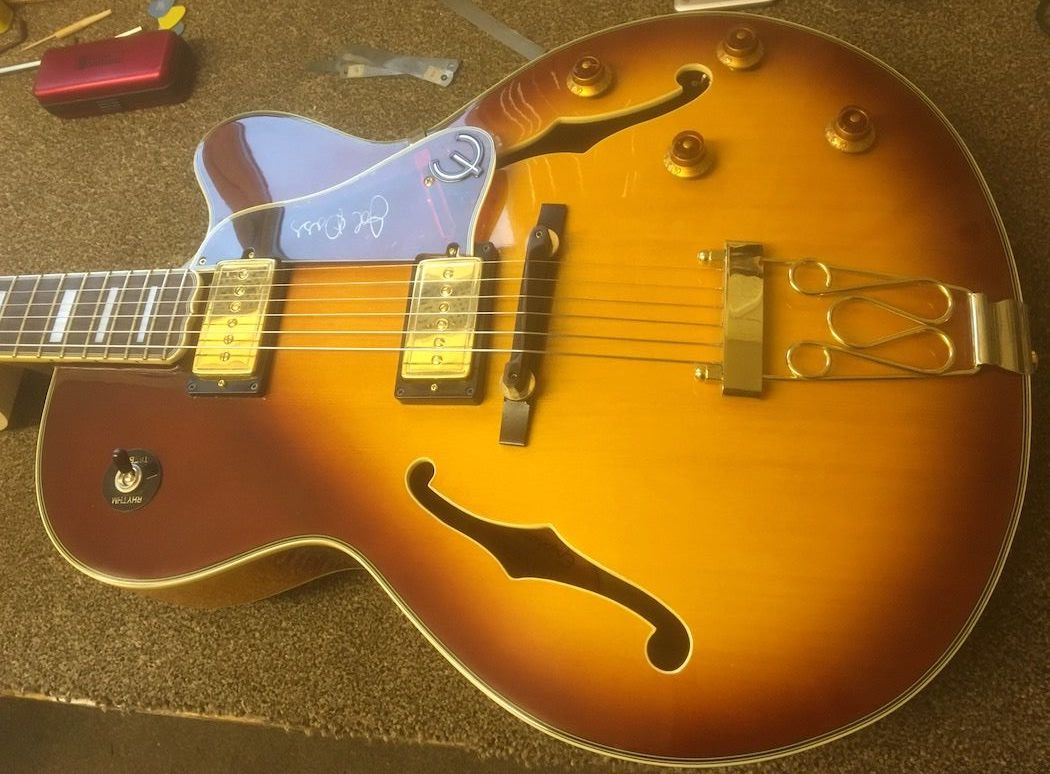
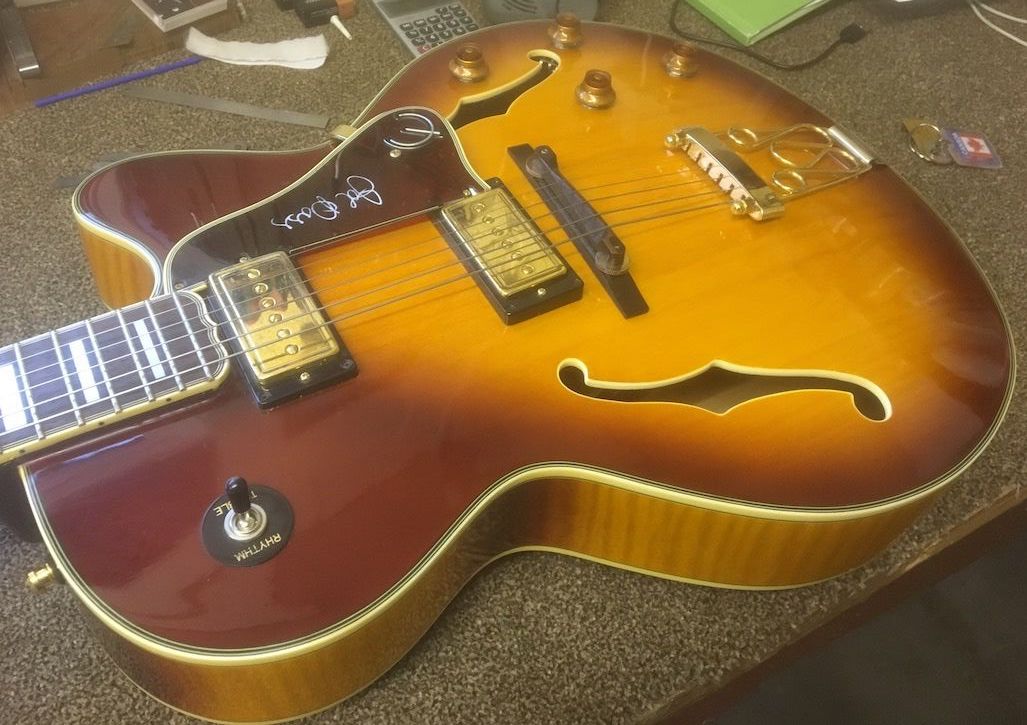
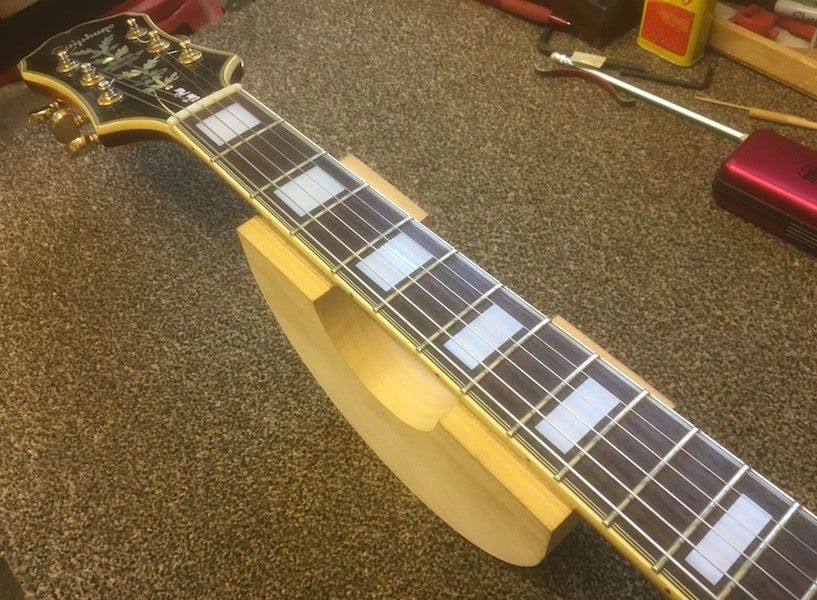
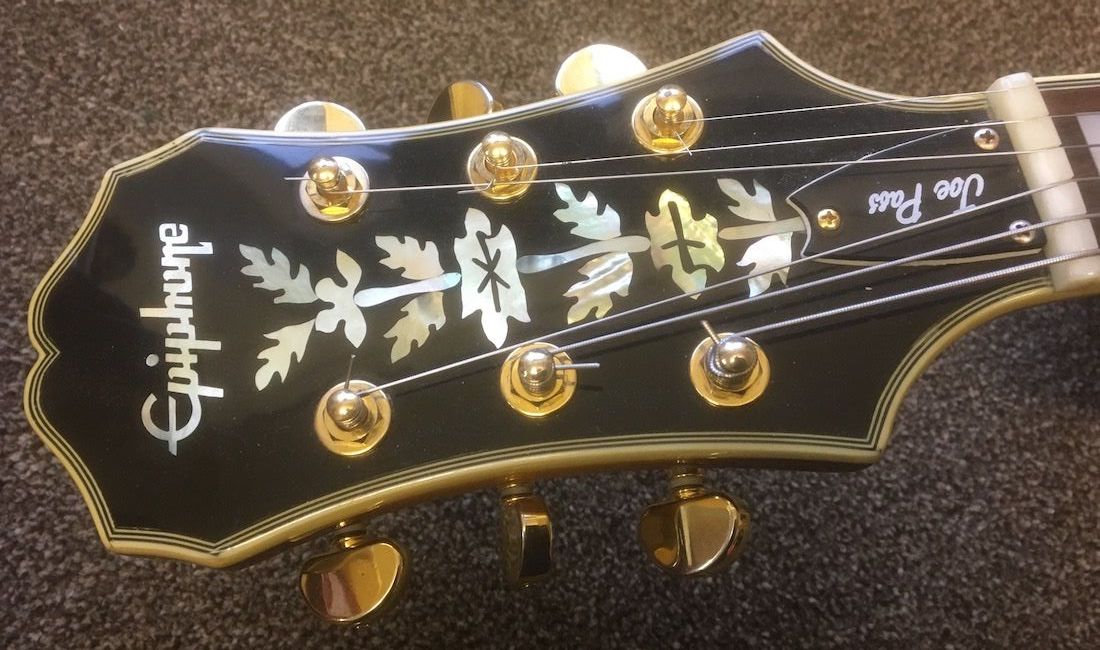
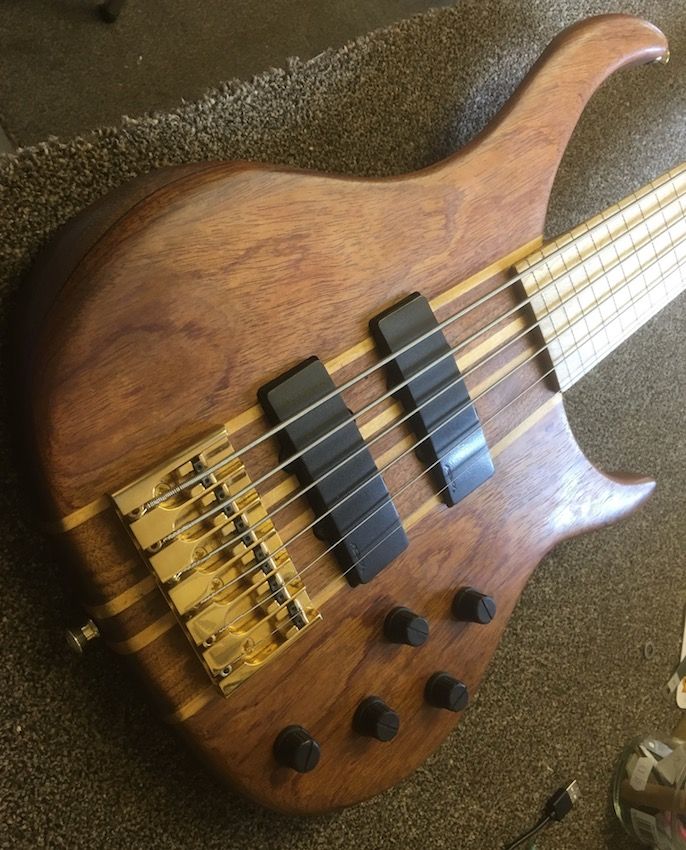
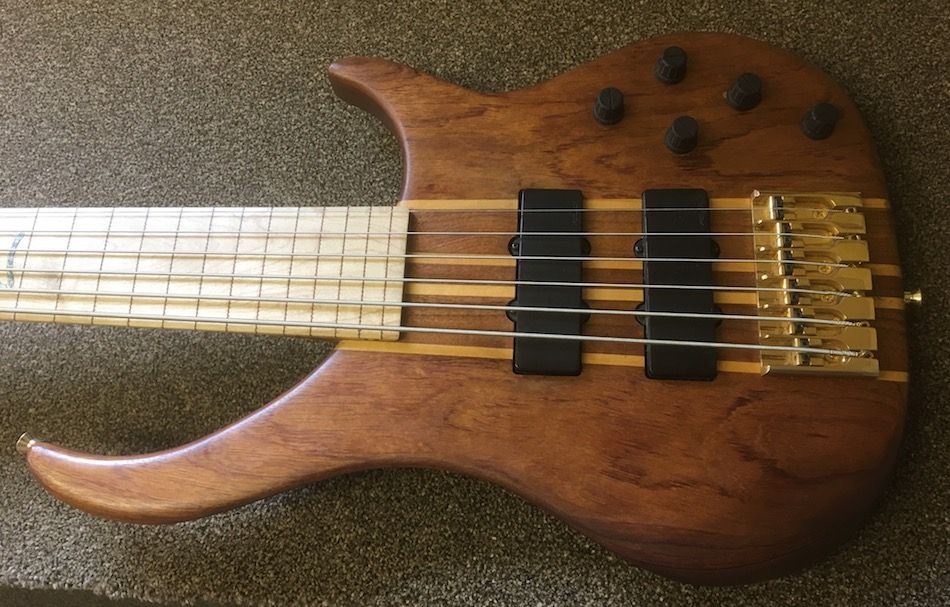
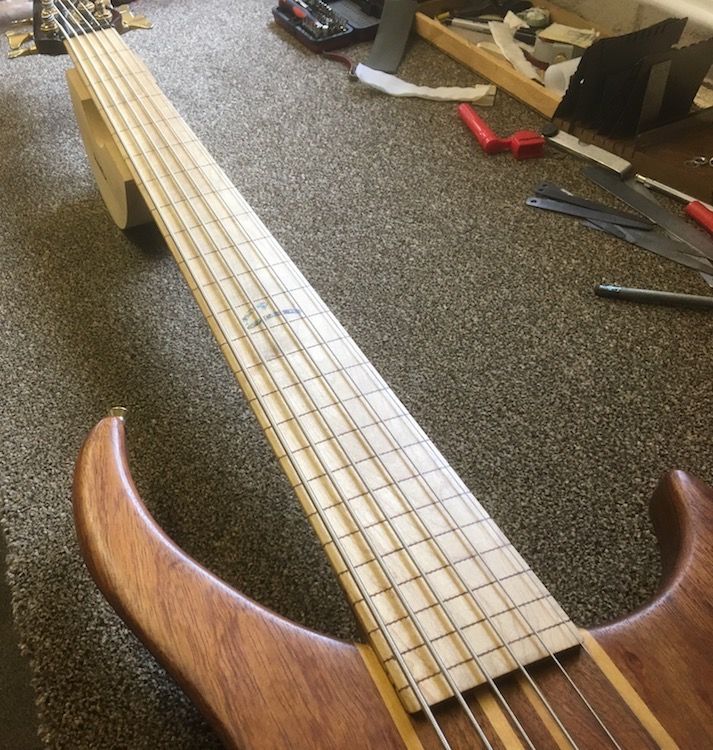
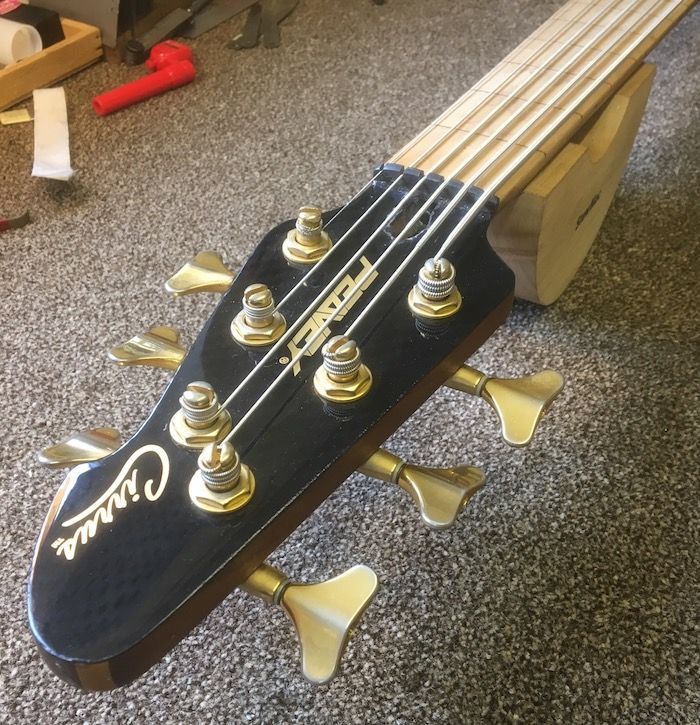
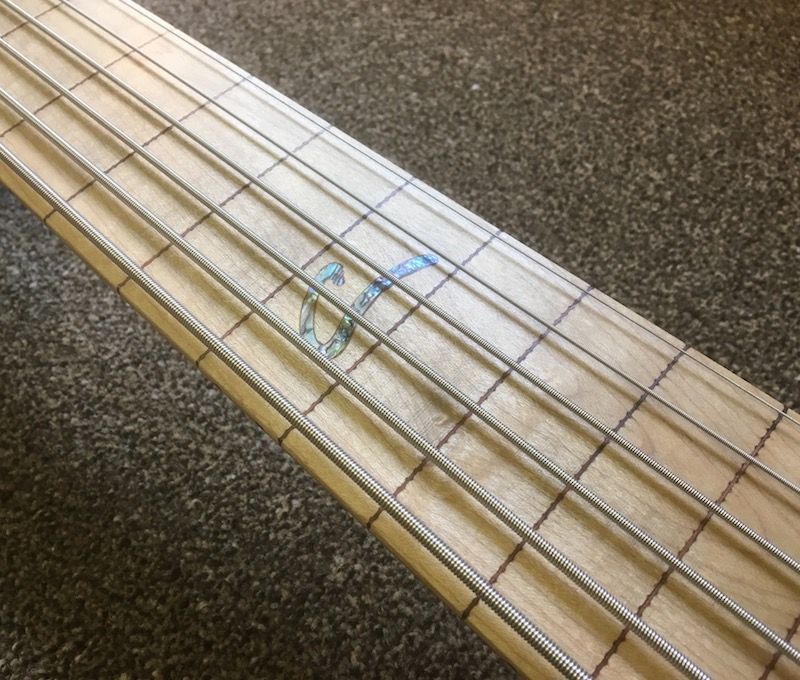
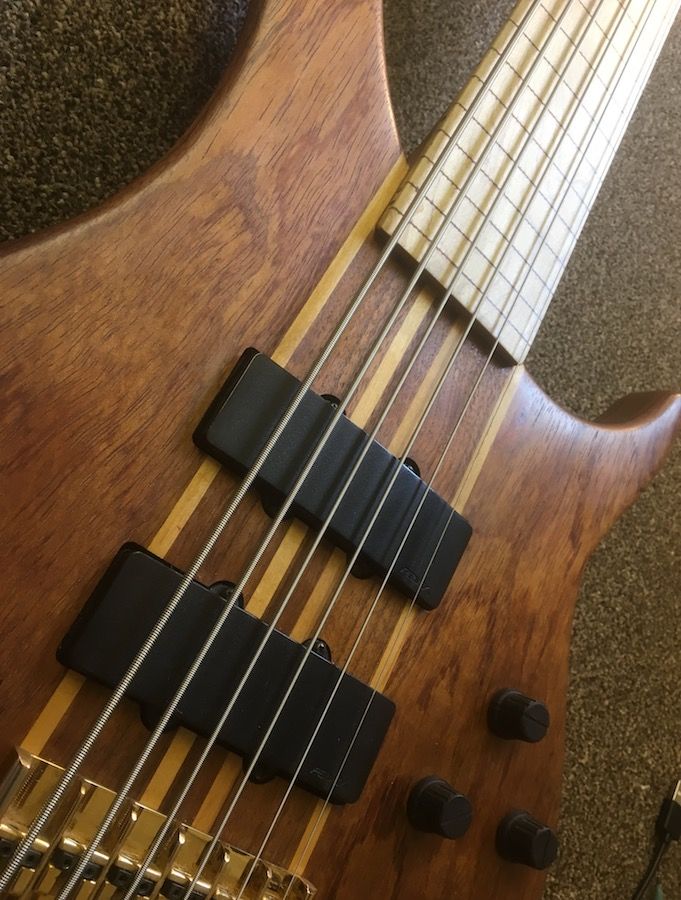
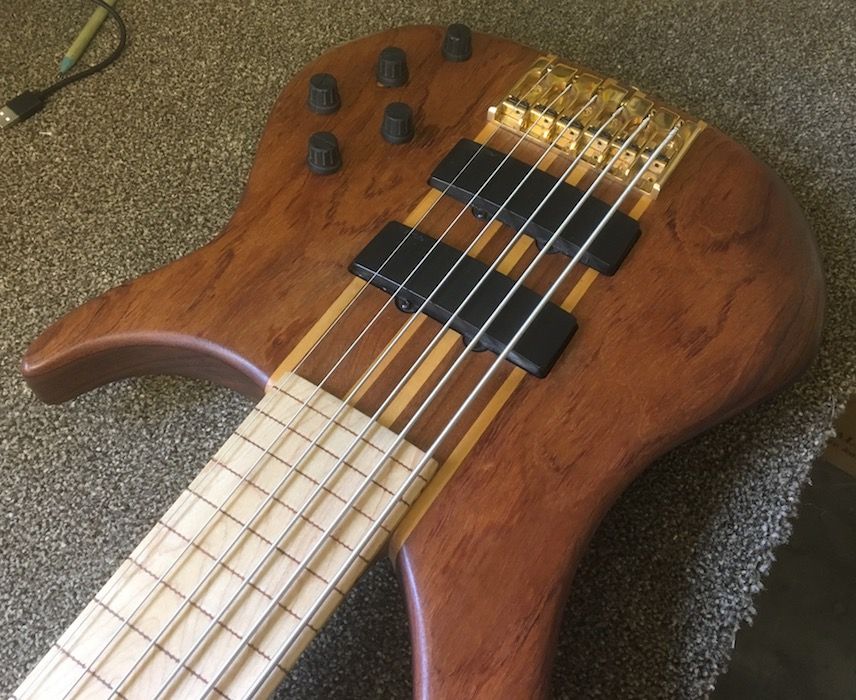
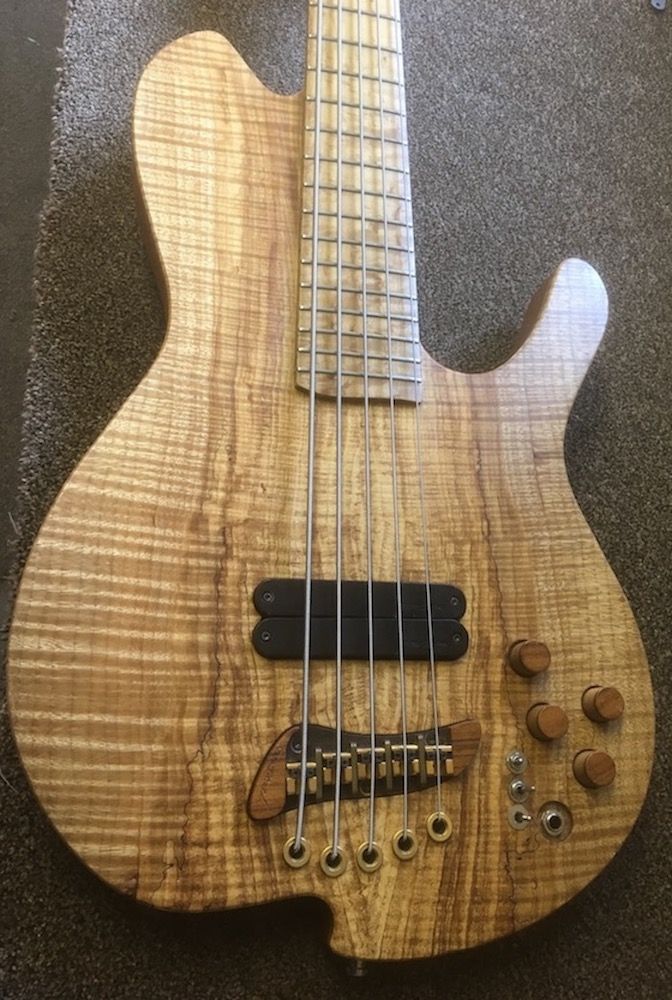
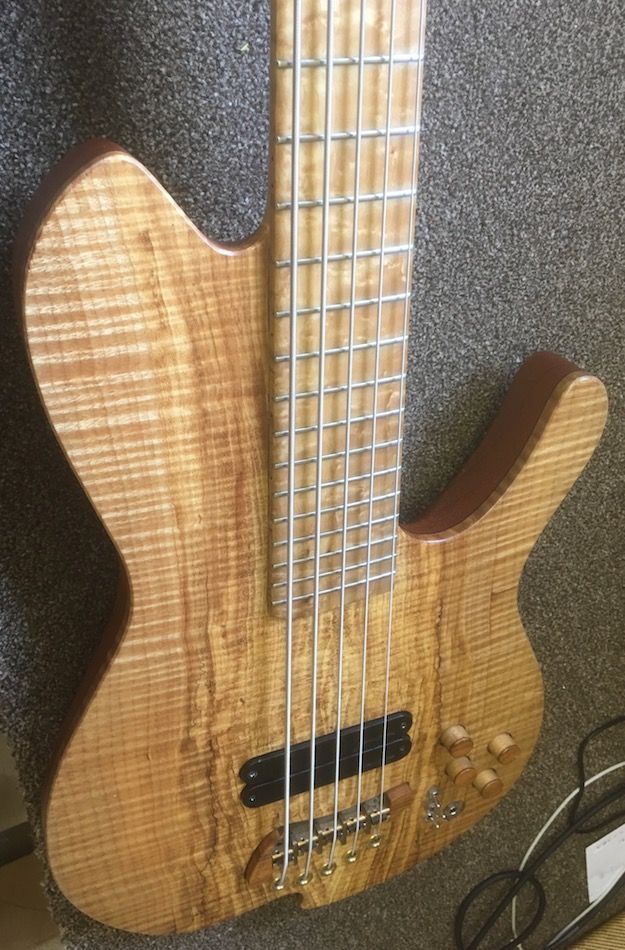
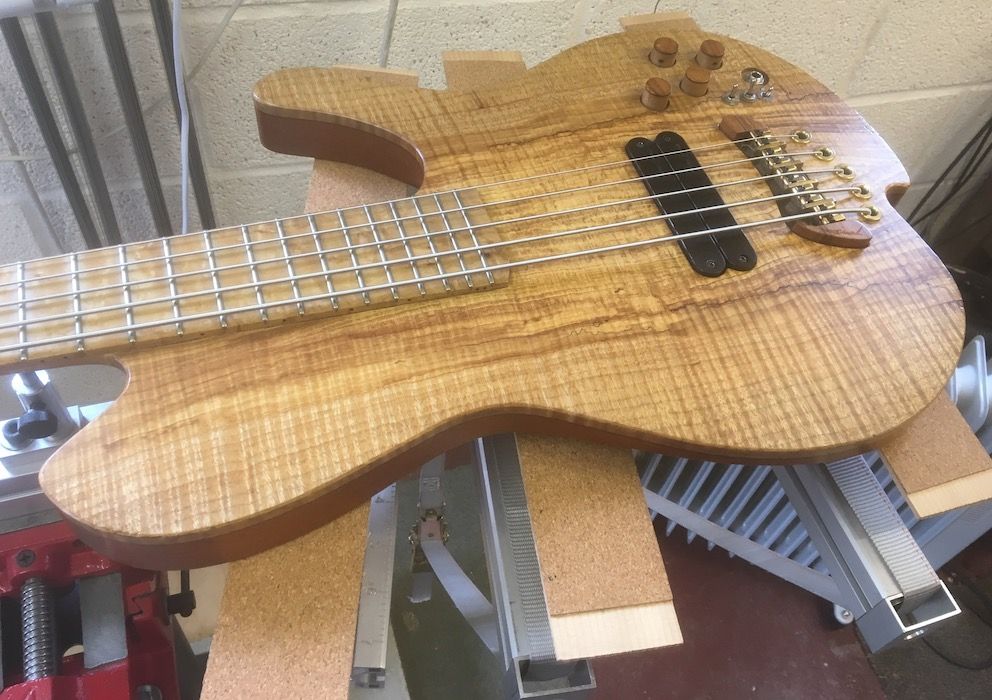
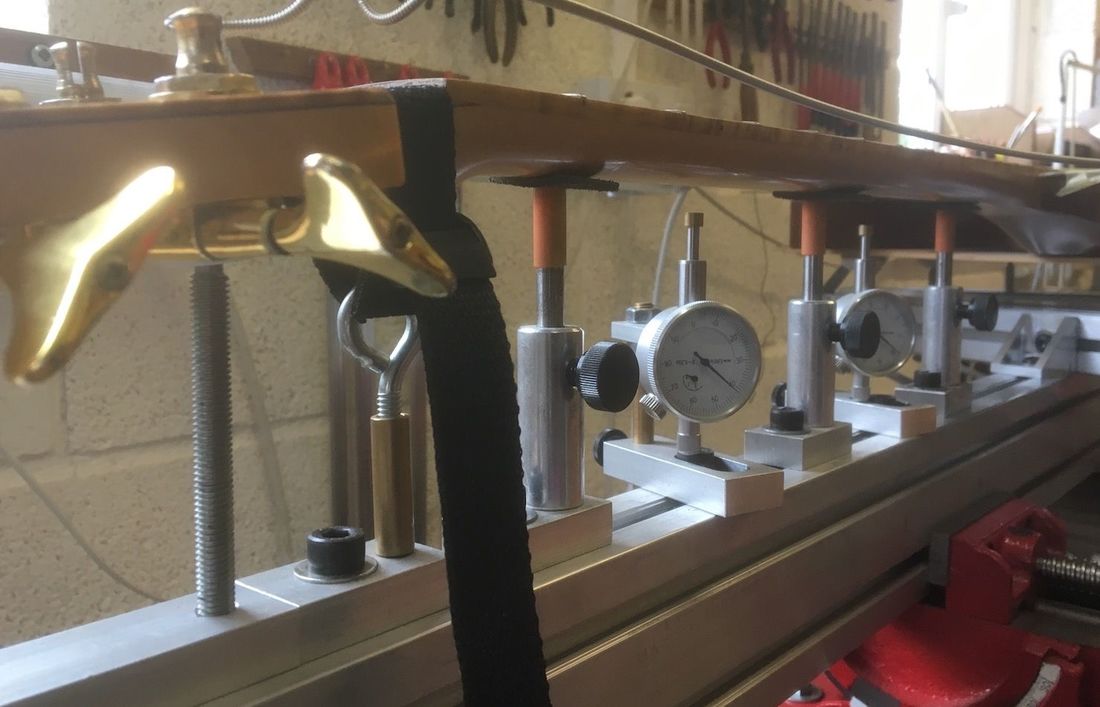
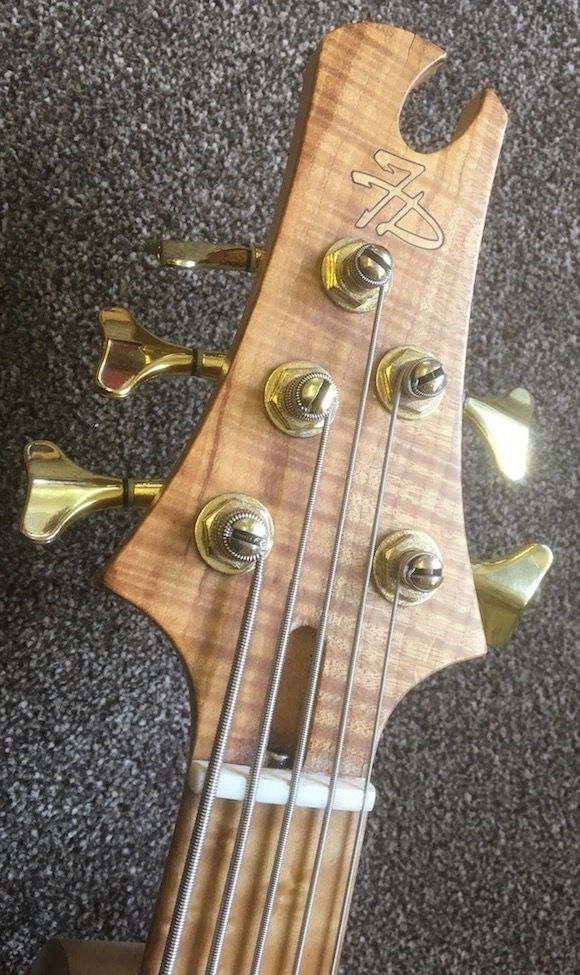
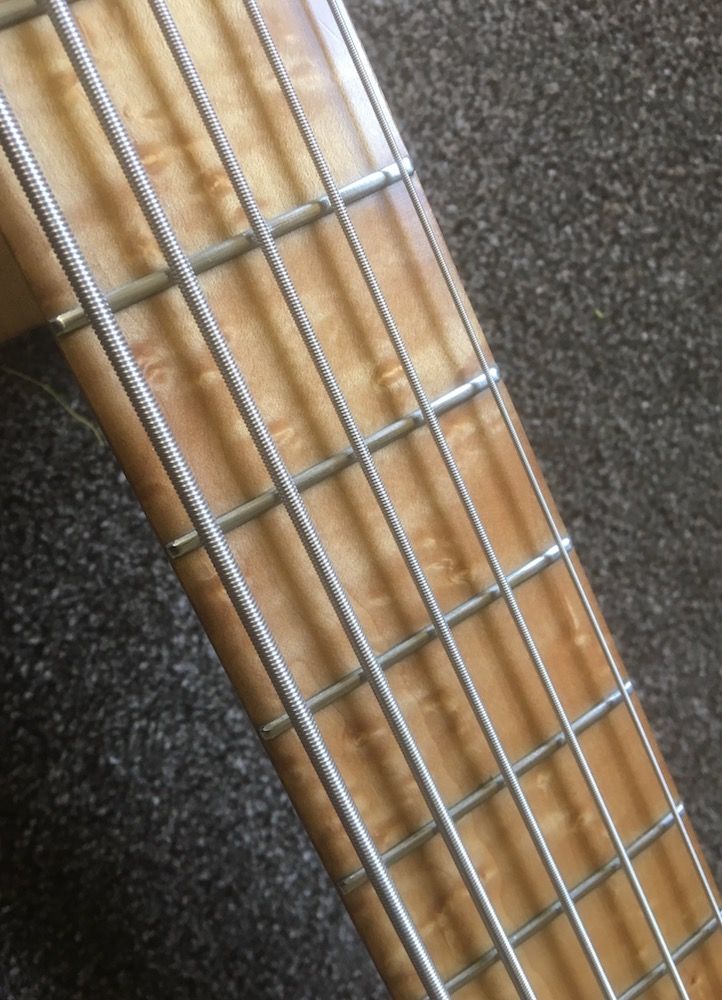
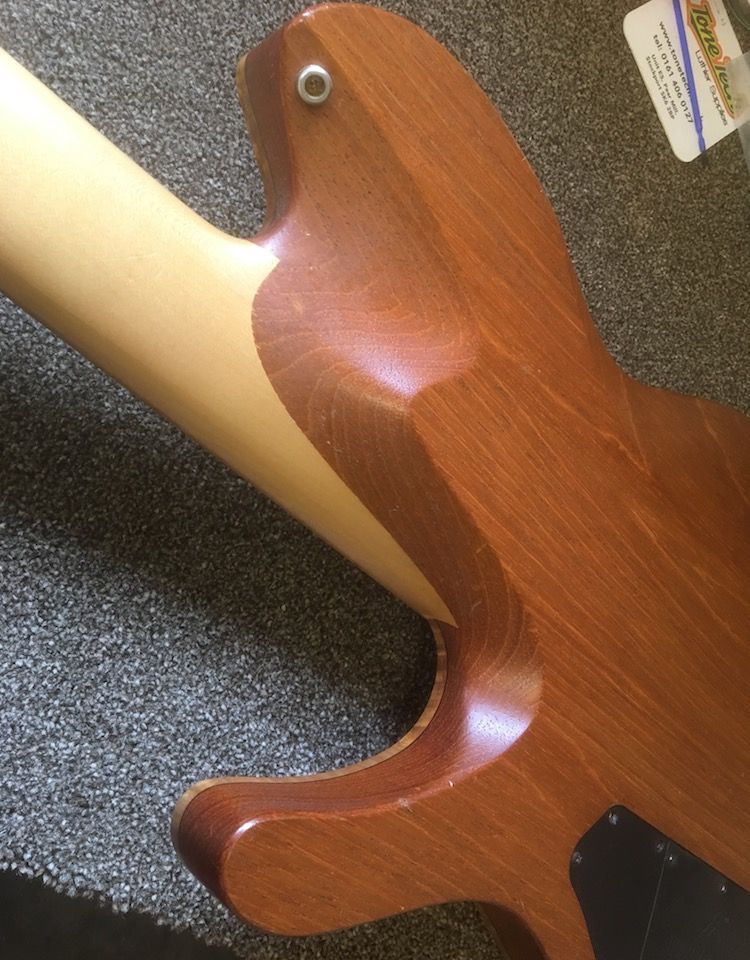
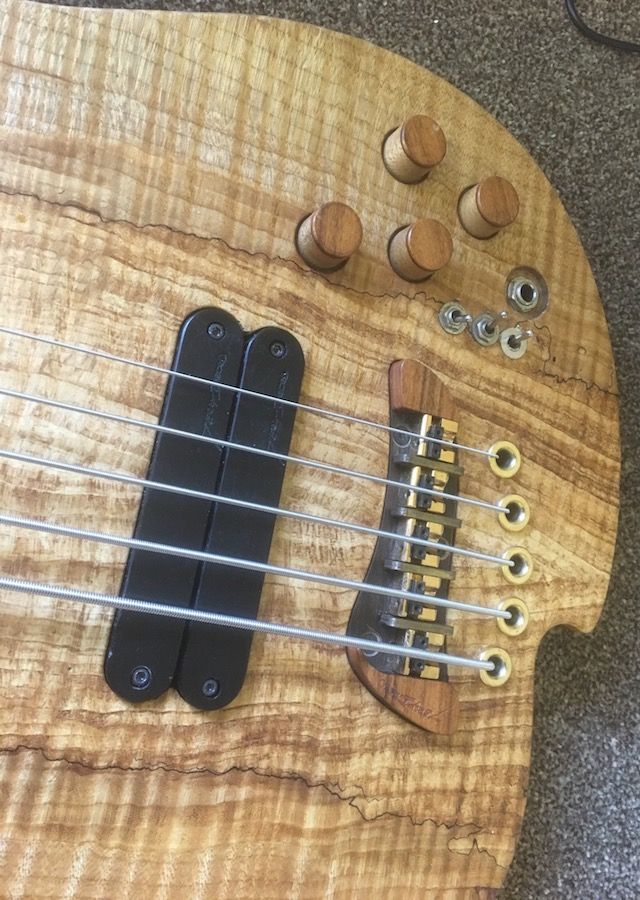
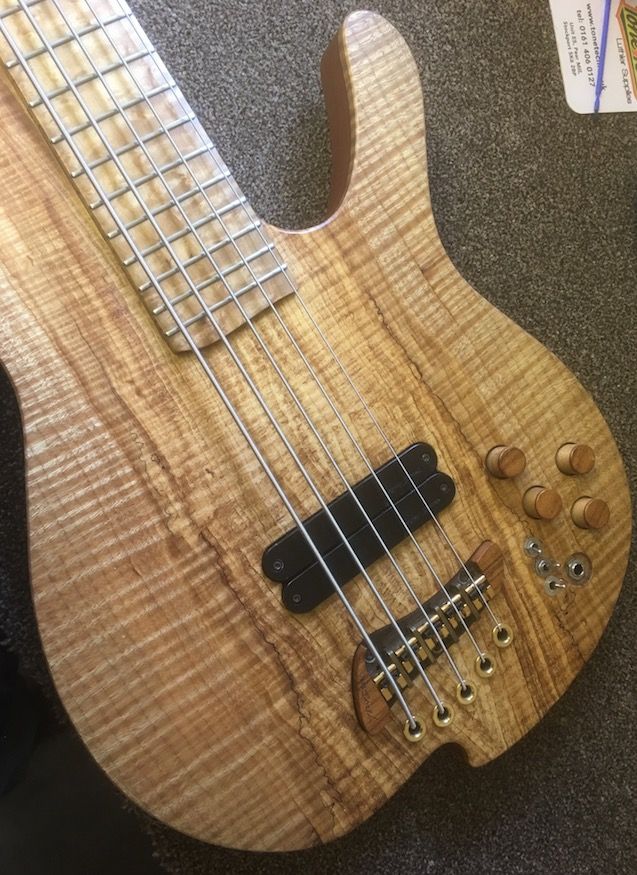
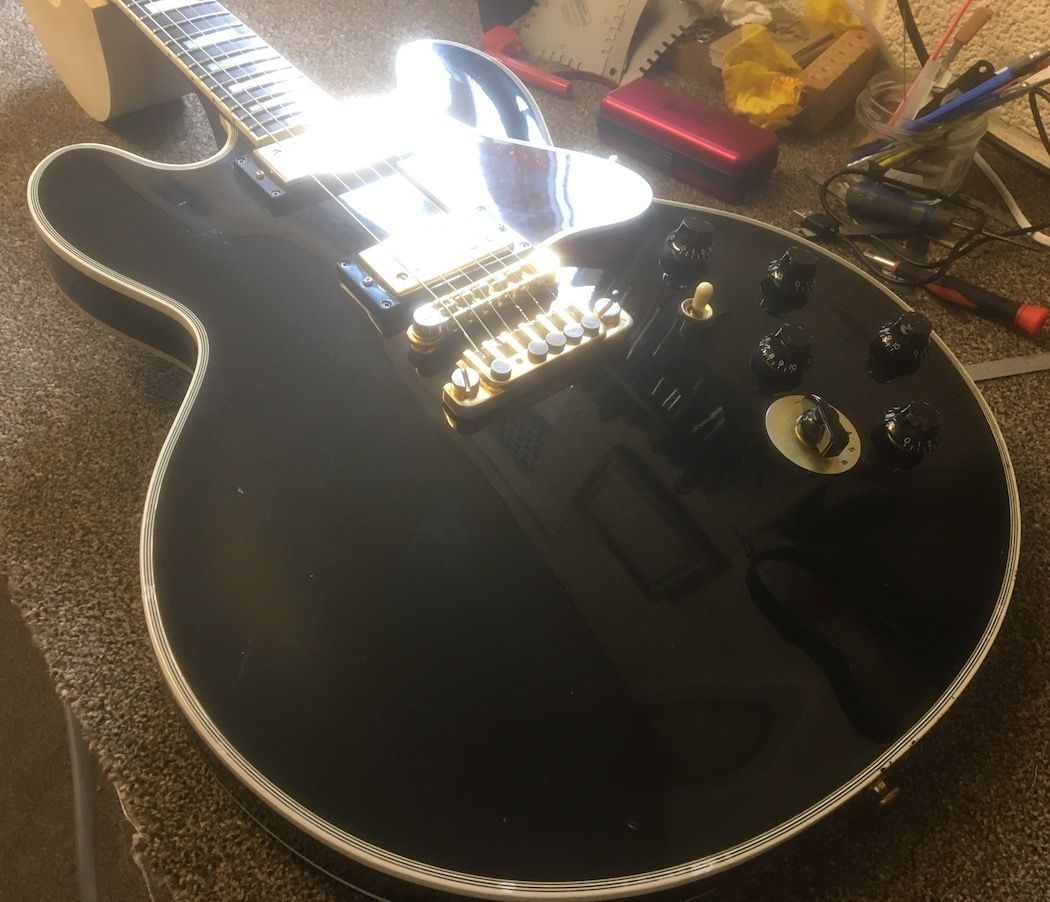
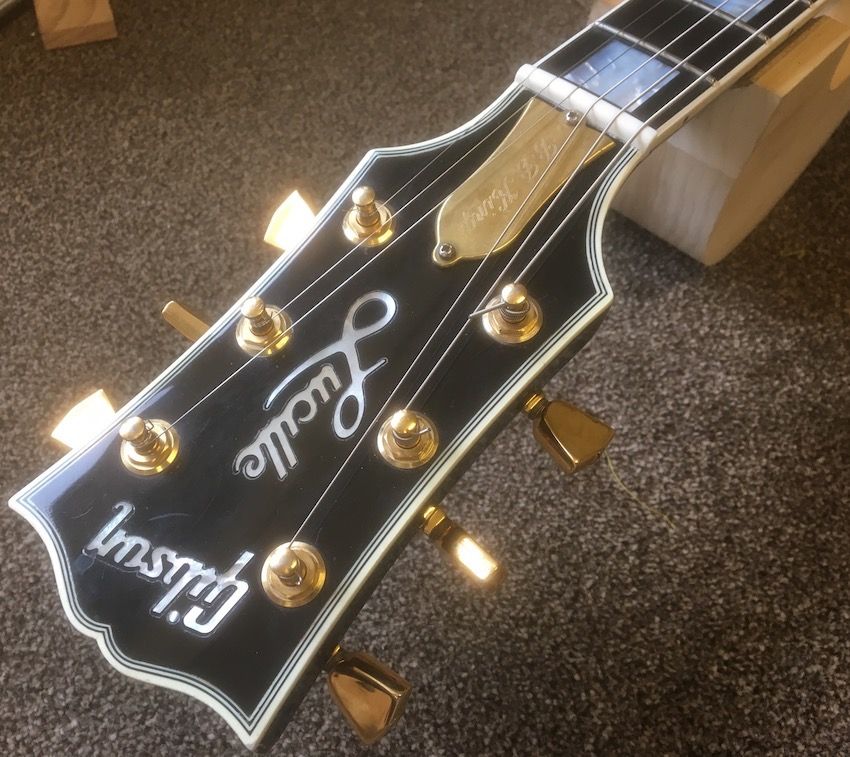
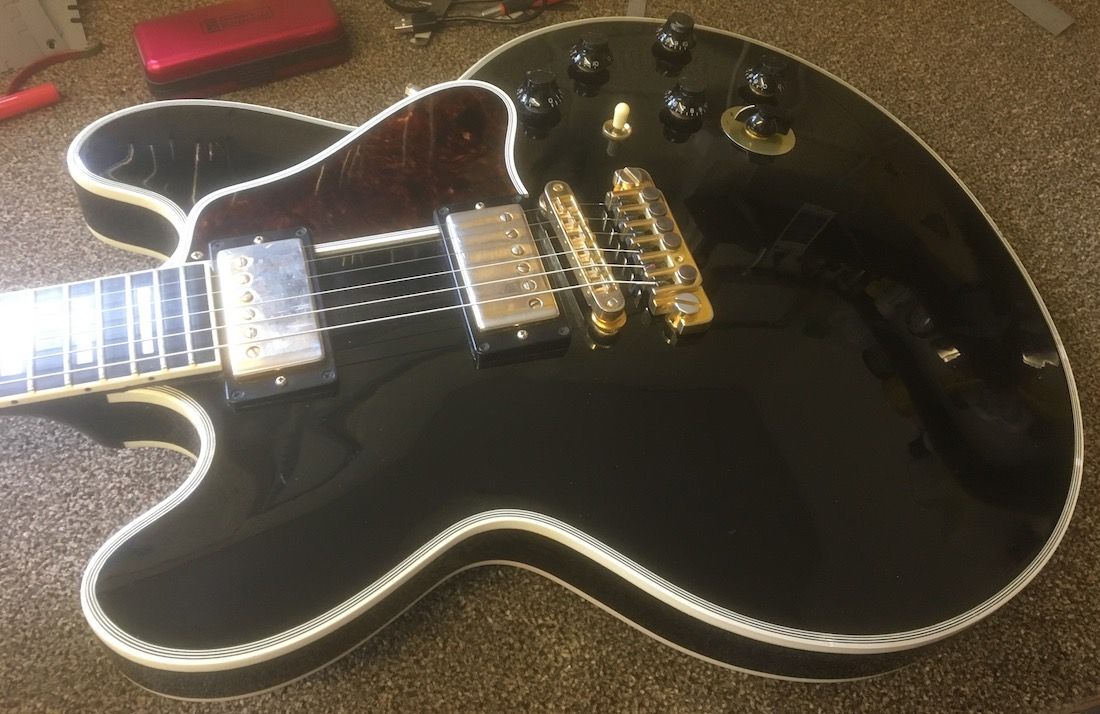
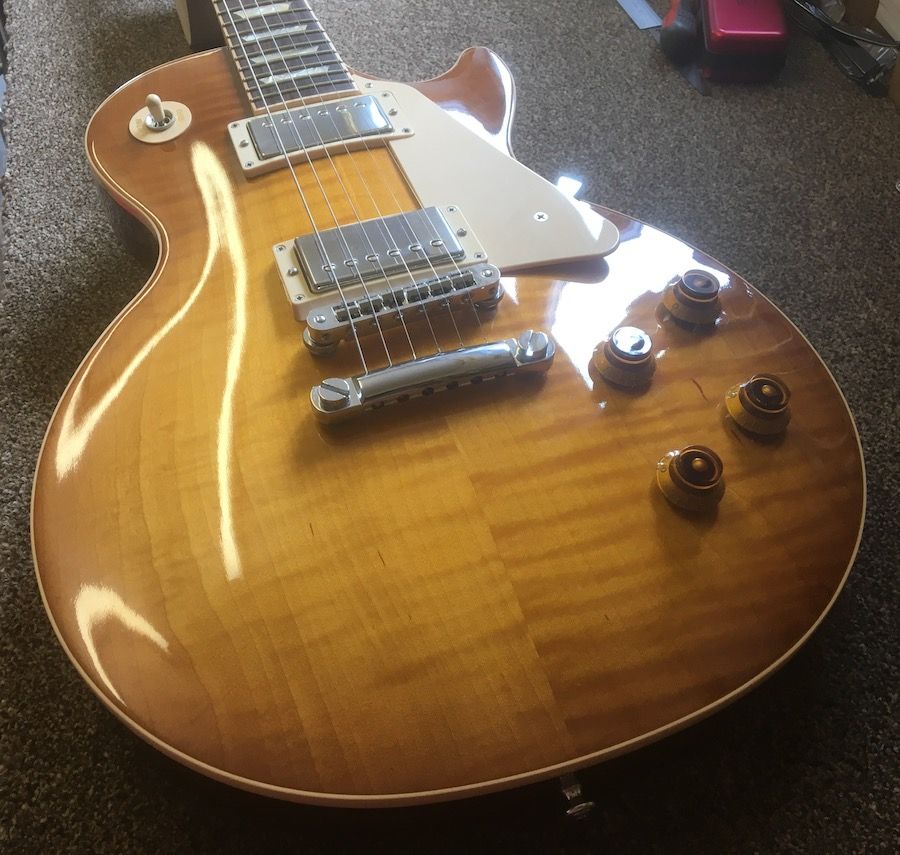
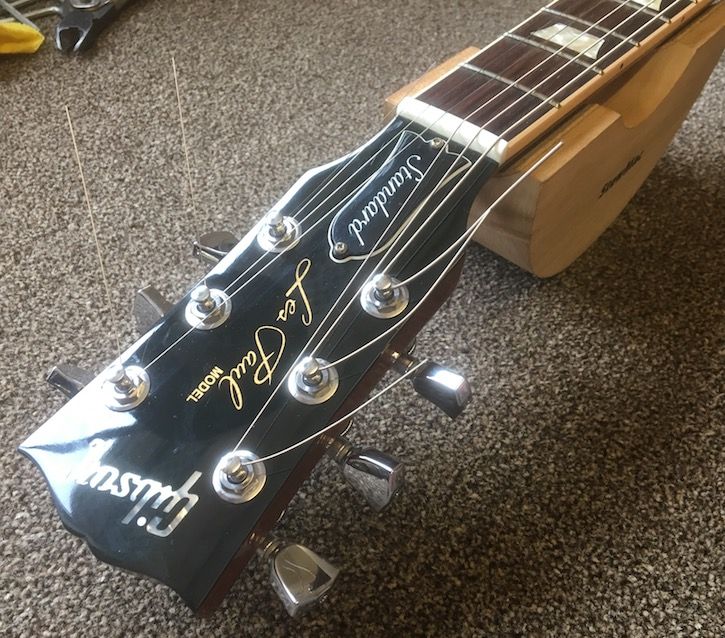
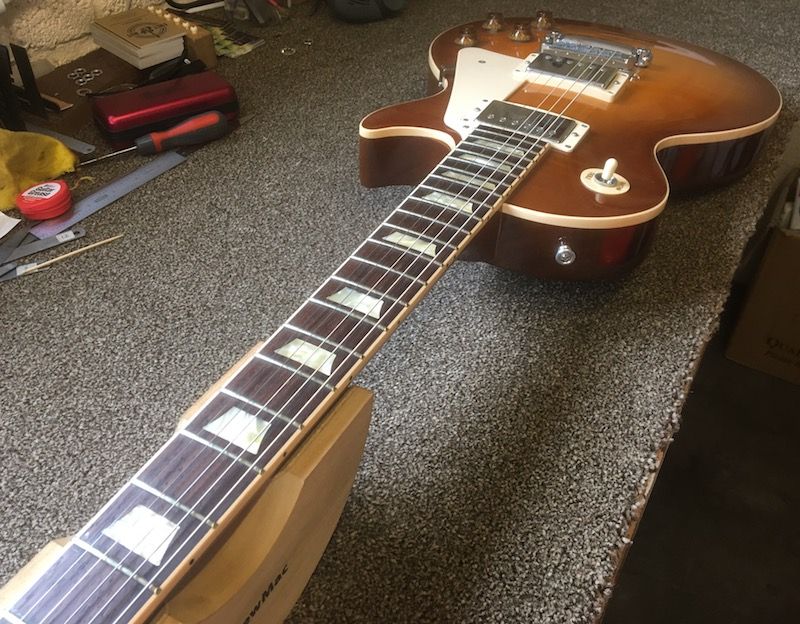
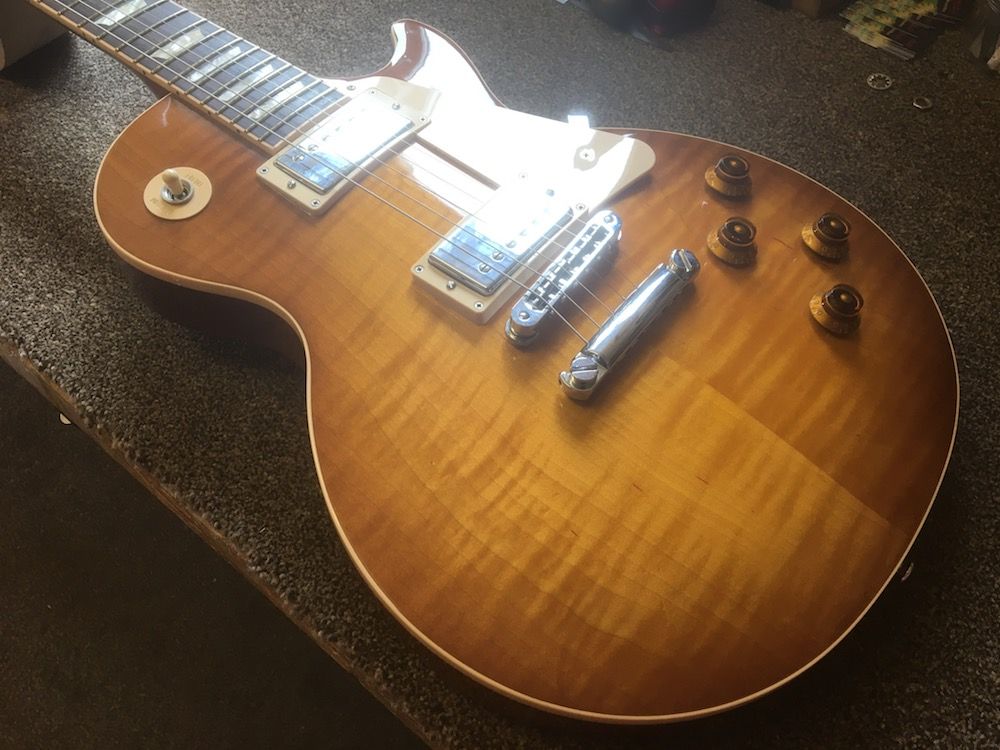
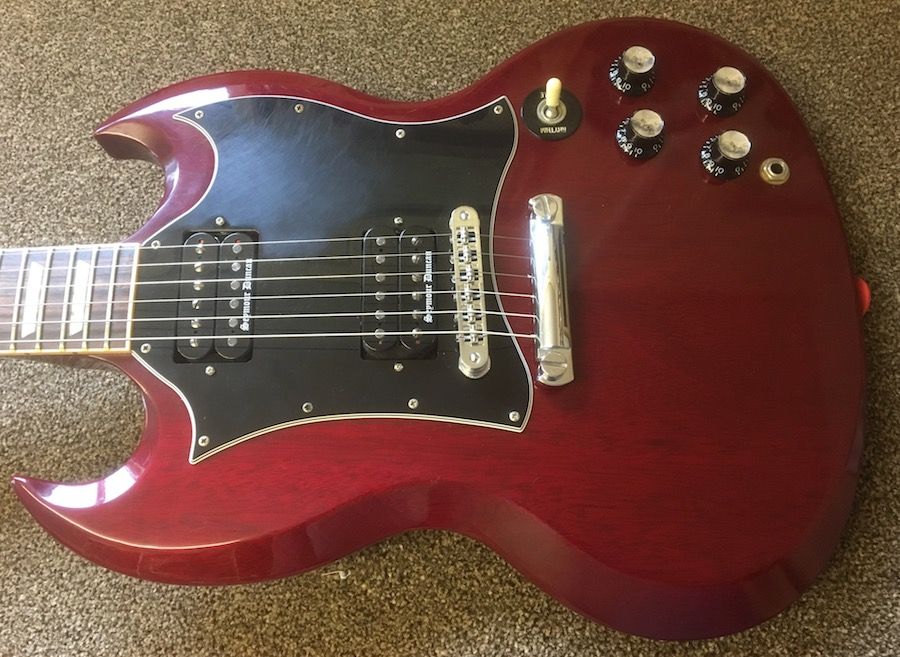
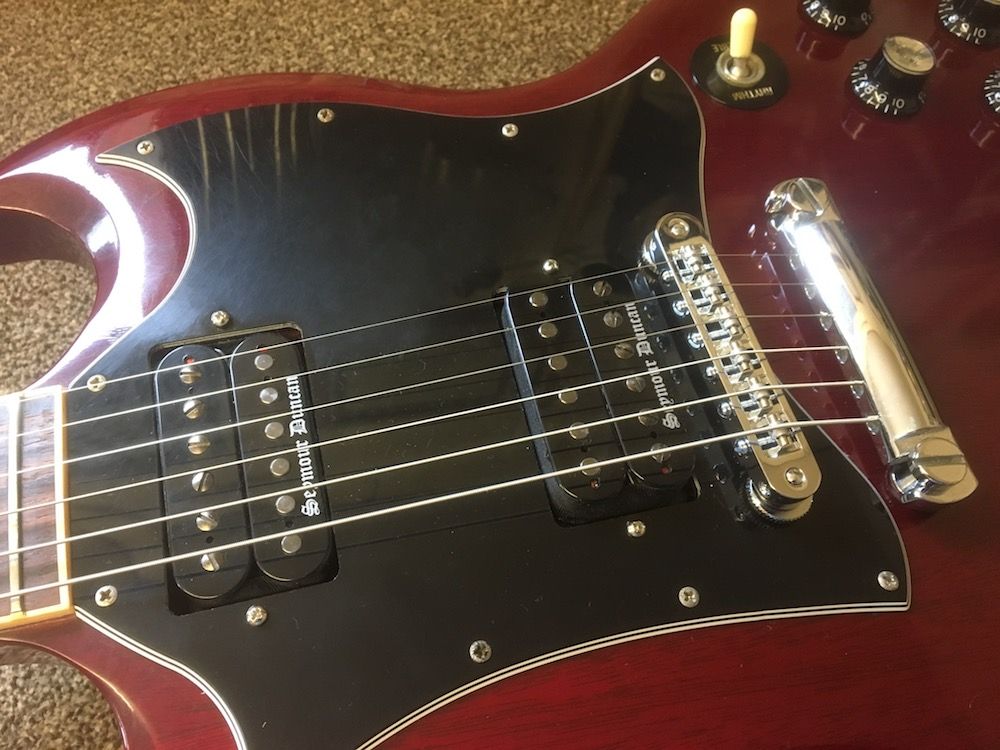
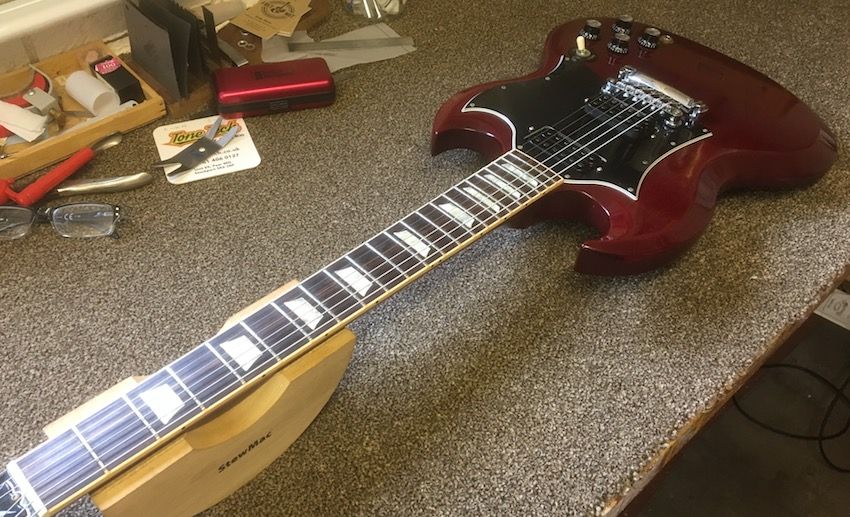
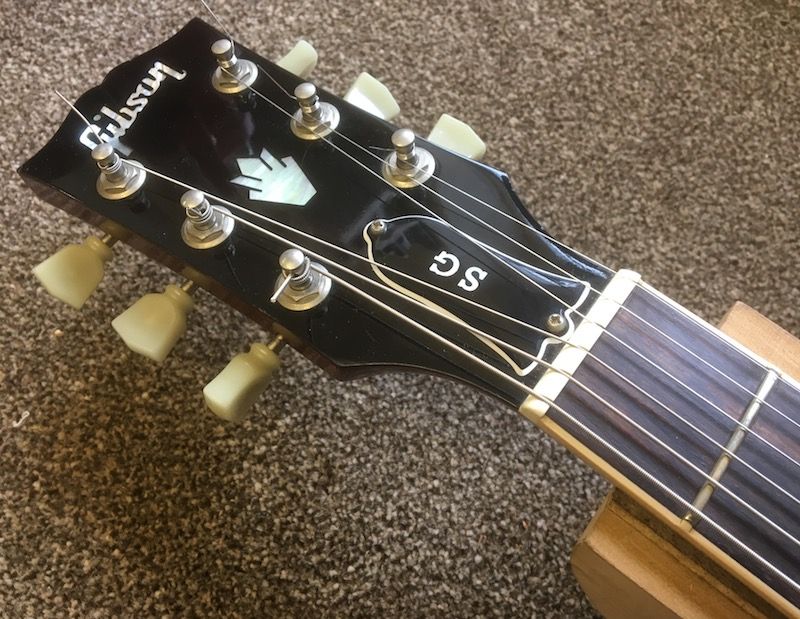
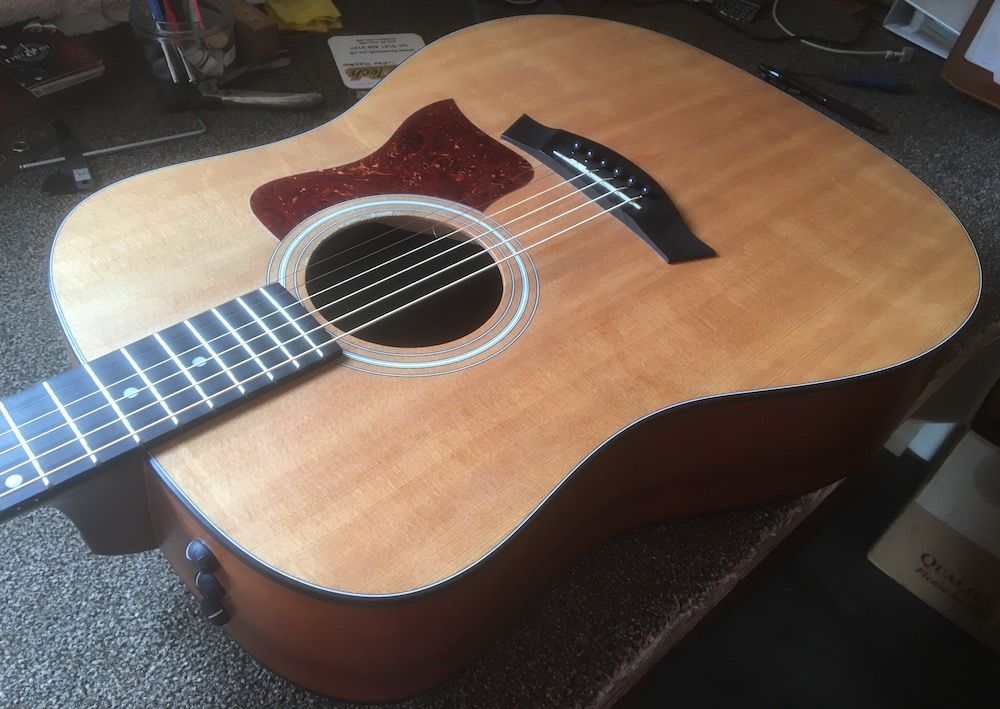
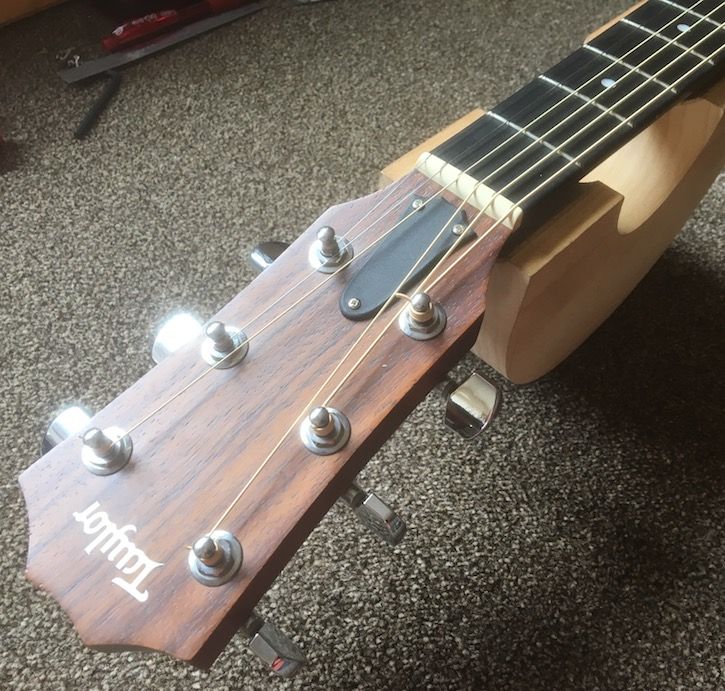
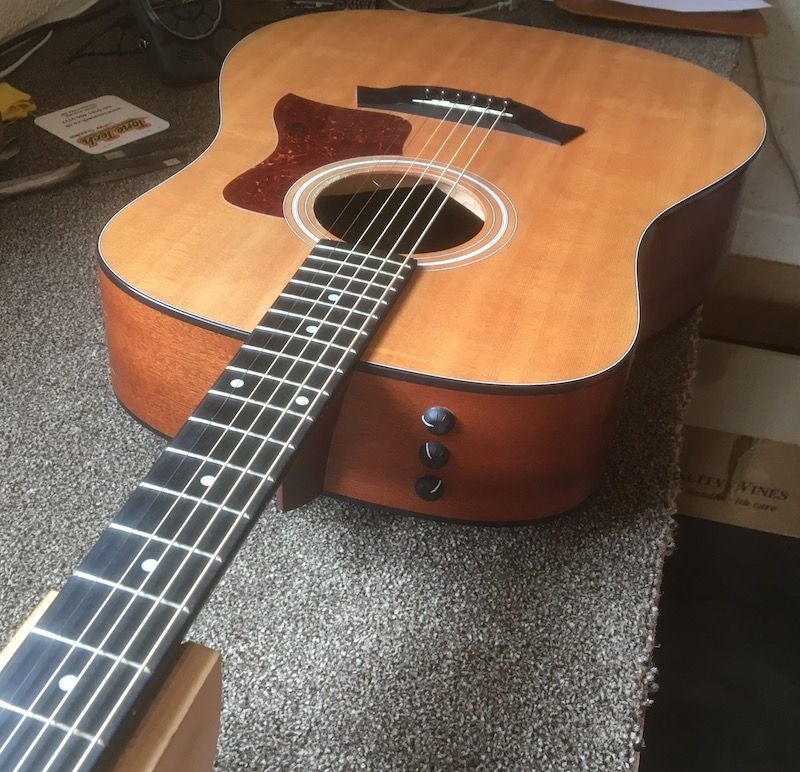
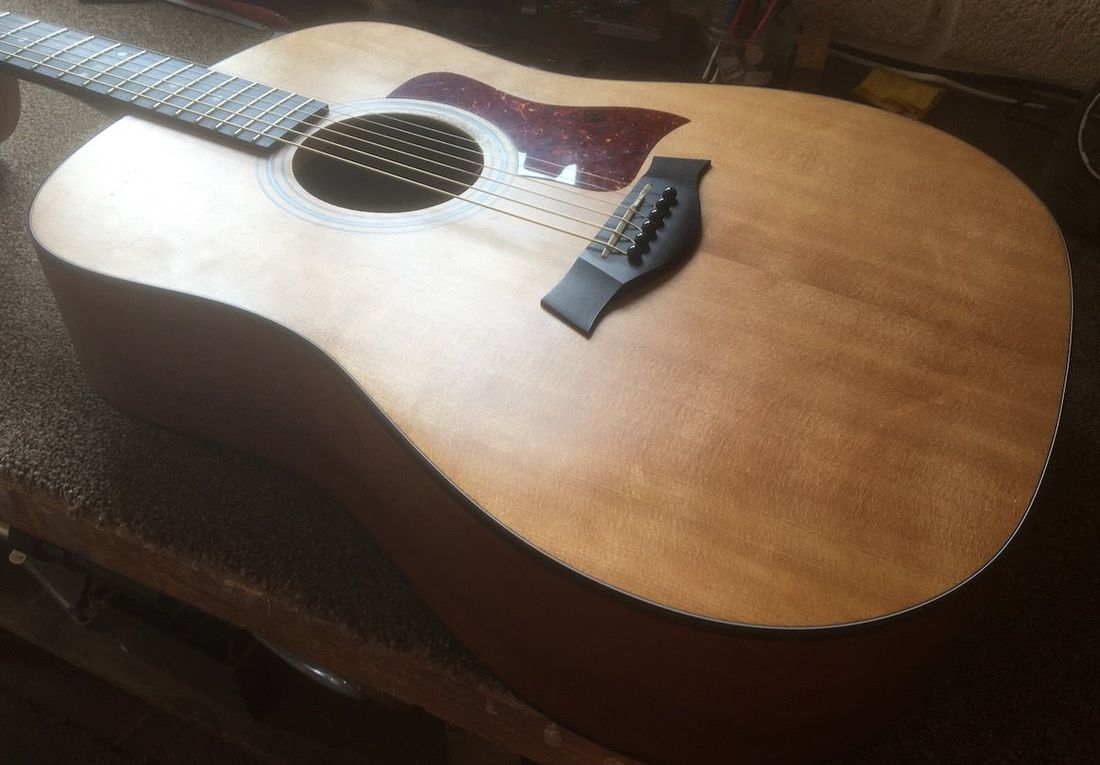
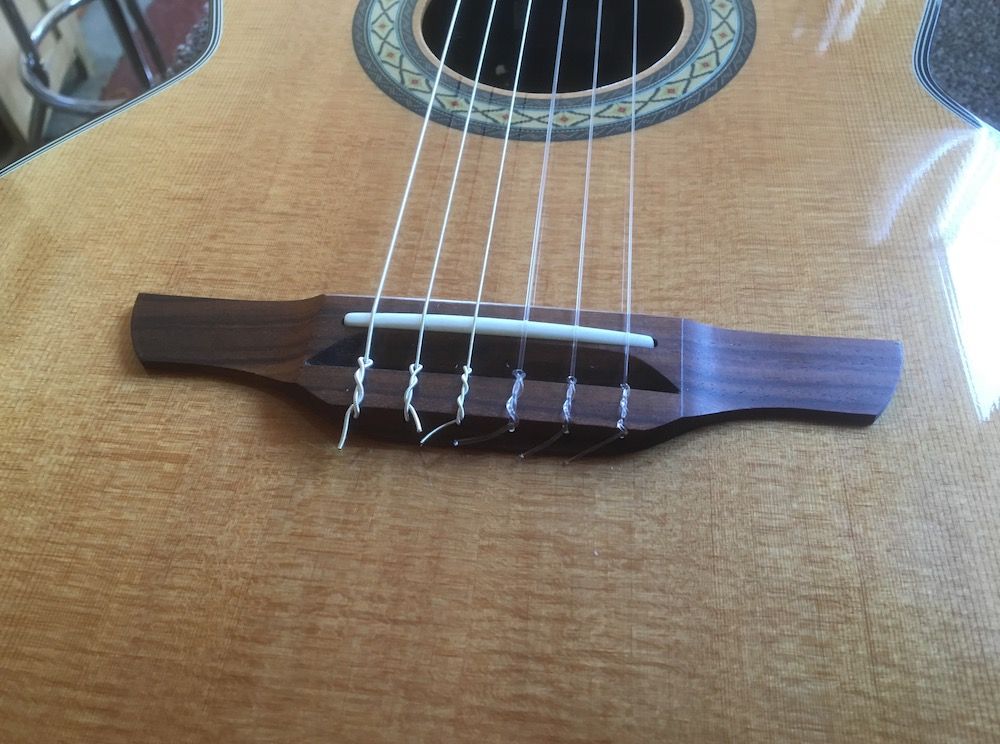
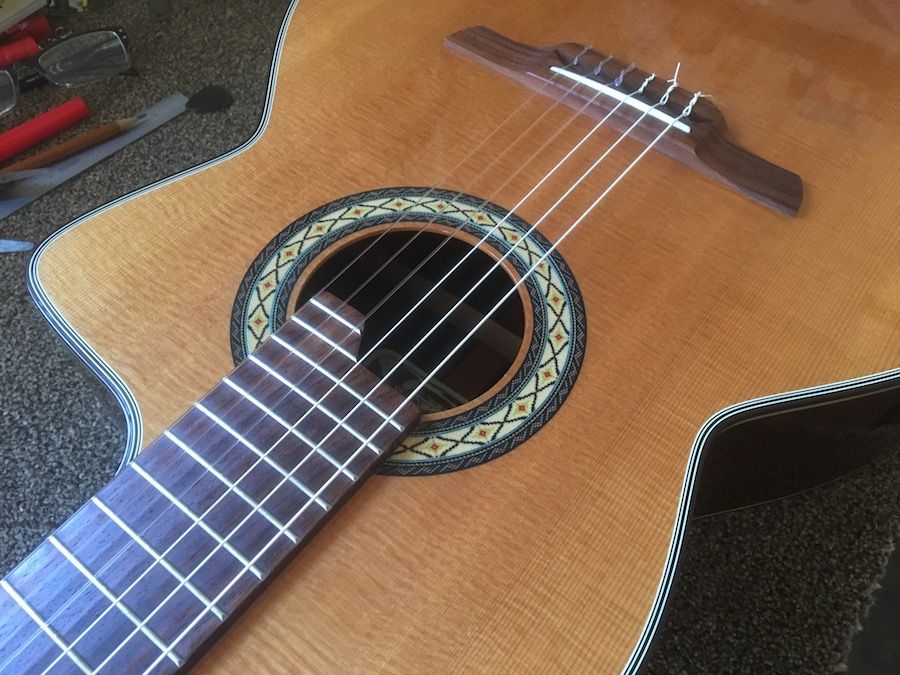
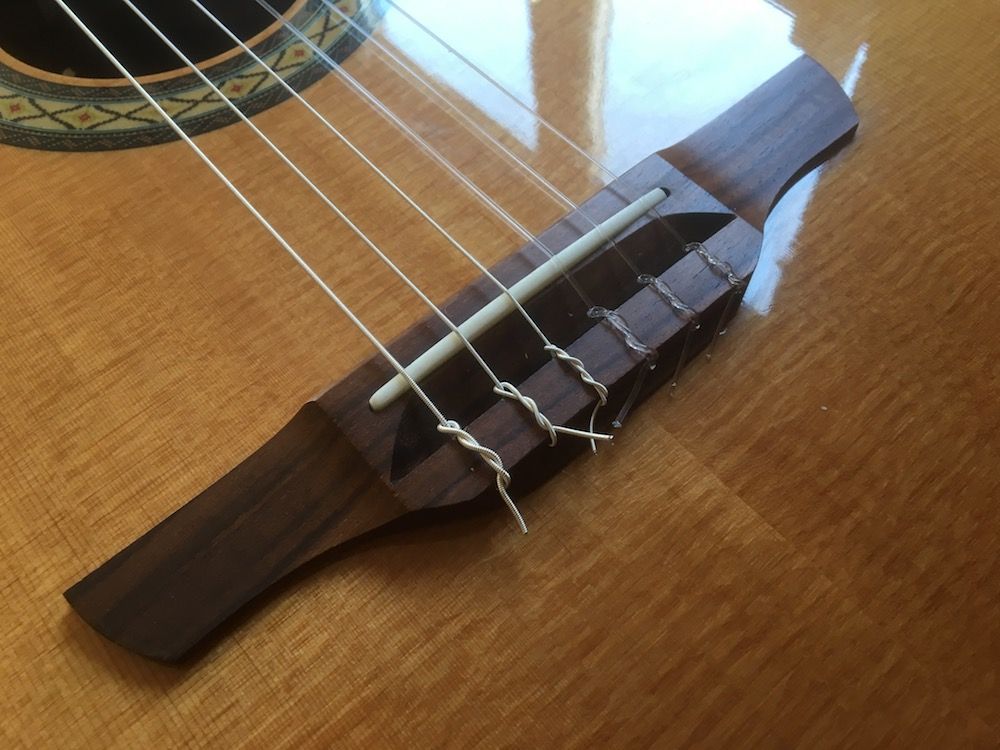
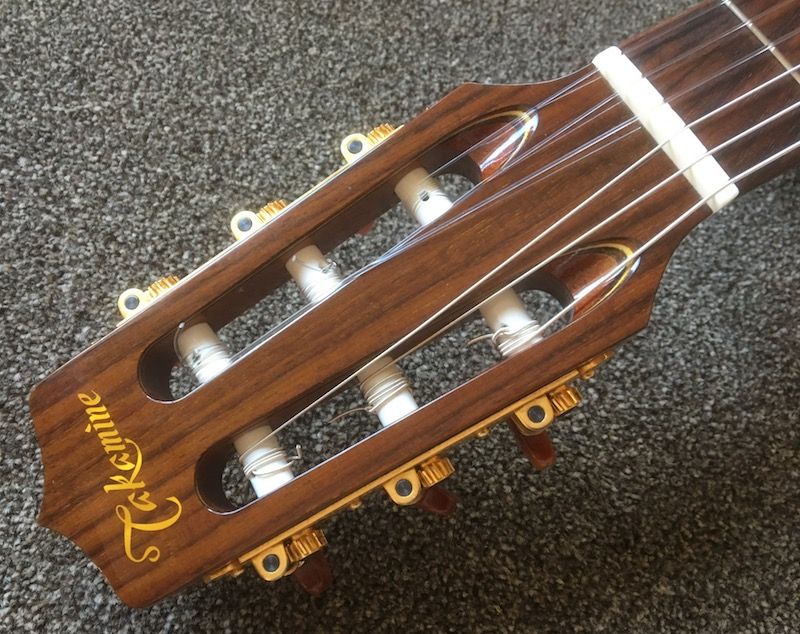
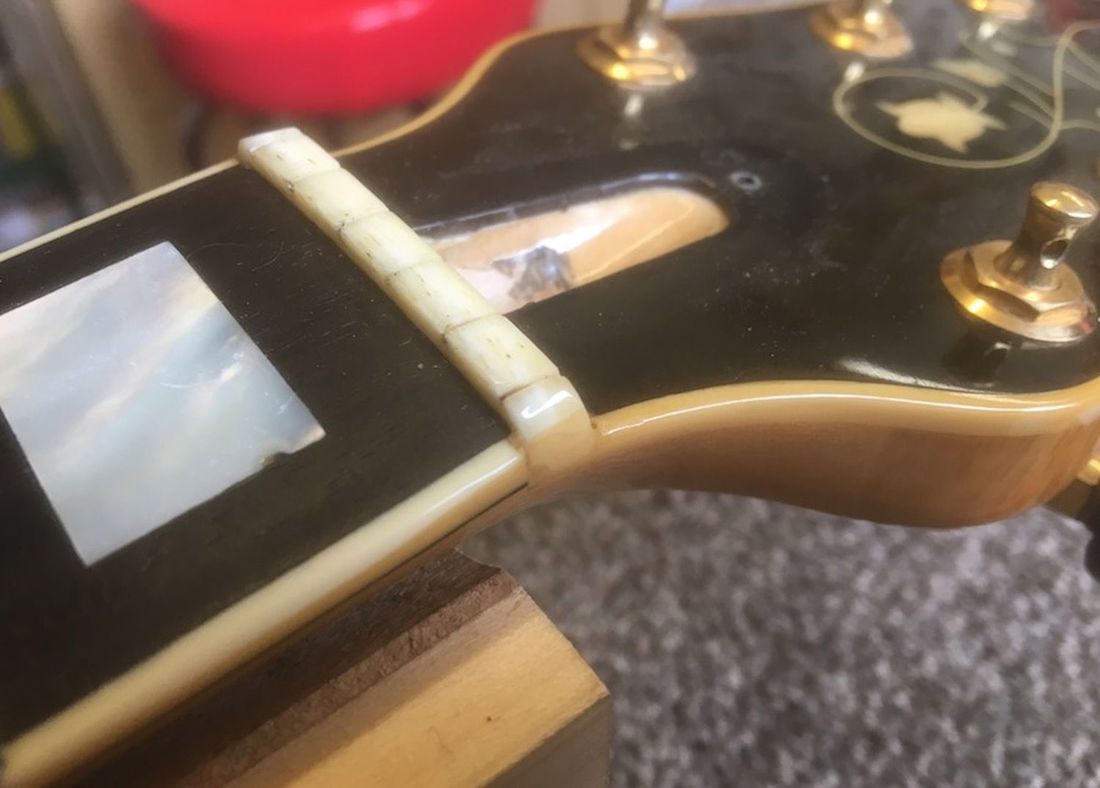
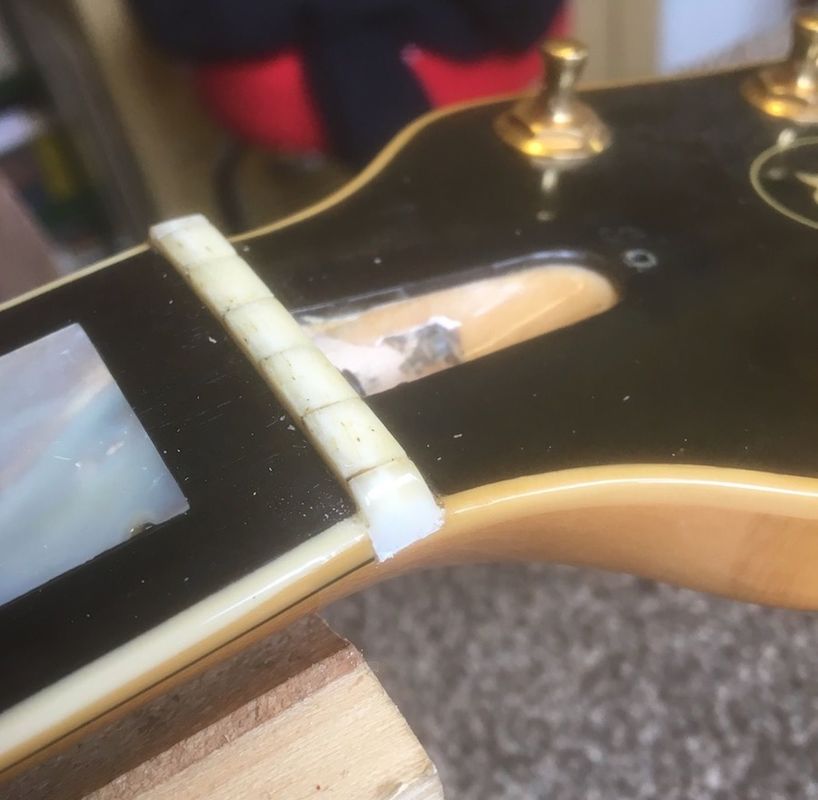
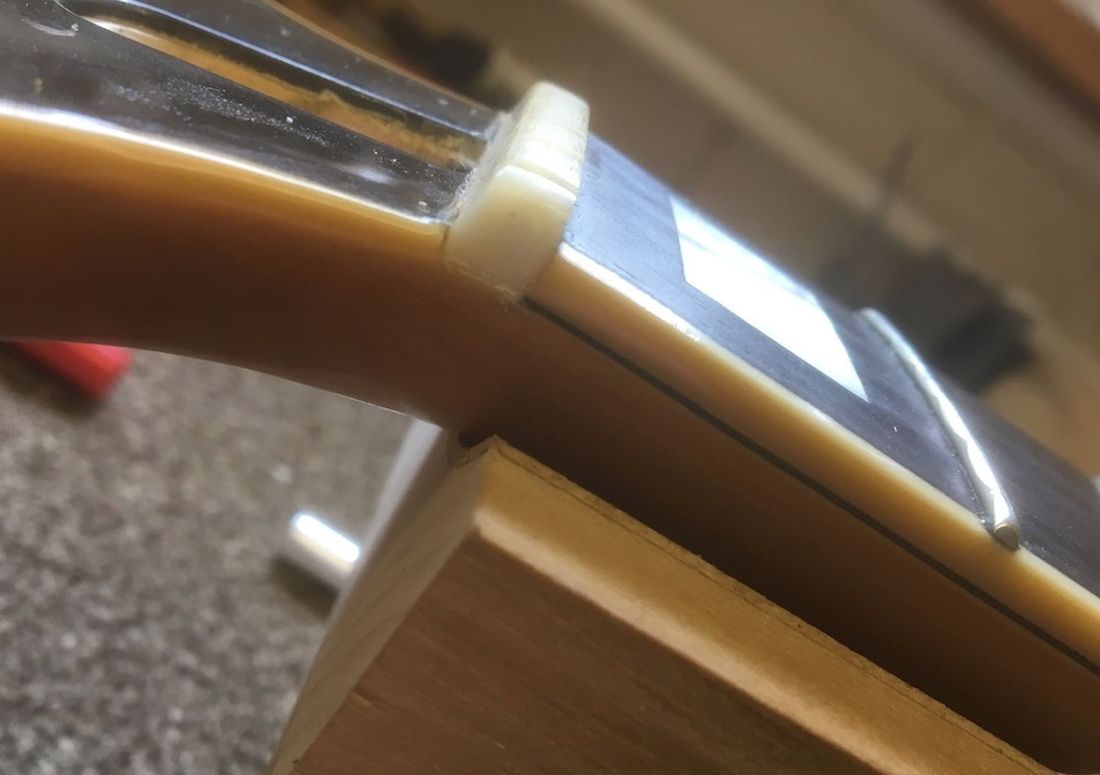
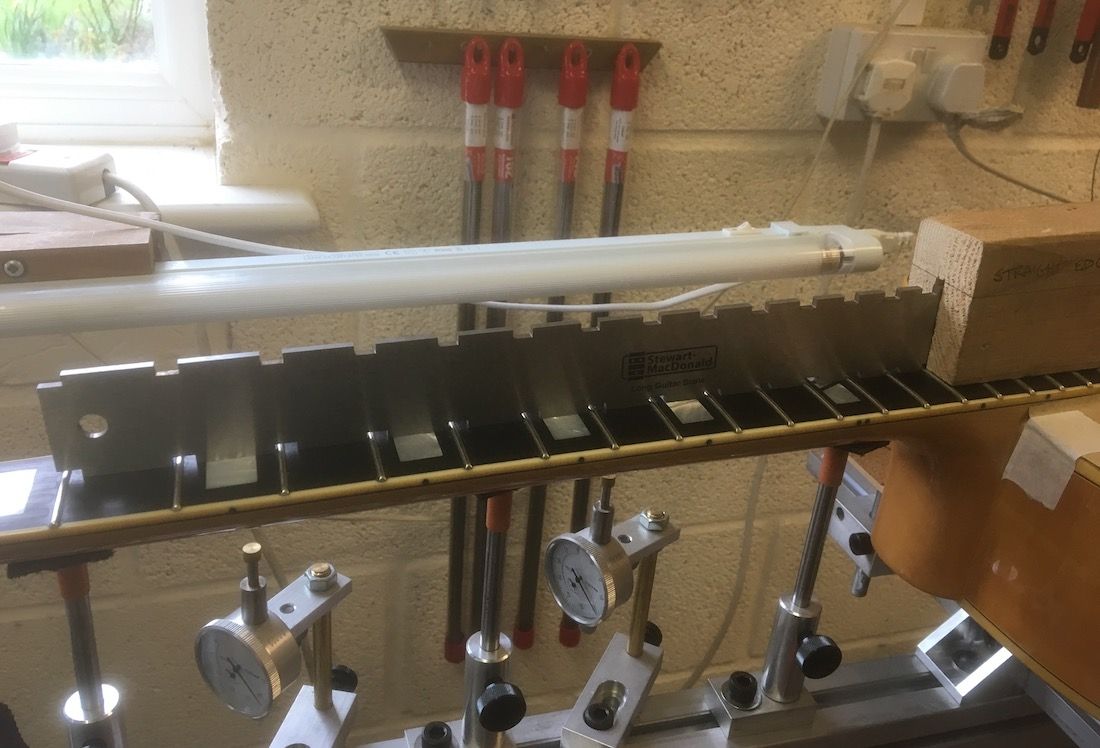
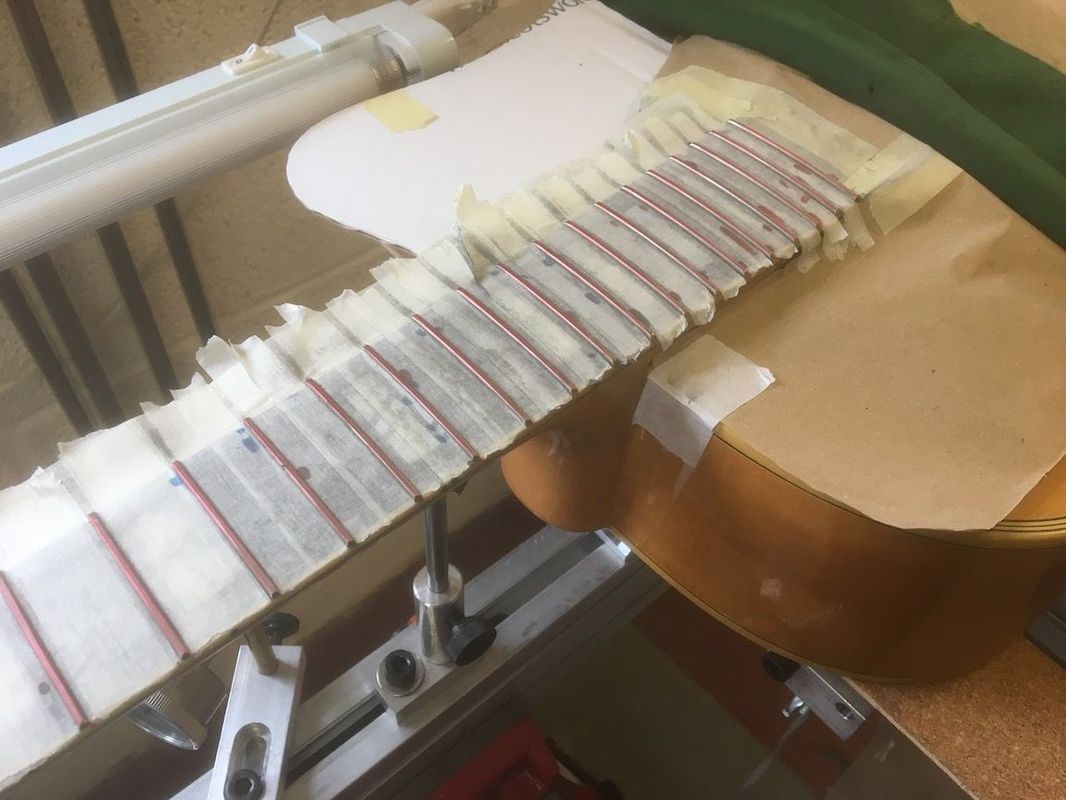
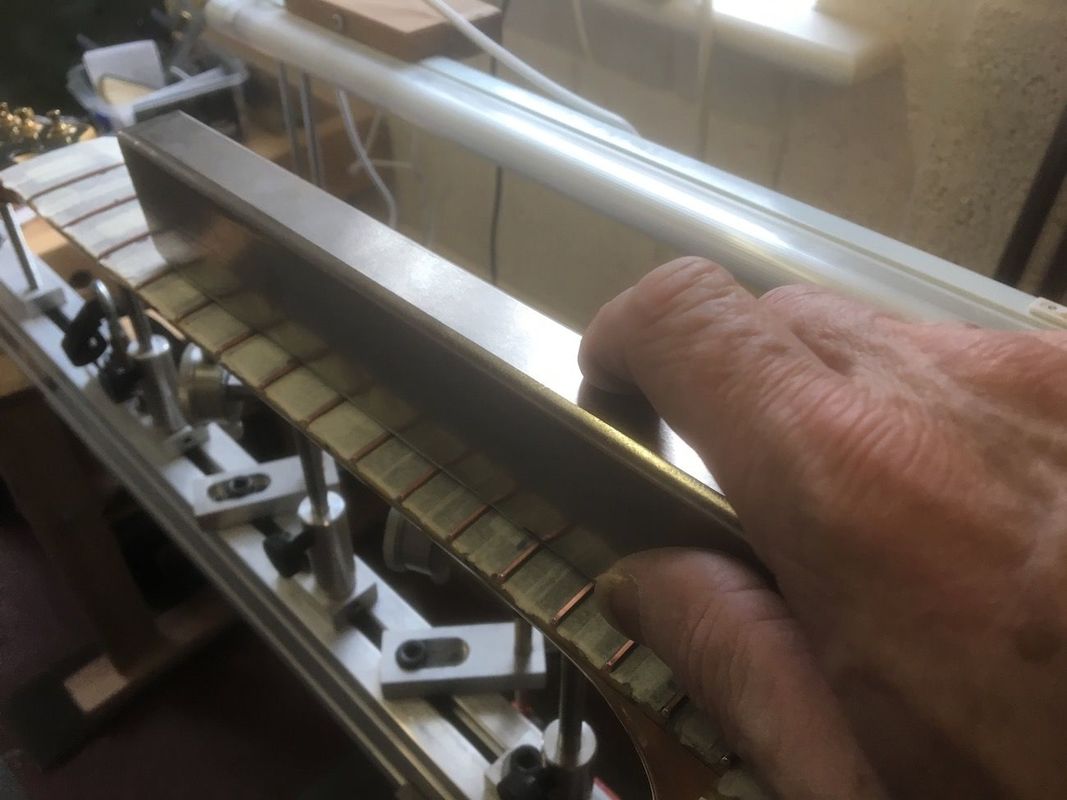
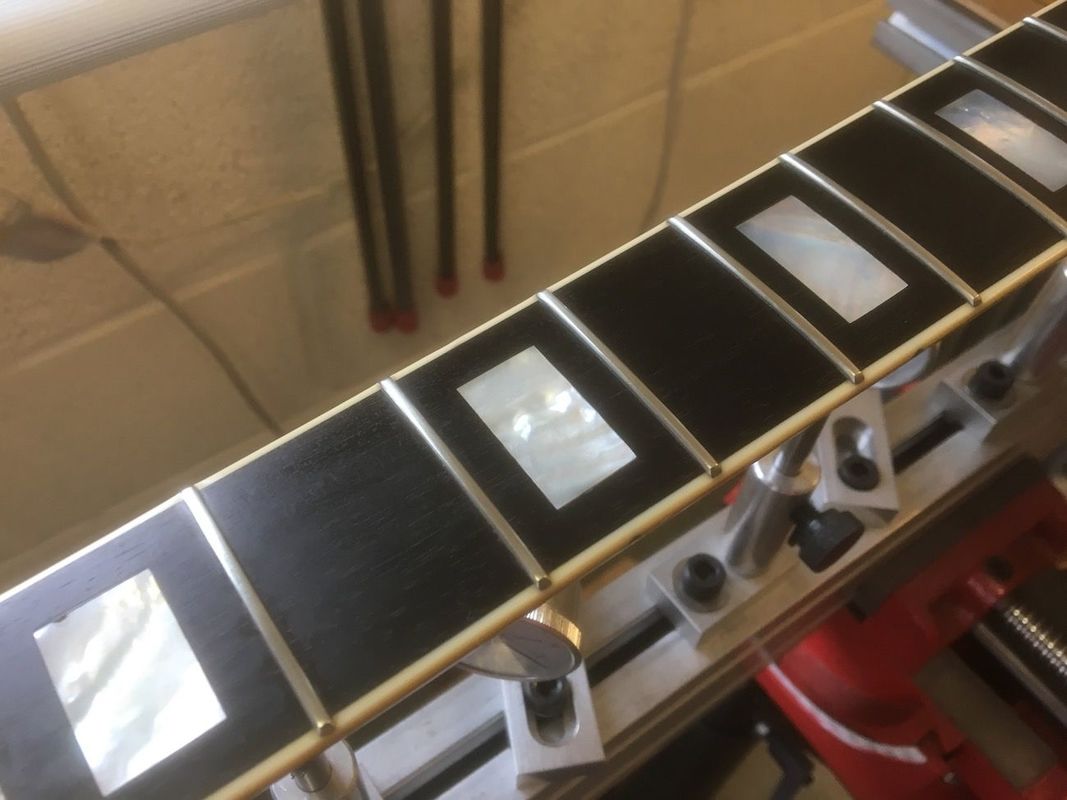
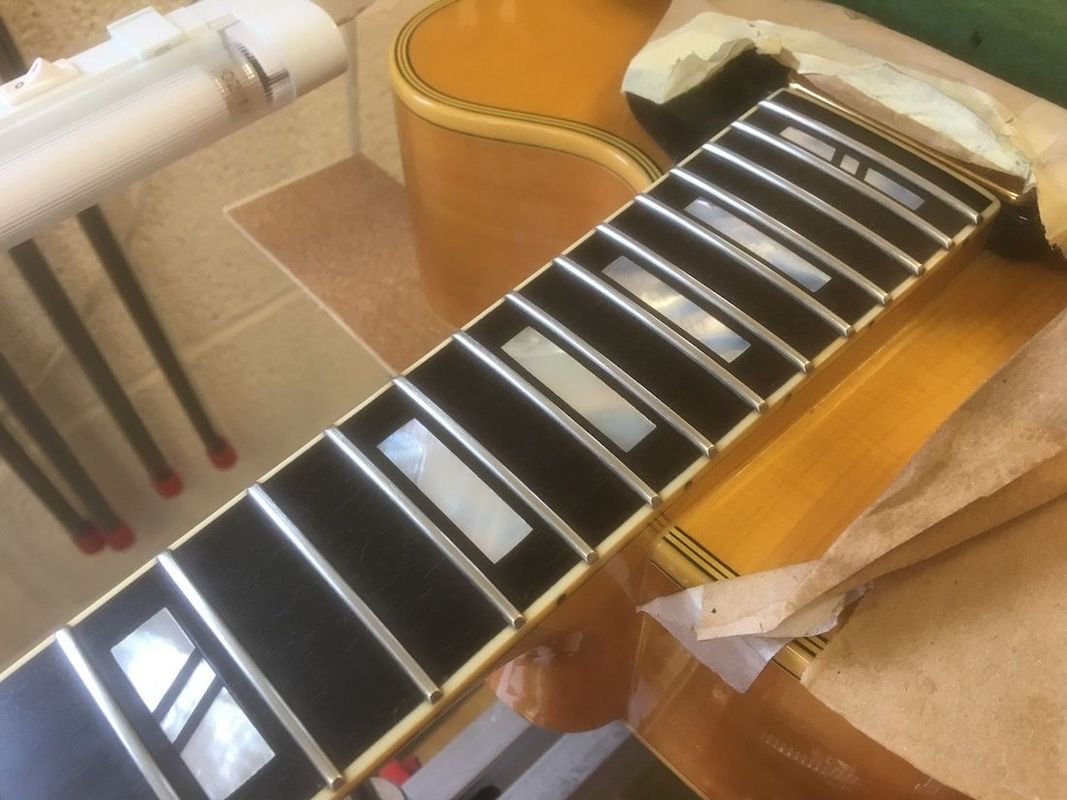
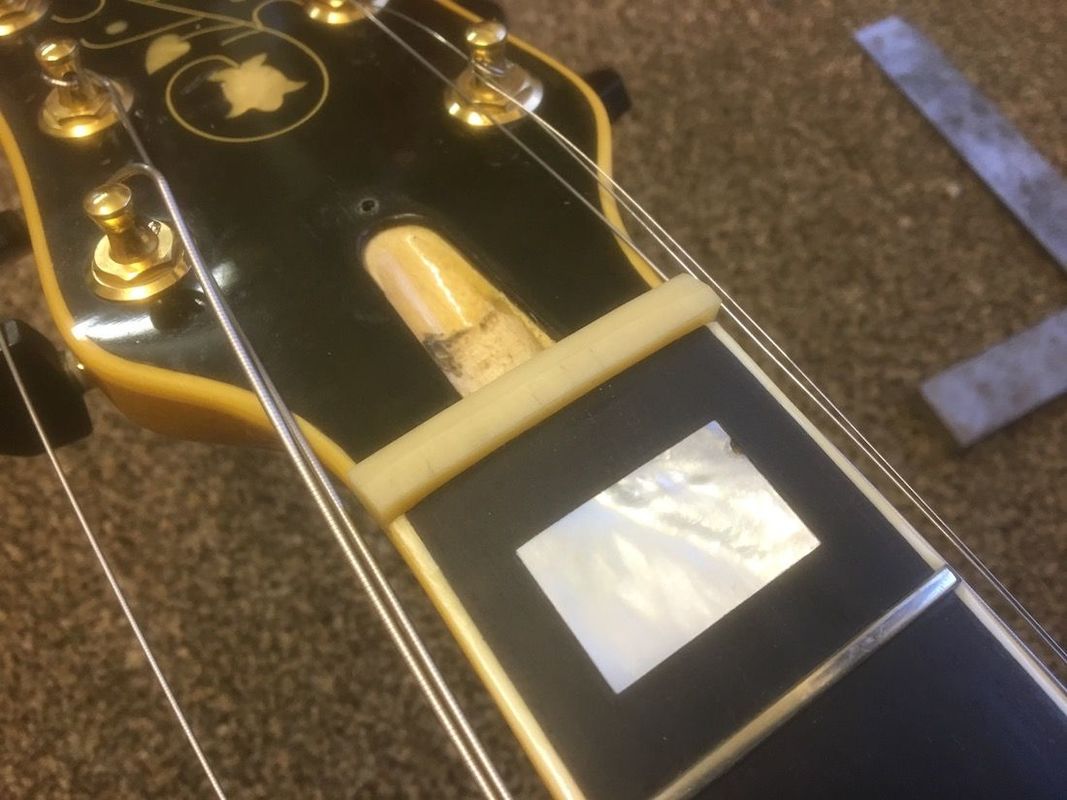
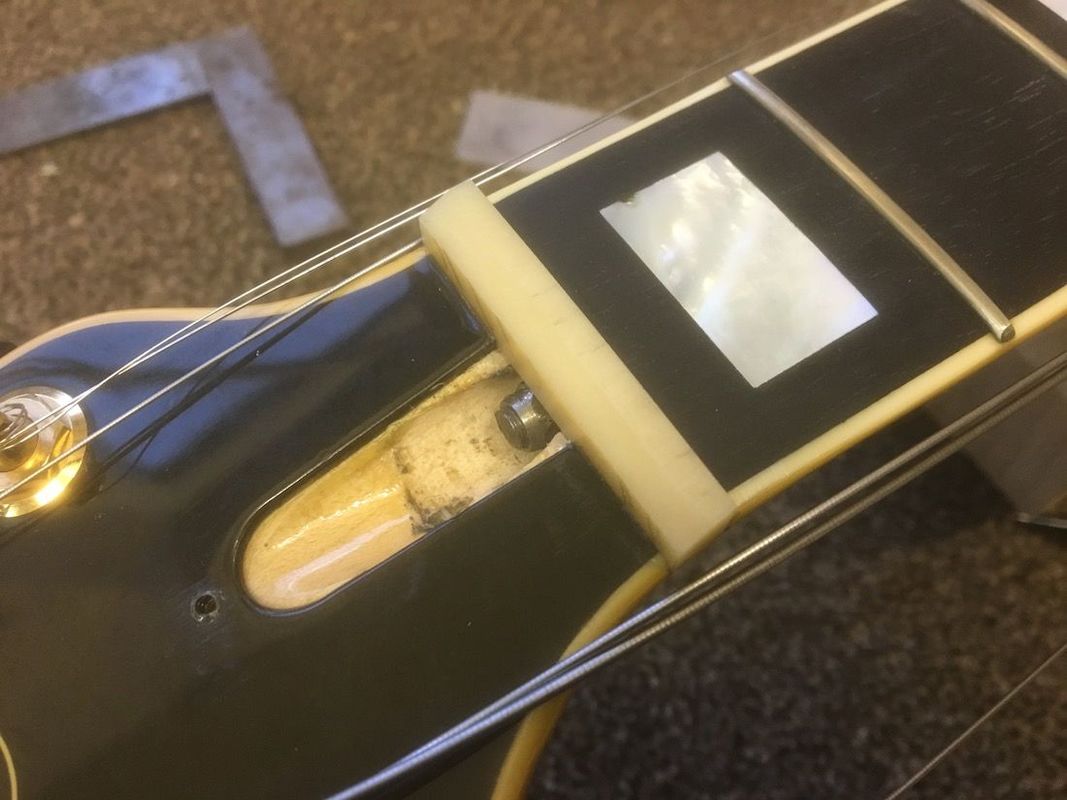
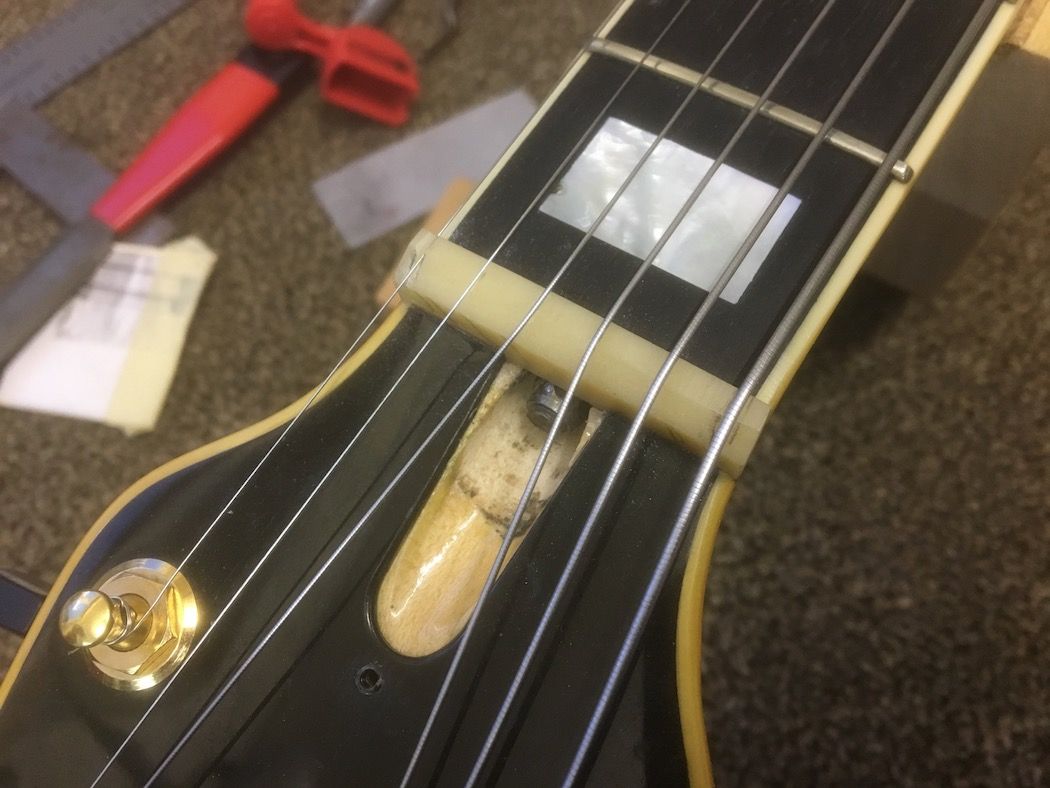
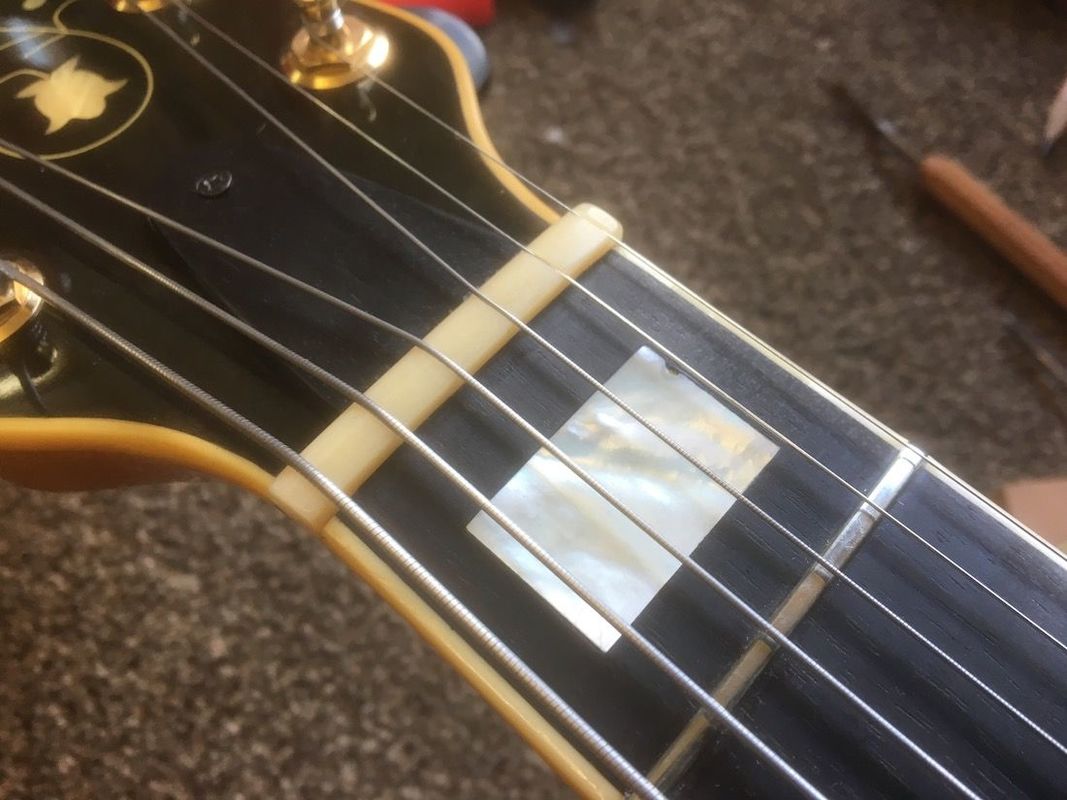
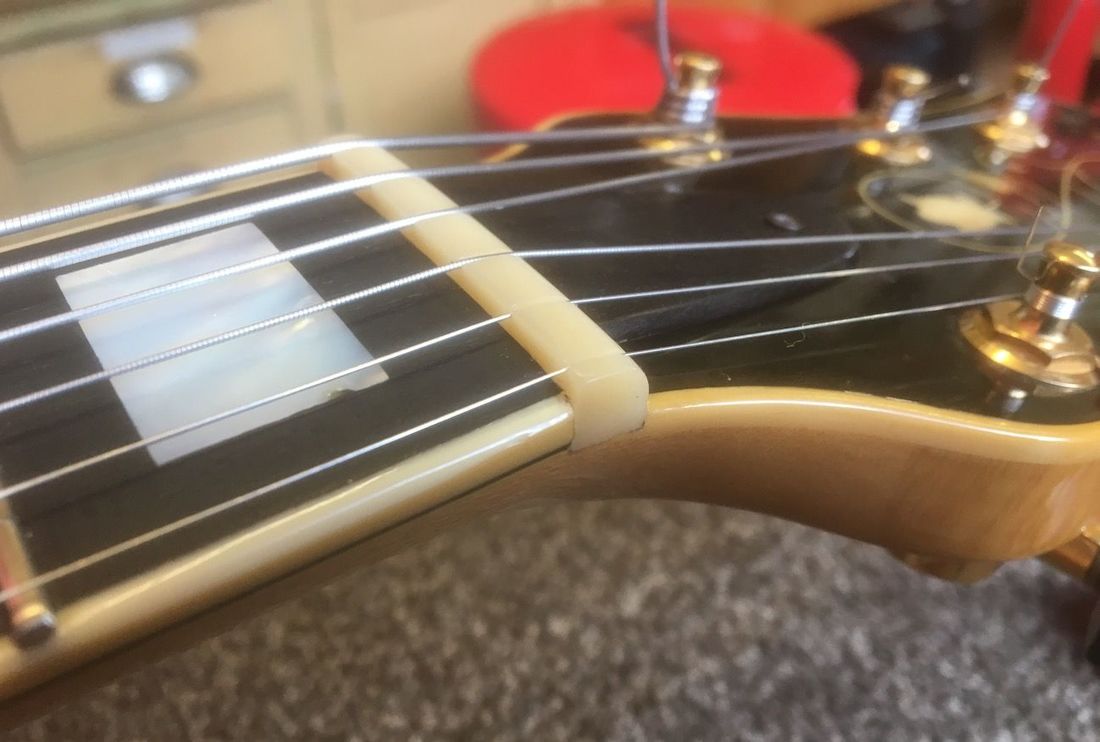
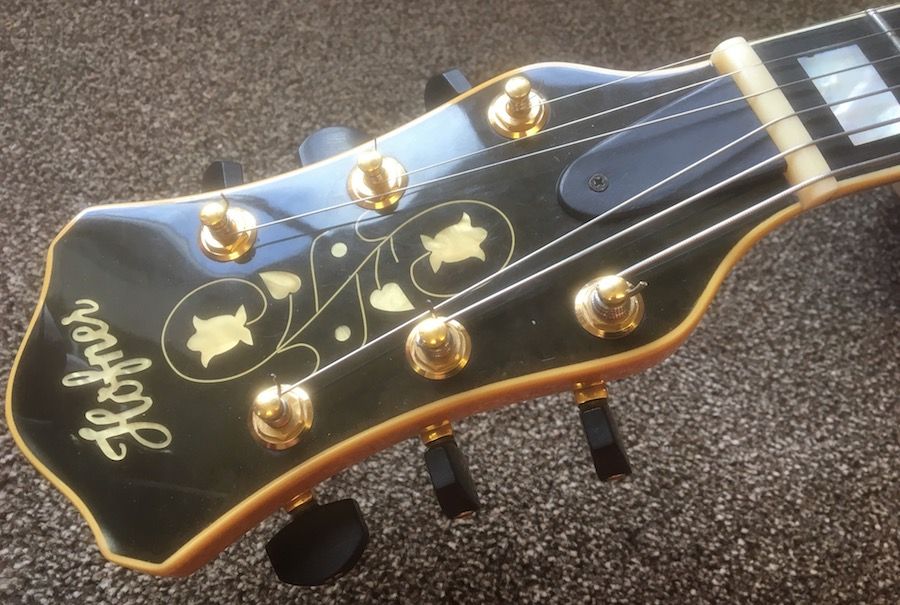
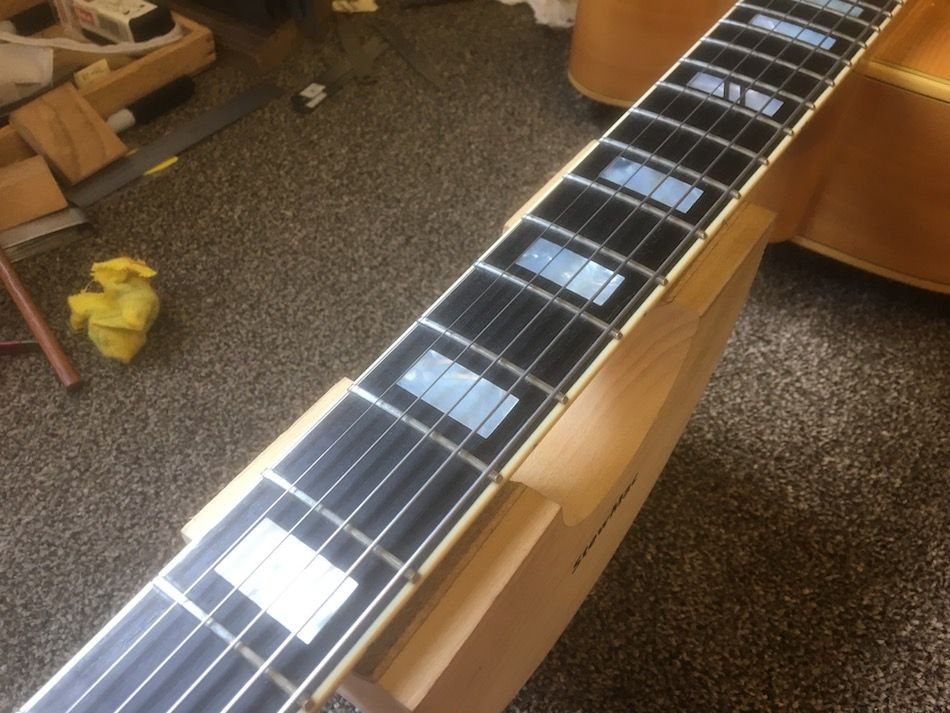
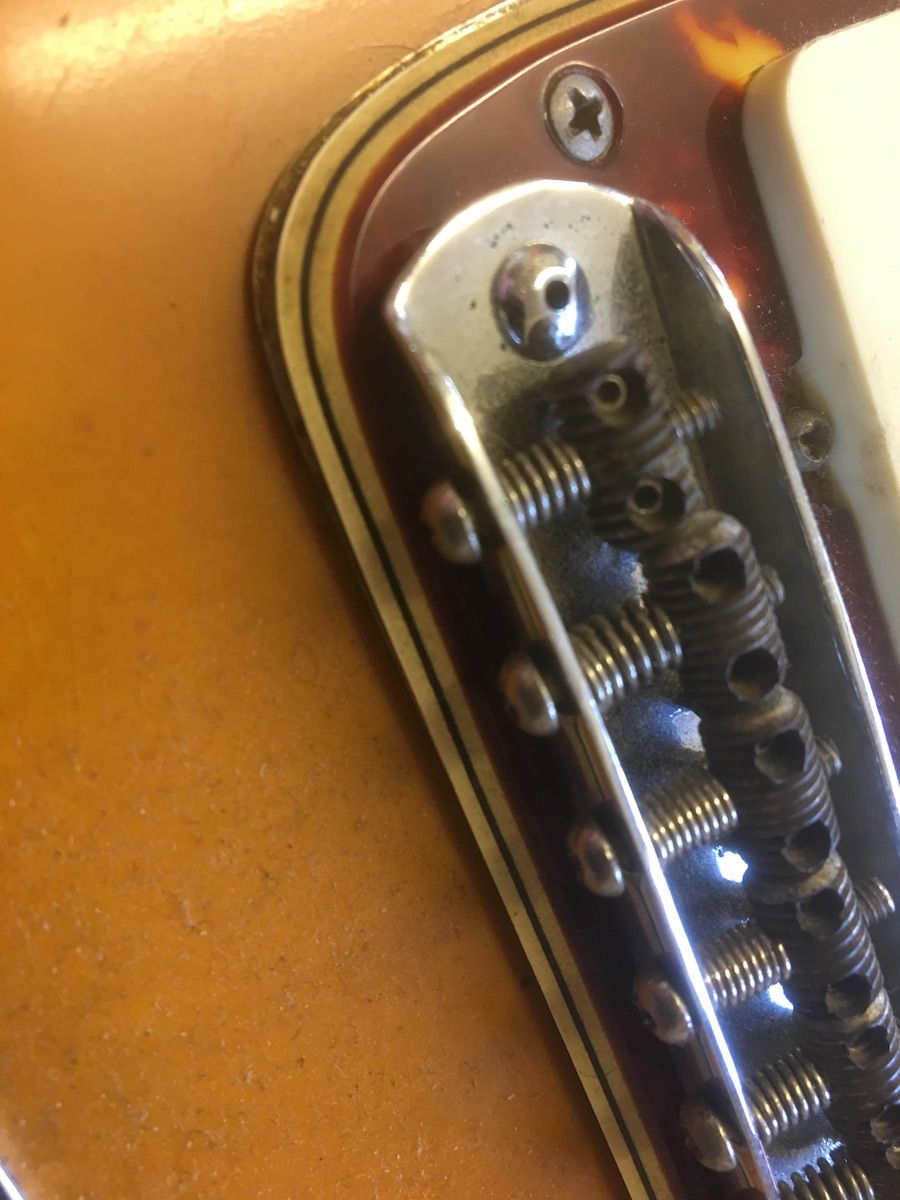
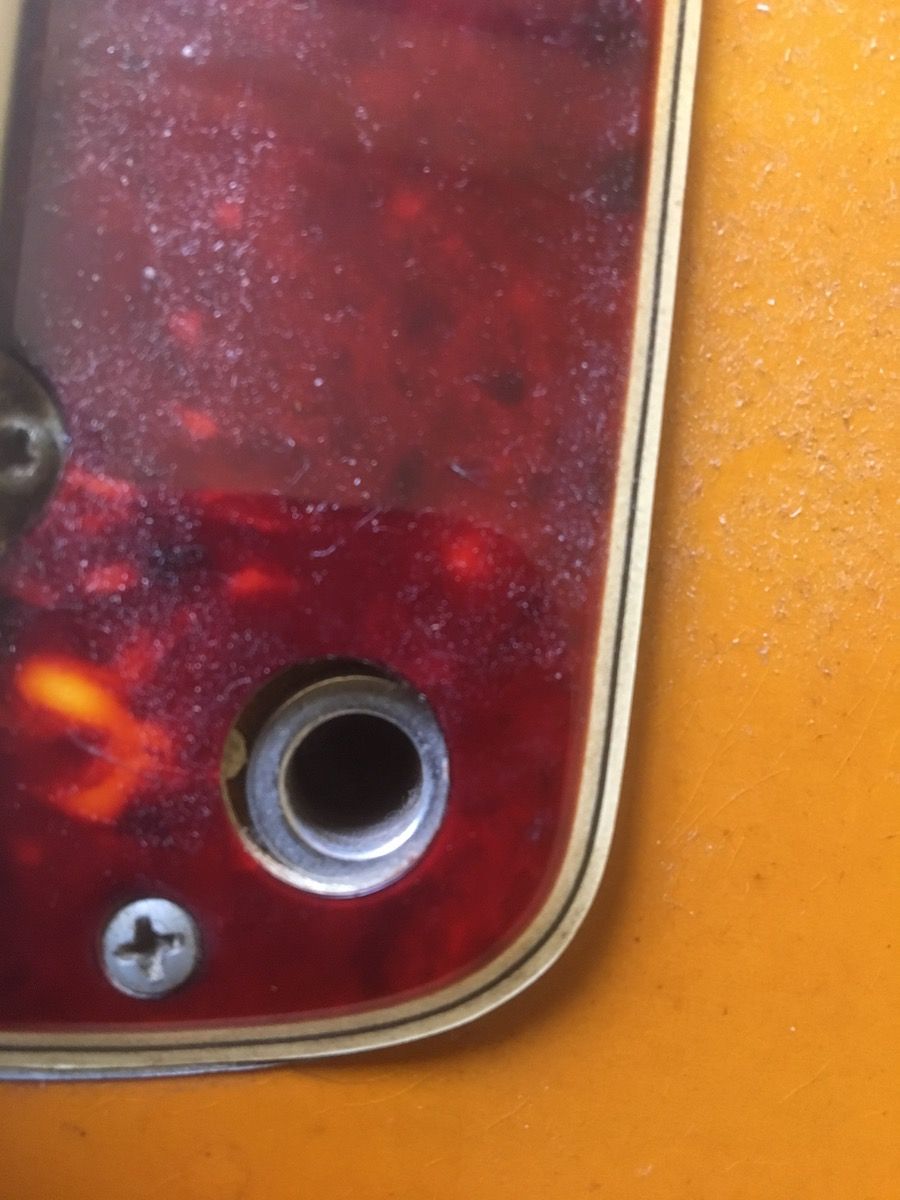
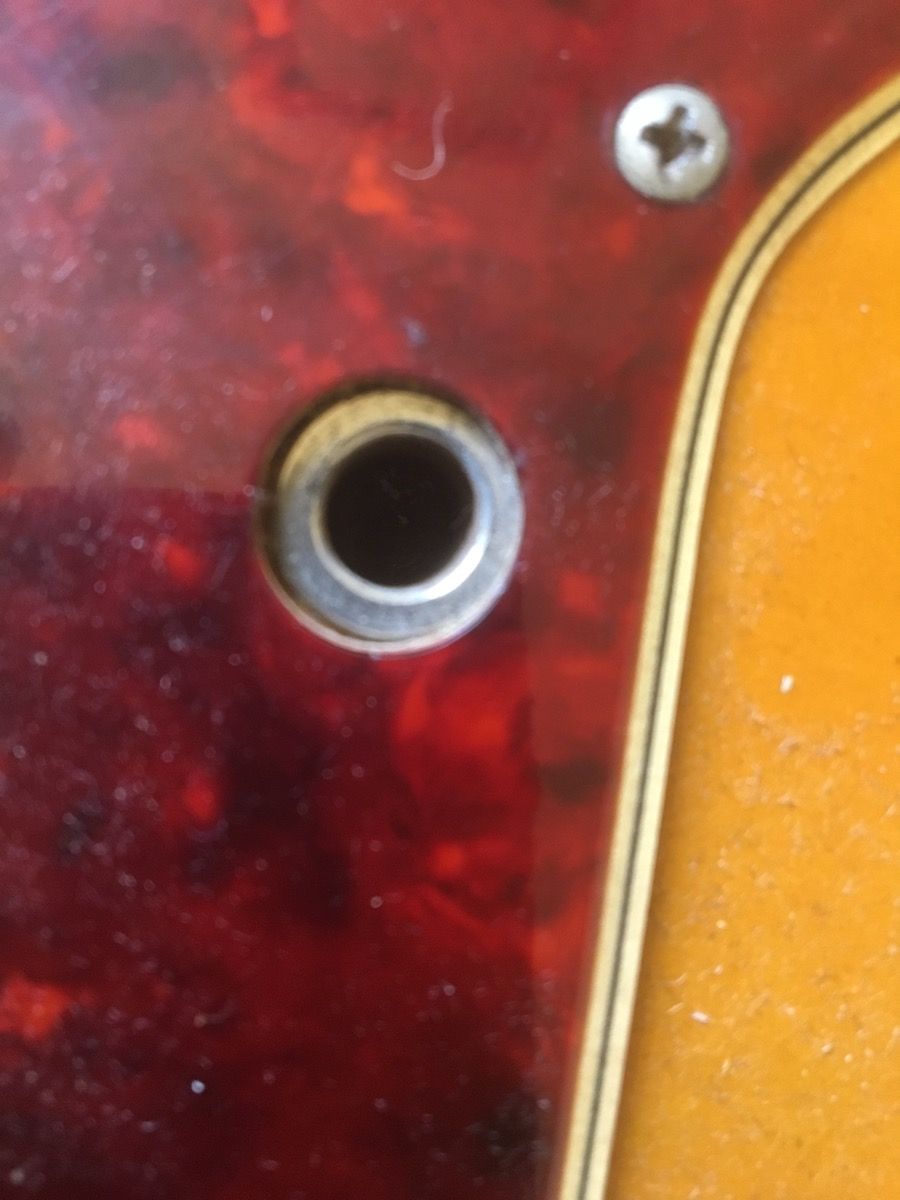
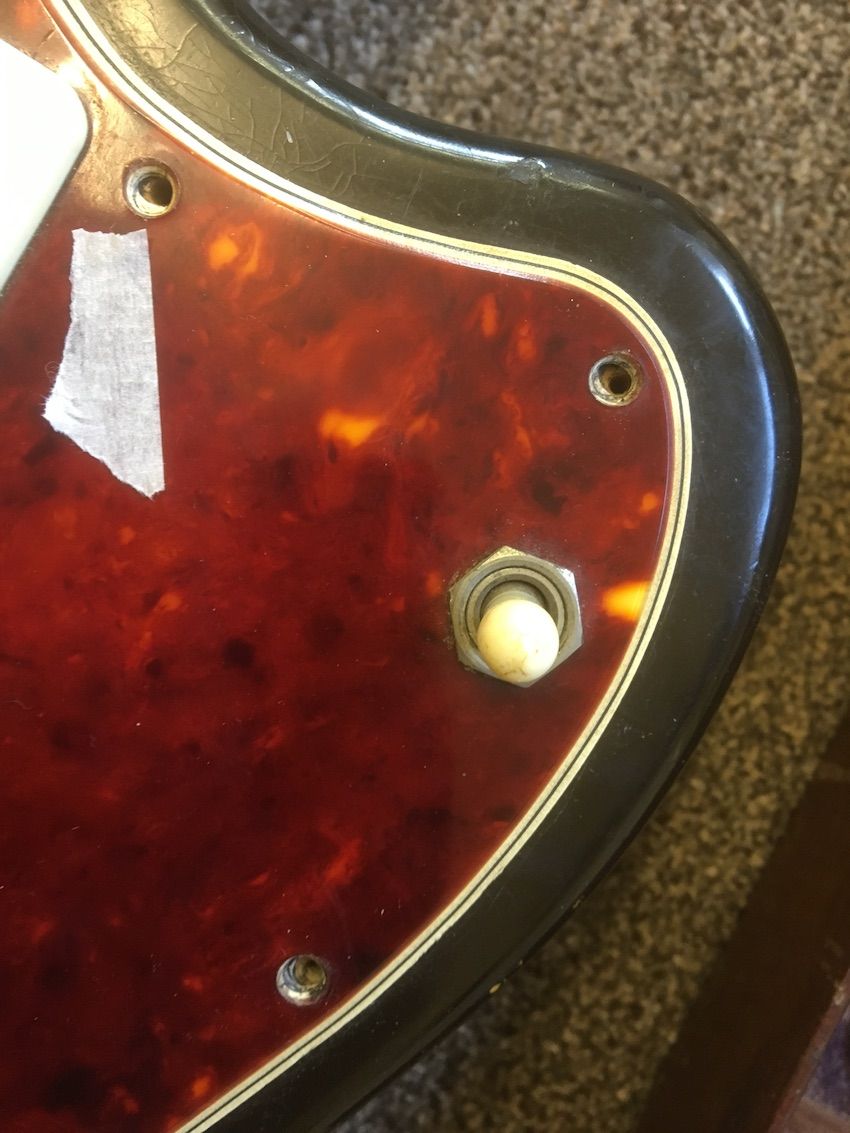
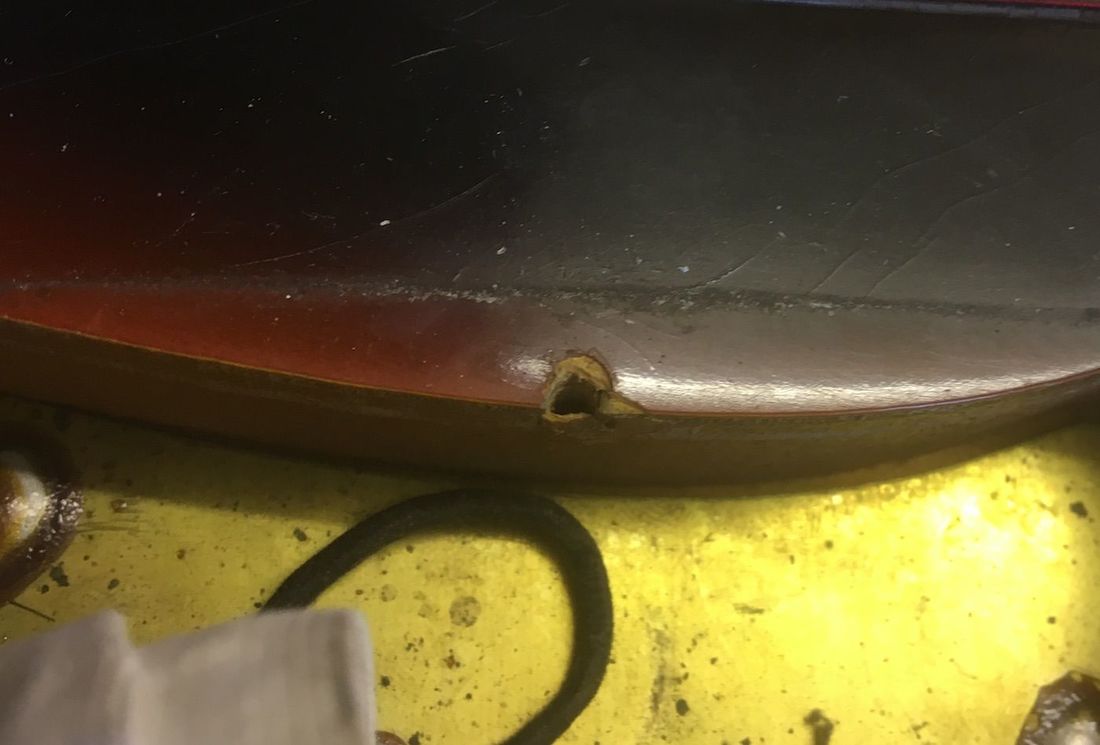
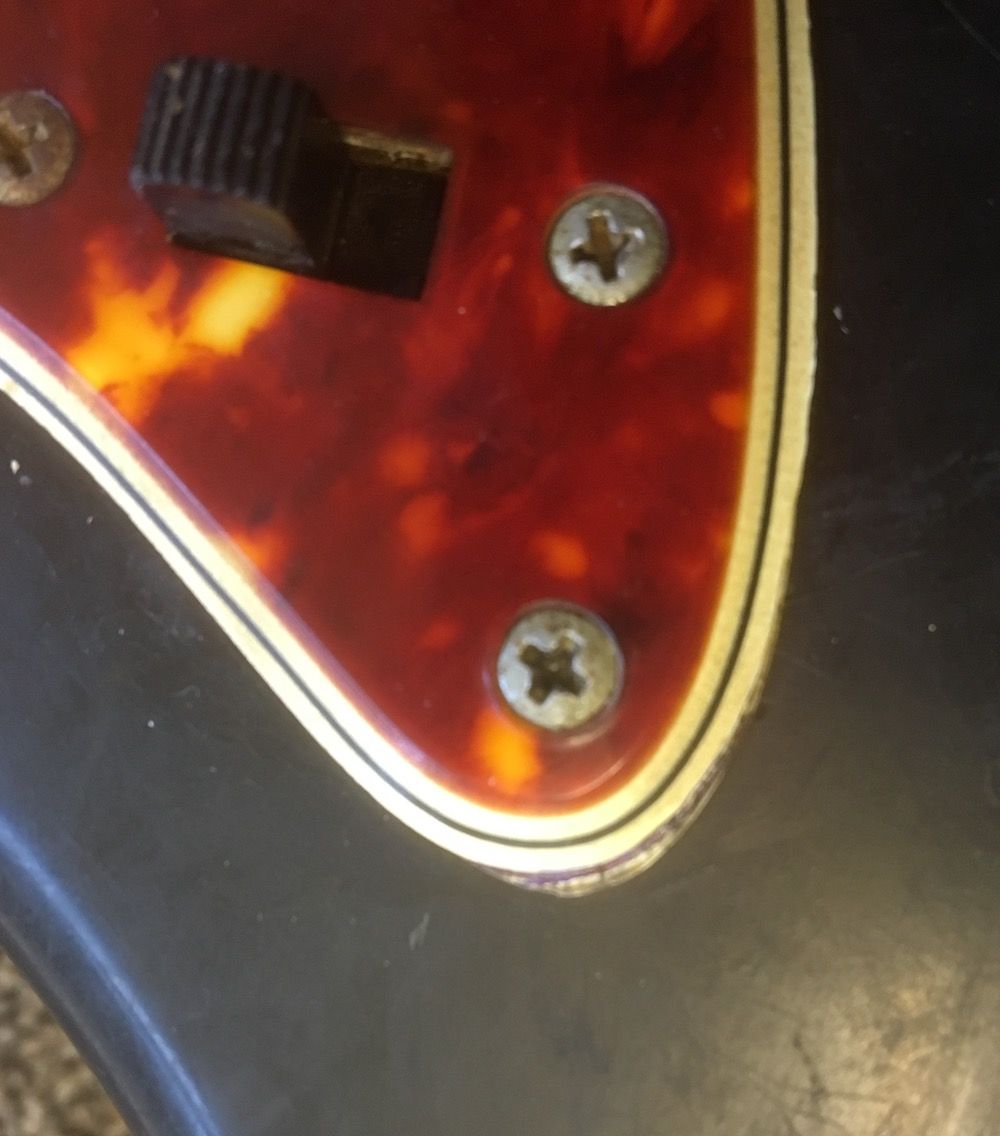
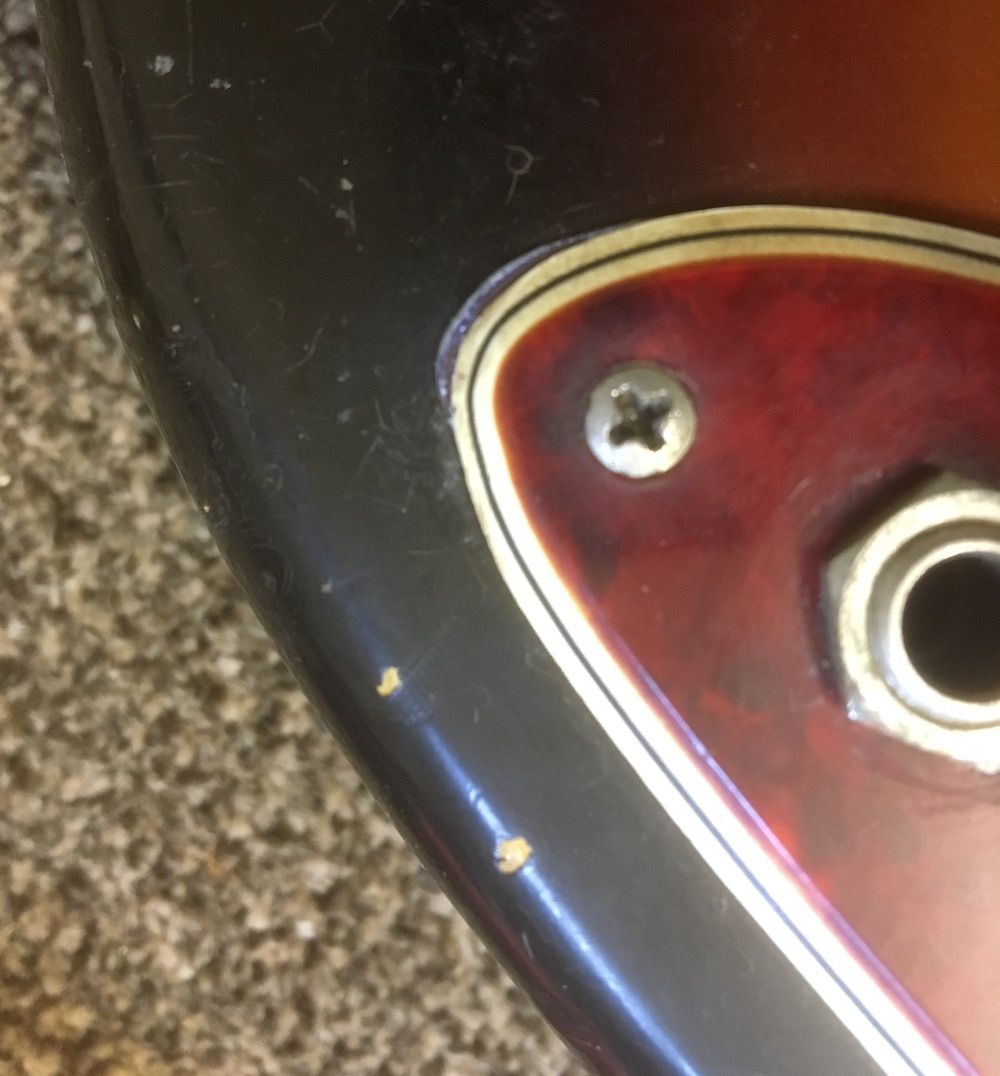
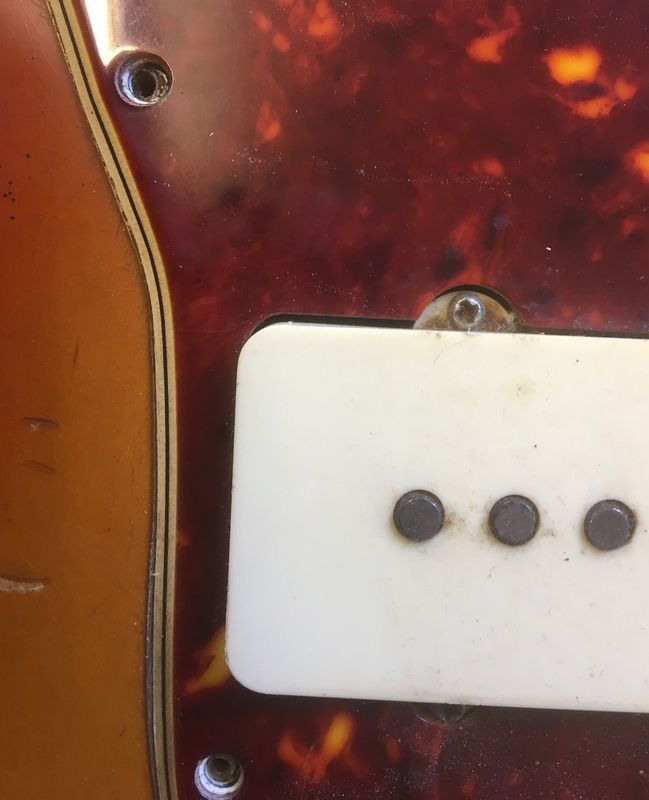
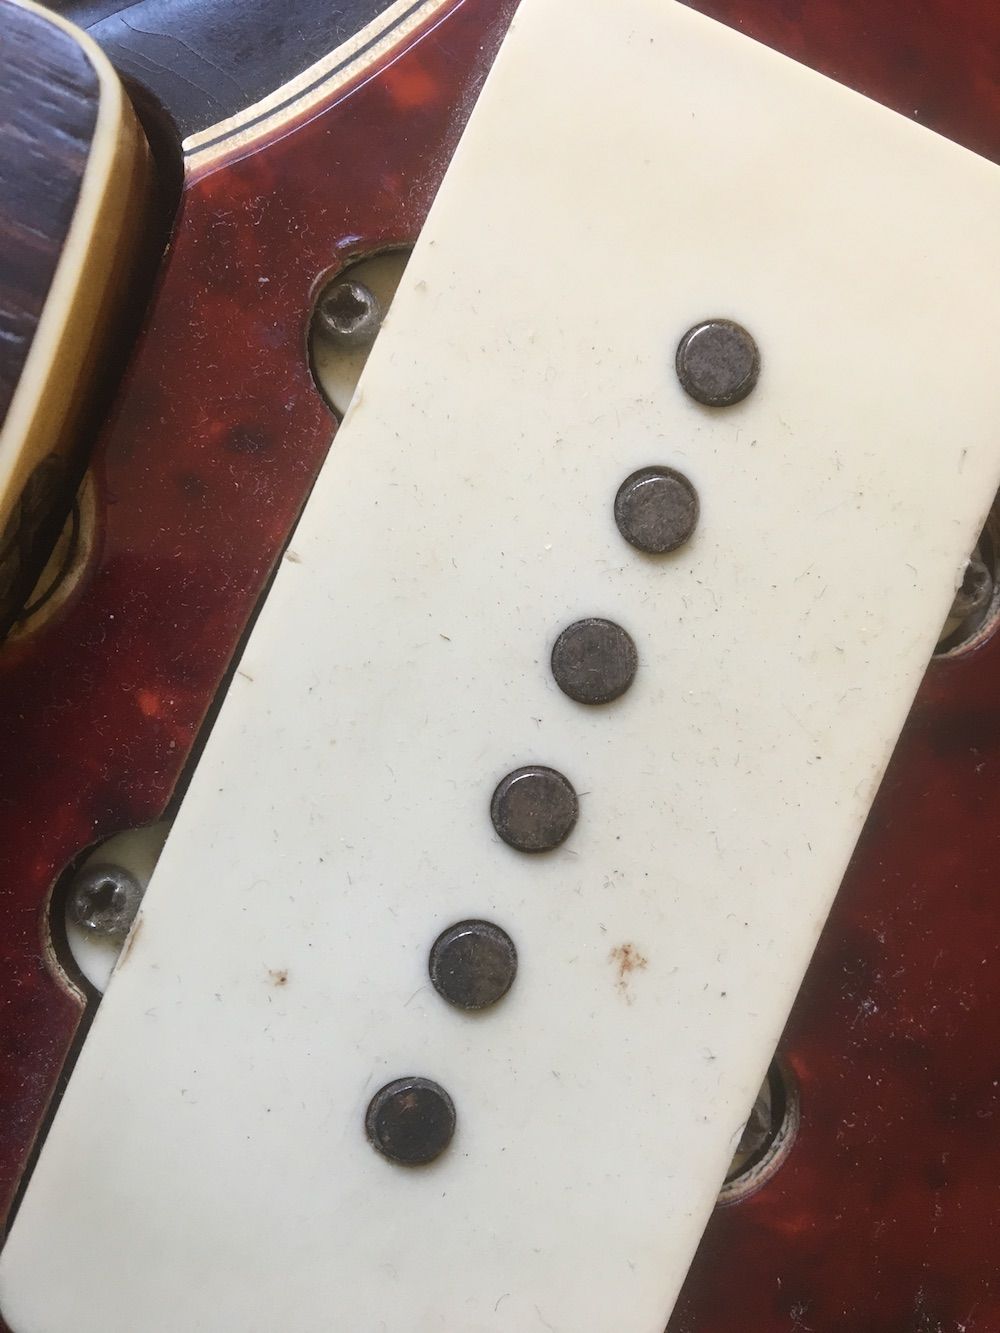
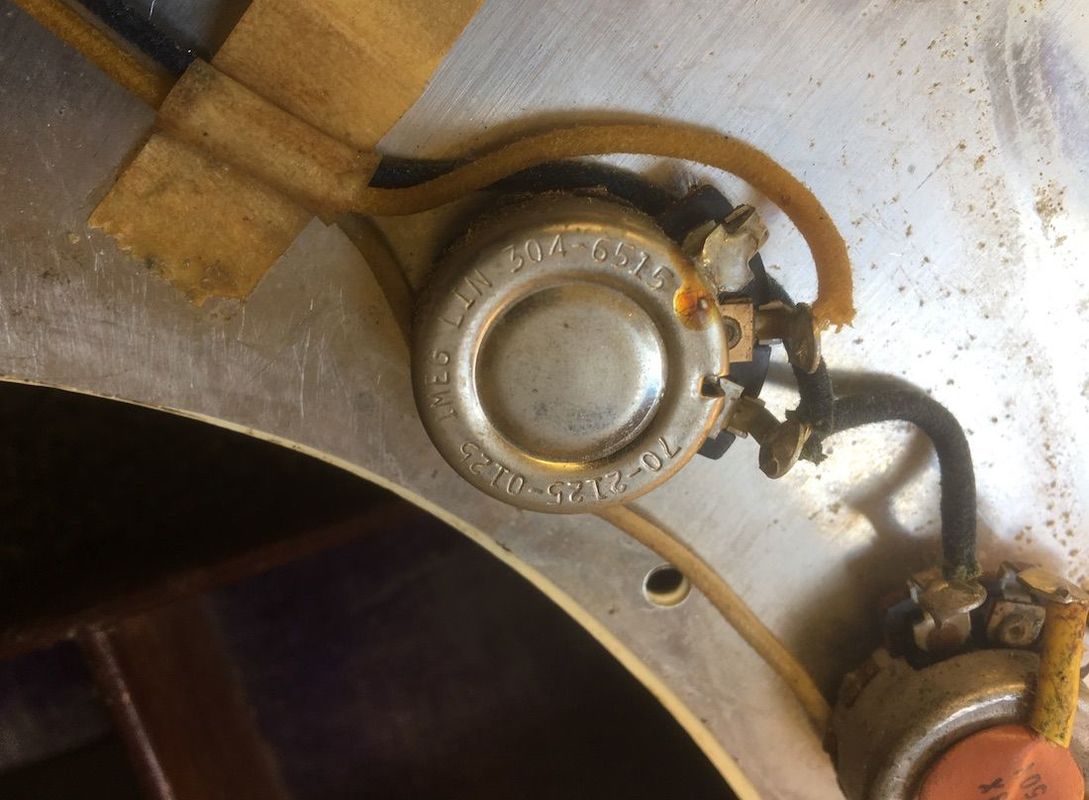
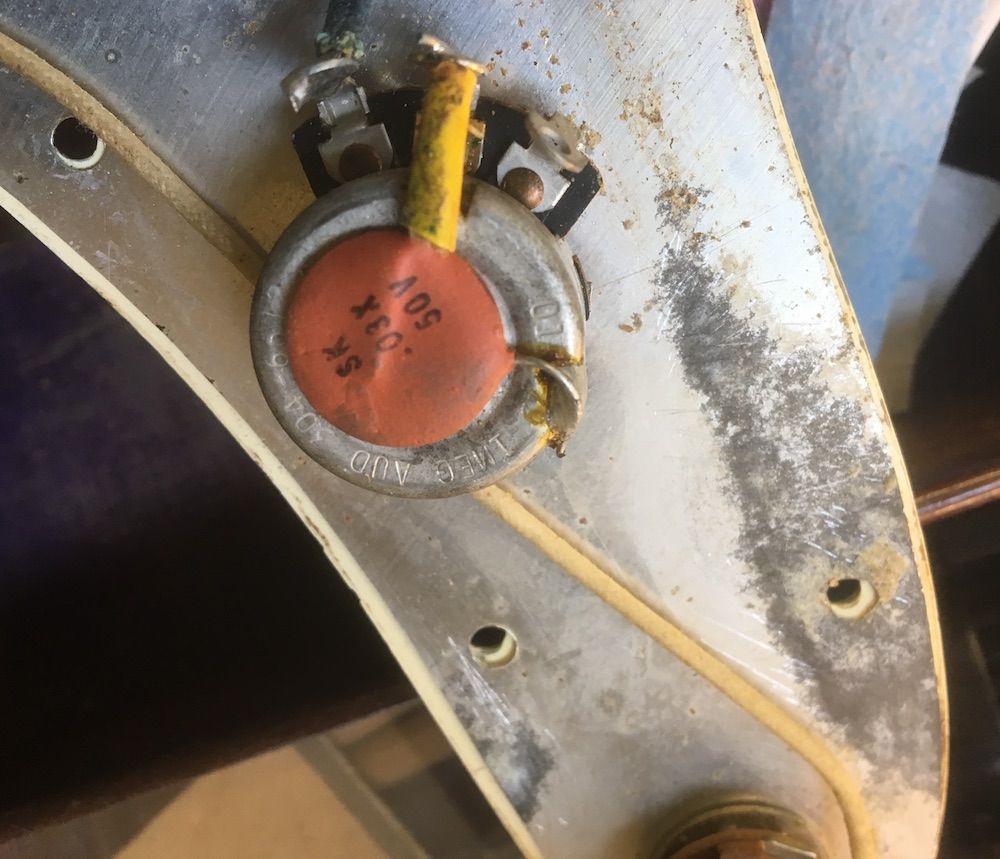
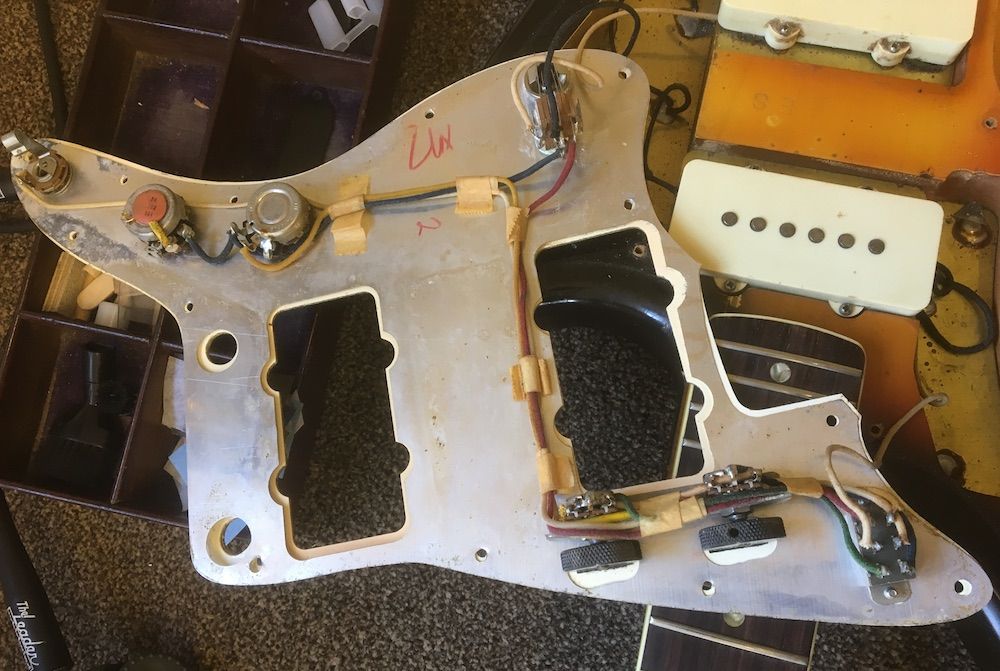
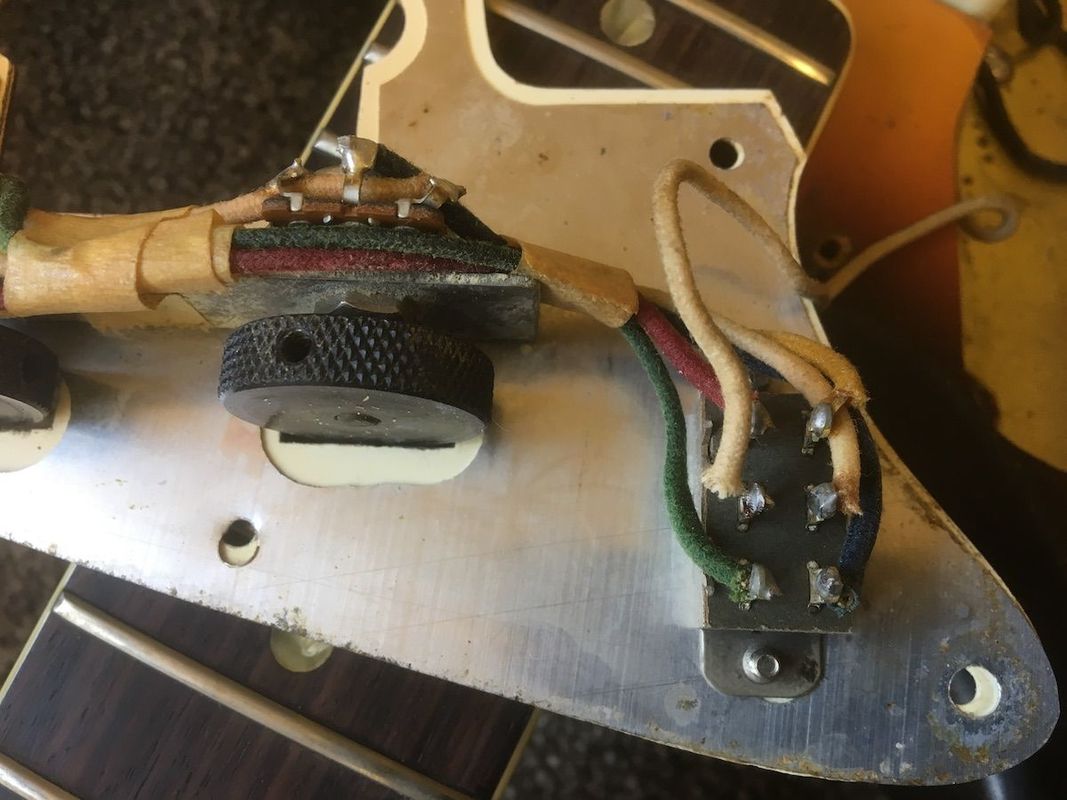
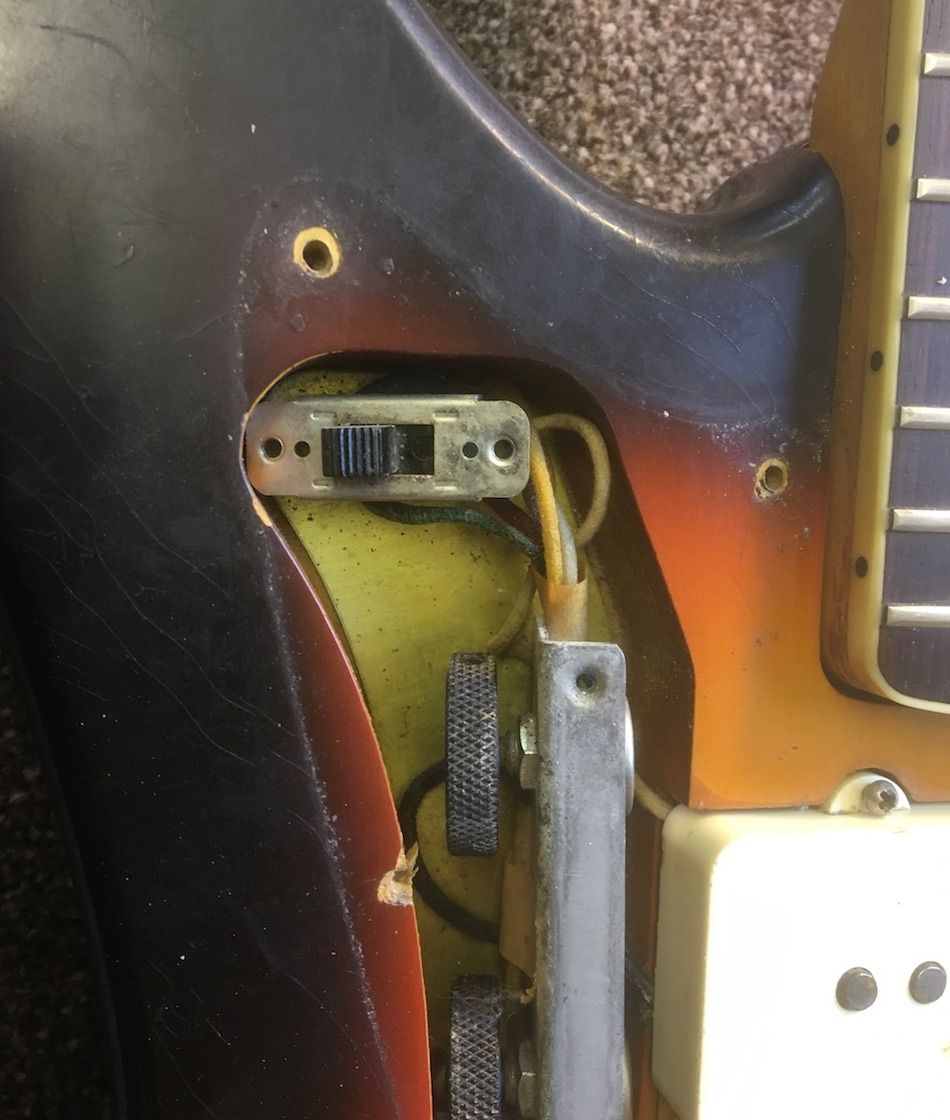
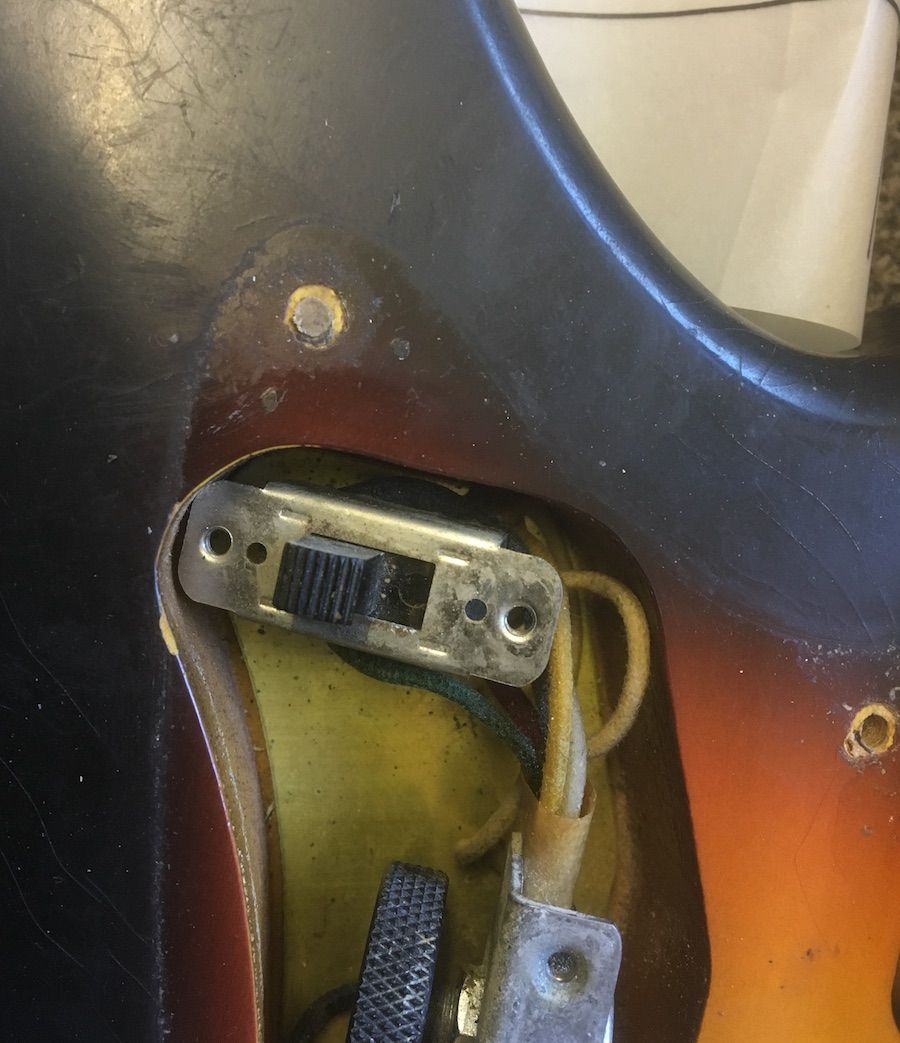
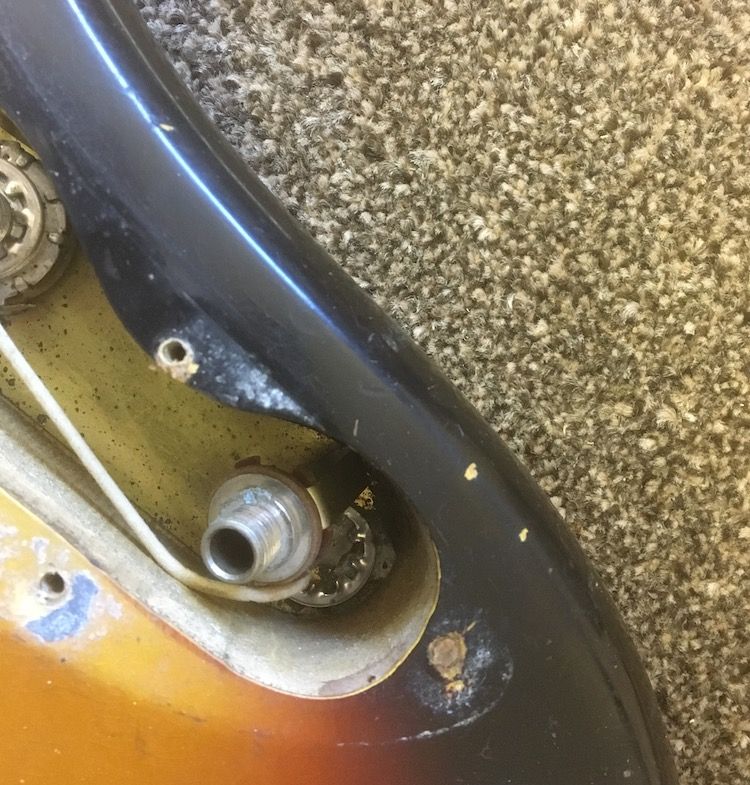
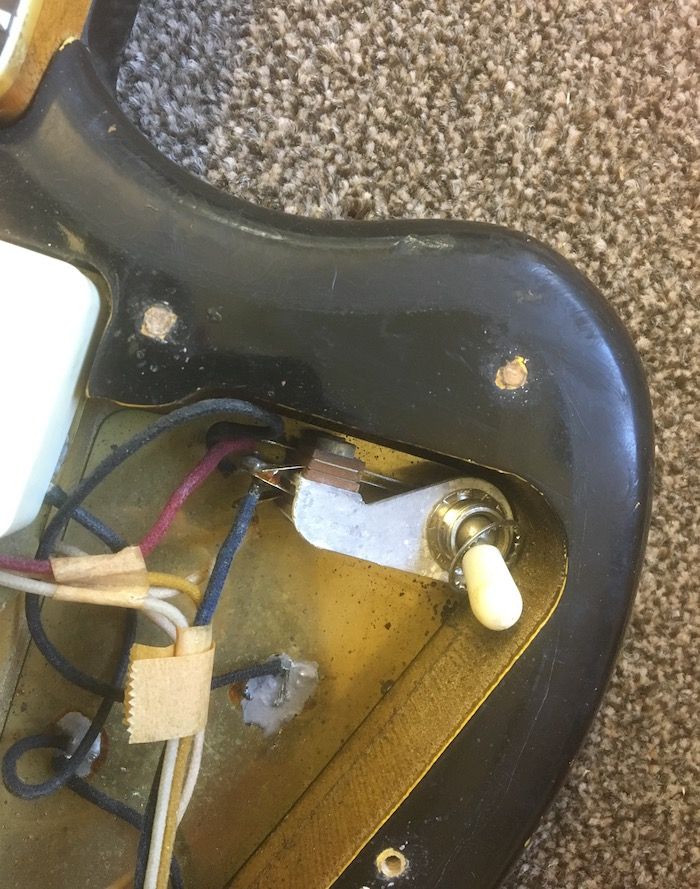
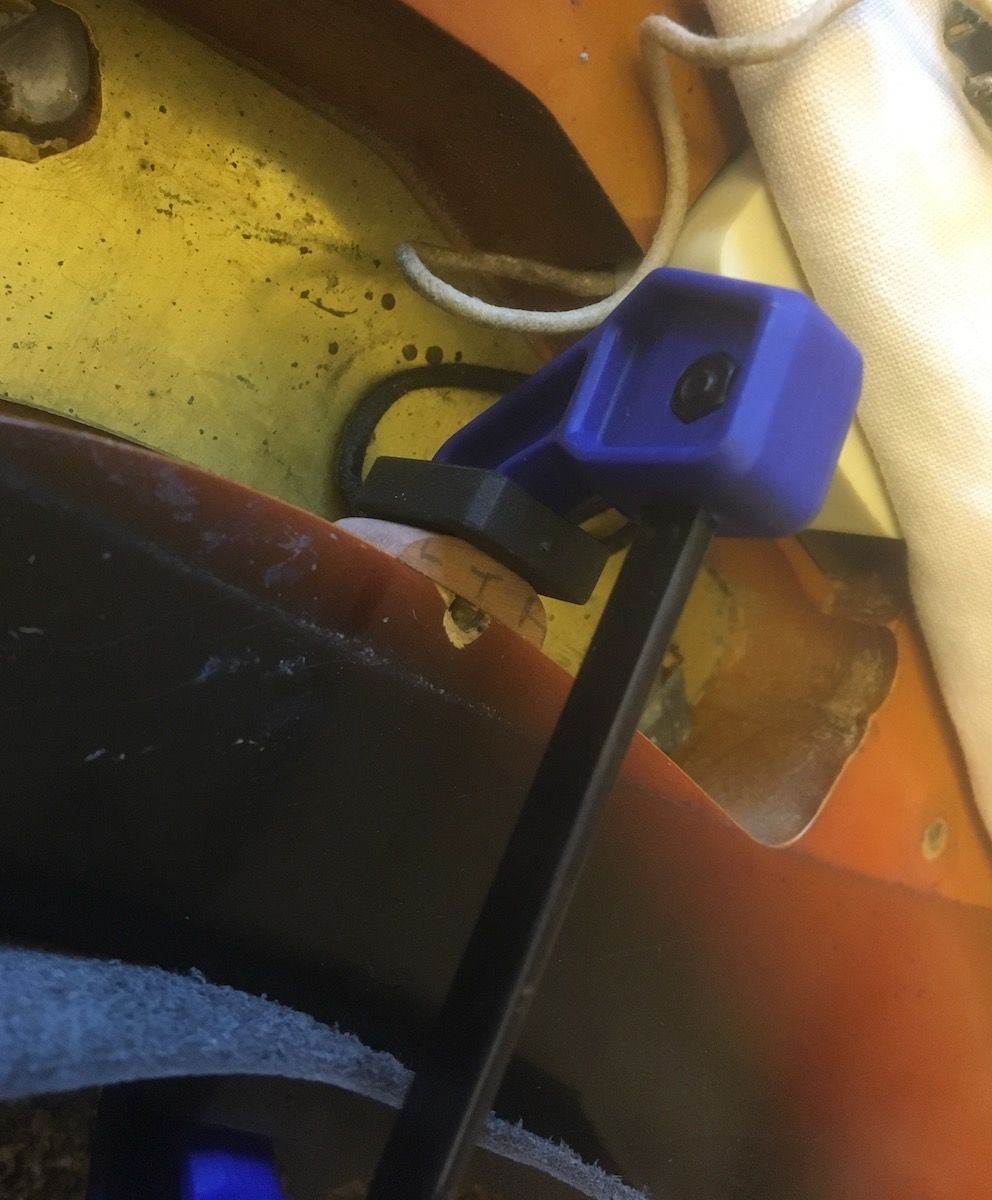
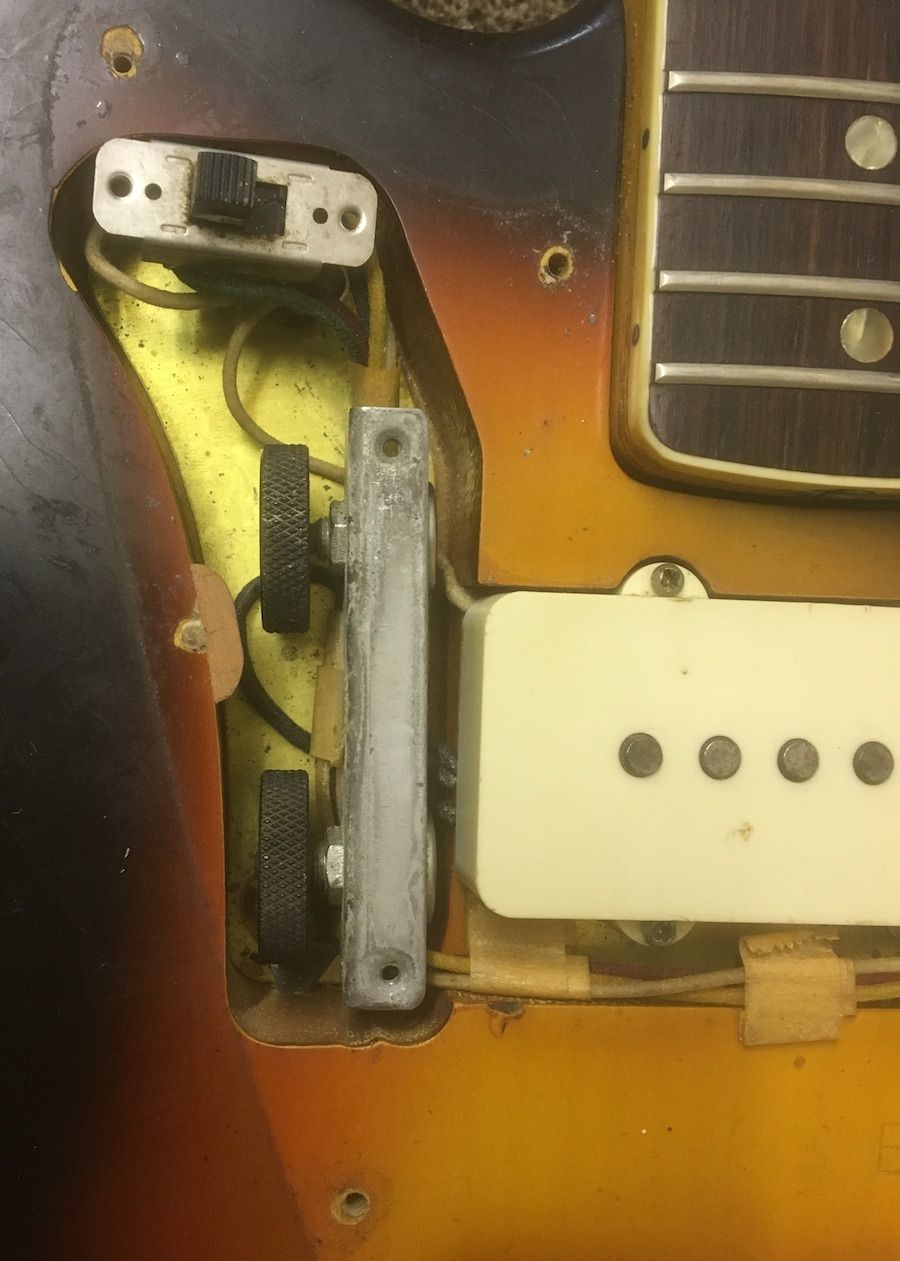
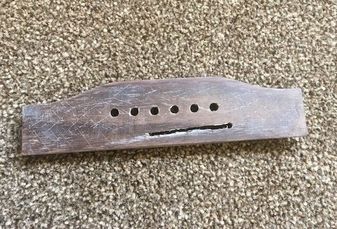
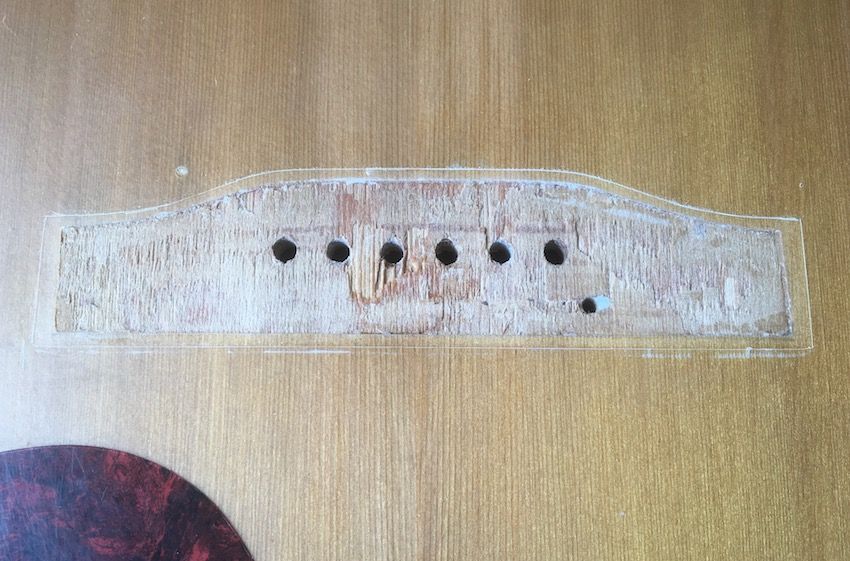
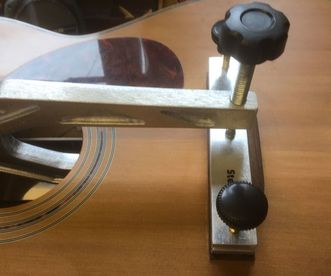
I've collated photos of several rather nice arch top / semi - acoustic guitars that have been through the workshop for various repairs or set up work in recent times. Included are - a Blonde Epiphone Broadway Archtop, a Blonde Eastman Archtop, Sunburst Epiphone ES175 semi, and a Sunburst Epiphone Joe Pass Archtop. Epiphone Broadway Archtop 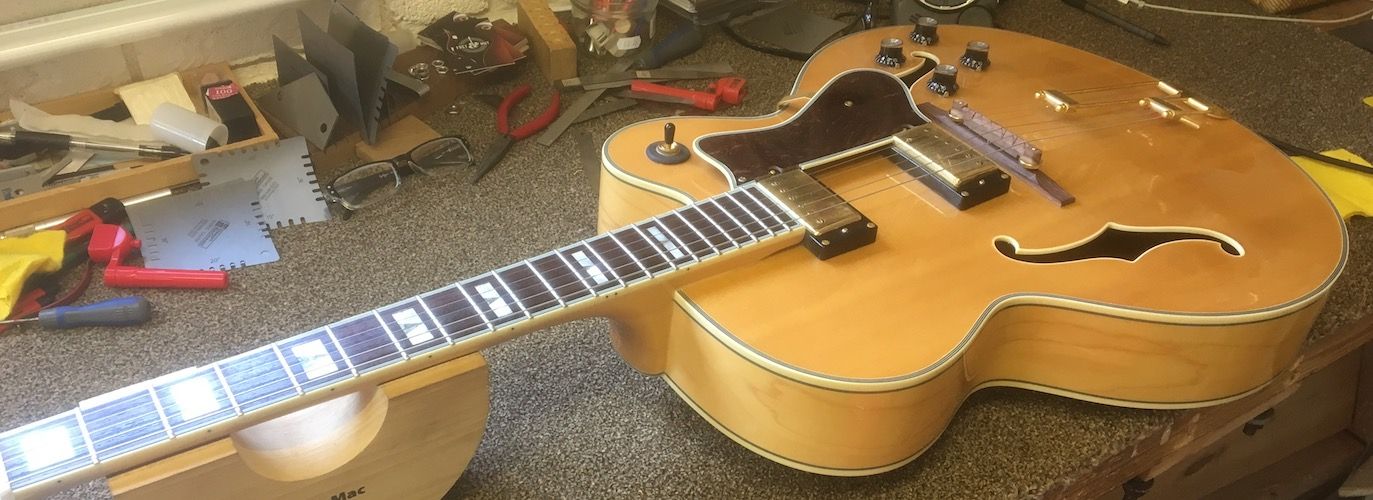 Eastman Archtop 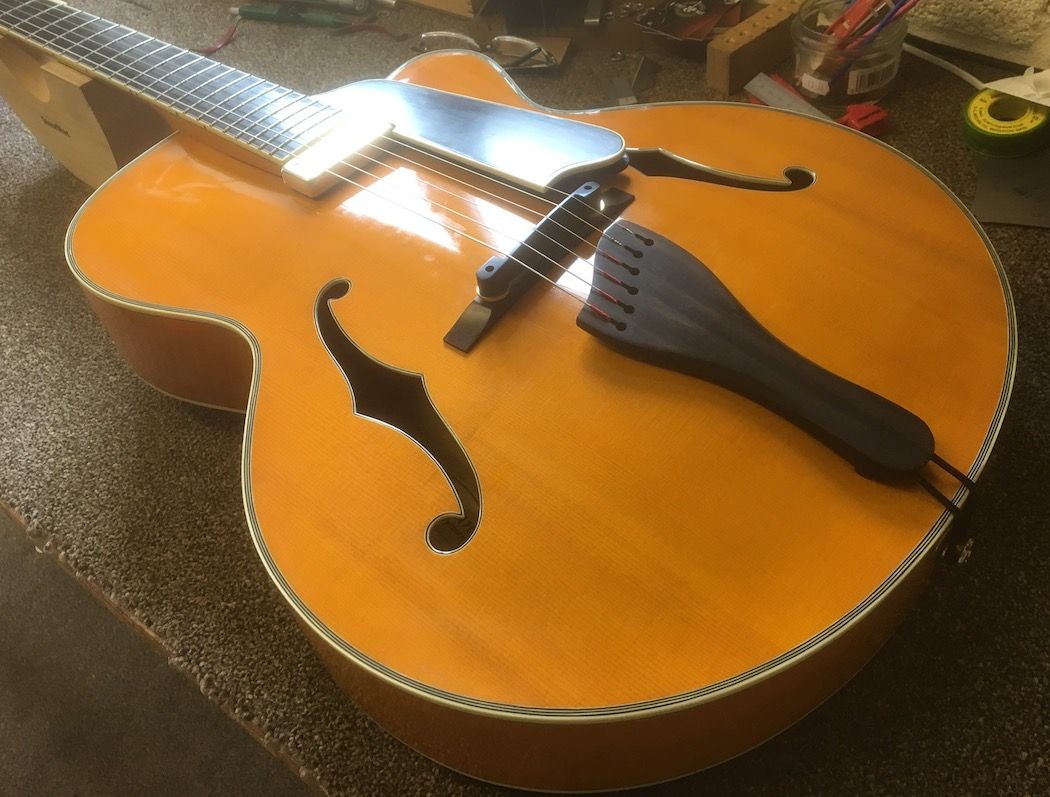 Epiphone ES175 Semi 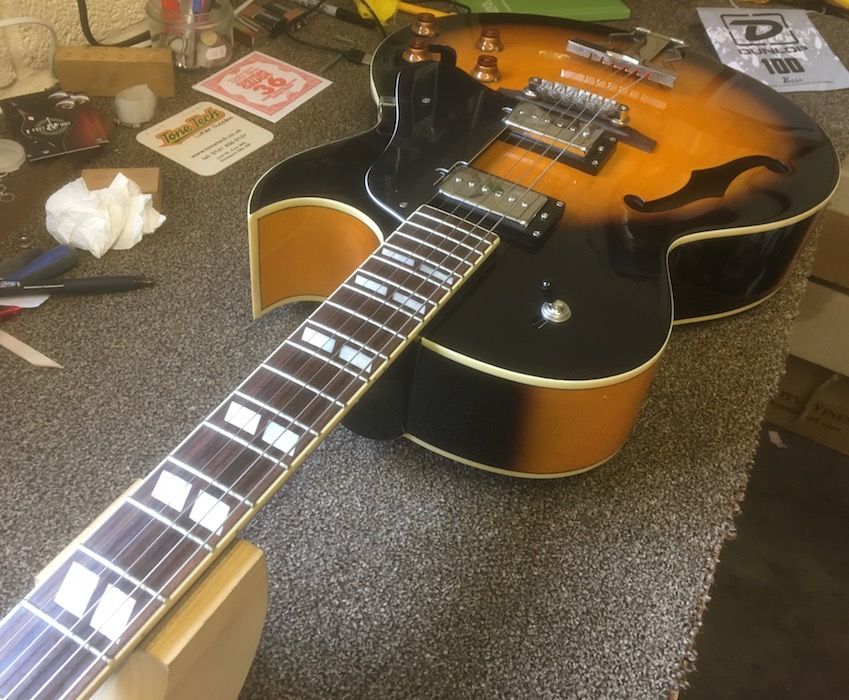 Epiphone Joe Pass Archtop  For the bass player aficionados amongst you we have here two quite special basses, the first a 6 string Peavey Cirrus fretless bass, the other a custom luthier made Jerzy Drozd 5 string fretted bass. Hence a total of 11 strings...had to get a Spinal Tap reference in there somewhere :) Both basses are owned by local jazz/ funk musician Mark Foxhall who needed super low action on these instruments to facilitate his fast playing style. This required getting the neck as straight as possible with little neck relief and lowering the action at the bridge as far as possible ... whilst minimising any string buzzing. The issue with the Peavey fretless was that the whilst the strings were already very low (virtually laying on the fretboard), they were buzzing all over the place as the neck was actually in "backbow". Immediately I started work there was a problem - the truss rod had poor access and the truss rod nut could not be adjusted as it was very stiff and the hex hole had been rounded off meaning that the usual allen key could not get enough grip to turn the nut and adjust the truss rod. I managed to loosen the nut by tapering an old allen key I had that was slightly larger than the hole so that it could grip the edges of the hole enough to loosen the truss rod nut sufficiently to straighten the neck and get rid of the backbow. Immediately the buzzing disappeared. The rest of the set up was relatively straightforward. Next up, the Jerzy Drozd bass presented a different problem. The truss rod worked fine on this bass, however even when the neck was adjusted as straight as it would go, the action at the bridge was still too high, even with the bridge saddles lowered as far as possible in the bridge pieces. The bridge saddles were removed, and the bottoms filed down so that they could sit lower on the bridge. This improved the action somewhat, but now at this lower action buzzing was occurring at various places across the neck. On closer inspection it was apparent that the neck itself was not actually straight. It presented a sort of "S" shape along the length of the neck, with a dip at the nut end and a hump over the body. Also a number of frets were too high in relation to neighbouring frets. One way to deal with this would be to take the frets out, level and refinish the fretboard, and re-fret the neck to provide a straight and level playing surface. However the frets still had plenty of height and life left in them so I recommended a fret dress to level the frets and see whether this would also take up the variance in the neck itself sufficiently to get rid of the buzzing. Using the precision Fret Jig the neck was adjusted as straight as possible prior to levelling, crowning and polishing the frets. This worked, and with a few additional tweaks at the saddle/bridge, an acceptable low action with no (or minimal) string buzz was achieved........ Where very low action is required there is always going to be a trade off between how low you can go and some string buzz, which is also dependent on the players playing style, attack, and the type and gauge of strings used. The next time round the bass will need a re- fret, which will be the opportunity to level the neck itself prior to re-fretting. What a lovely looking bass though! A highly figured body with a birds-eye maple fretboard and a fabulous sounding active pickup system.... nice. Here are some of the nice instruments that have recently wended their way through the workshop for various repairs, pickup replacement, and servicing work. They include a trio of Gibsons - a black BB King Lucille ES355, a Les Paul Standard with a beautiful honey sunburst, and a cherry SG Standard - plus a Taylor 110E Electro-Acoustic and a Takamine Electro-Classical. Gibson ES355 BB King Lucille Gibson Les Paul Standard Gibson SG Standard Taylor E-110 Electro-Acoustic Takamine Electro Classical Fender Telecaster Thinline Fender Stratocaster Ibanez Pat Metheny signature Model I recently had a rather attractive blonde Hofner New President arch top through the workshop which had worn frets and needed a fret dress. The first thing, before I can level the frets, is to remove the old nut. In this case the ends of the original nut were covered in a thick layer of lacquer. To avoid chipping when removing the nut, this area of lacquer had to be carefully removed beforehand. Once the nut was removed it was evident that there was quite a layer of glue used in the original factory installation, which would need to be removed before a new nut is fitted. Sometimes it is possible to reuse the old nut after a fret dress but in this case a new nut would have to be made as the old one no longer fitted properly due to the lacquer removed from the ends. The fret dress is done in three stages - levelling the frets, crowning the tops, and sanding and polishing. The top of the guitar is protected and strapped firmly in the neck jig and the neck adjusted as straight as it will go by adjusting the truss rod. The pickup is covered and taped off to prevent metal dust from the levelling getting into the pickup windings. The fretboard is taped off to protect the fretboard and the fret tops marked to show where the levelling bar is hitting the frets during the levelling process. As the tops of the frets have now been levelled (flattened essentially) they have to be re-profiled to reinstate rounded fret tops.This is done with a luthier's file designed for the job. The frets are then sanded and polished. Completed fret dress below.... 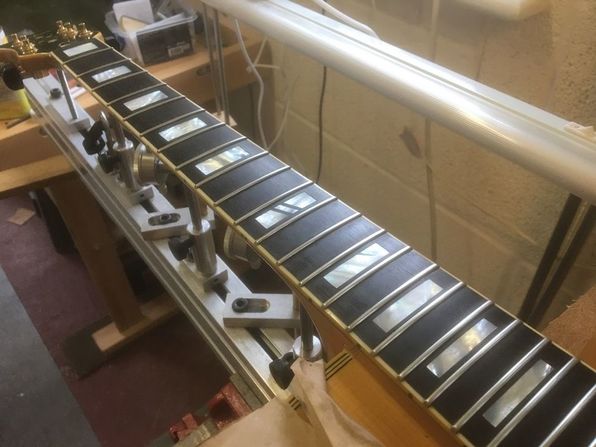 Turning to make the new nut, a bone blank slightly thicker than the slot is picked and sanded to the correct thickness, then sanded and shaped to fit the width of the nut slot, for a snug fit. The height of the nut is sanded to a workable height and the correct string spacing is located and the string slots filed just enough so that the guitar can be restrung and the strings are held in place. The nut slots are then filed to the correct depth. Excess material is removed from the top of the nut so that the strings are exposed in the slots. If a nut slot is too deep a string can catch up in the slot and cause tuning problems. The nut is removed for filing, sanding and shaping several times during this process. The shaped and completed nut is polished and installed below.. 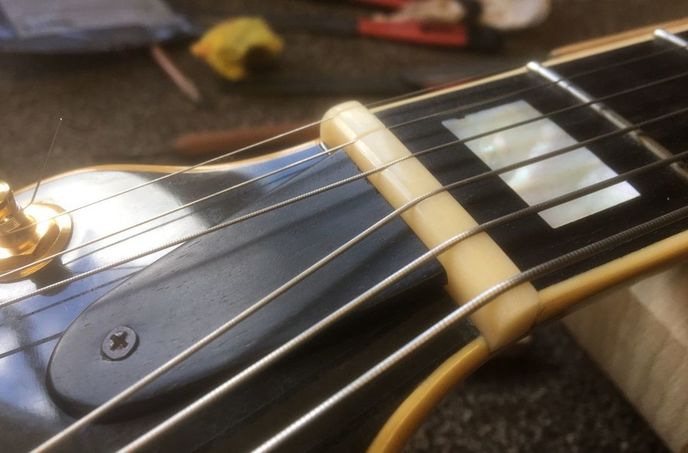 The guitar is set up, making adjustments to the truss rod and bridge to get a fairly low action across the fretboard. Now playing very sweetly. Some pictures of this very fine blonde beauty! 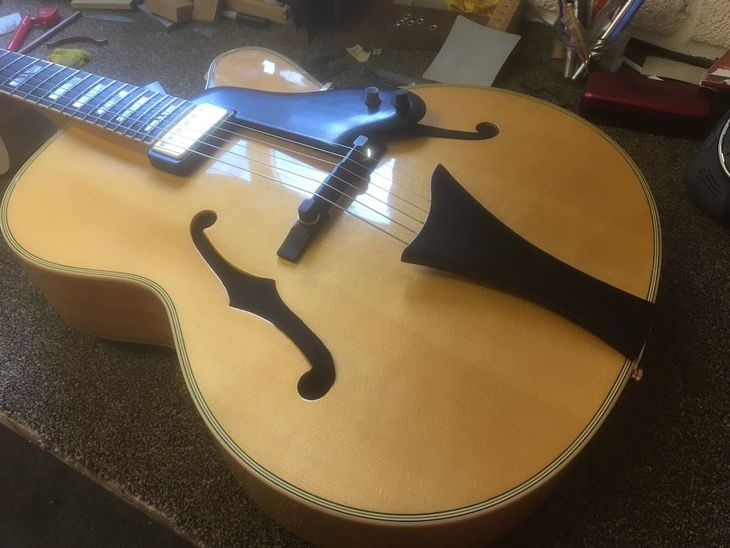 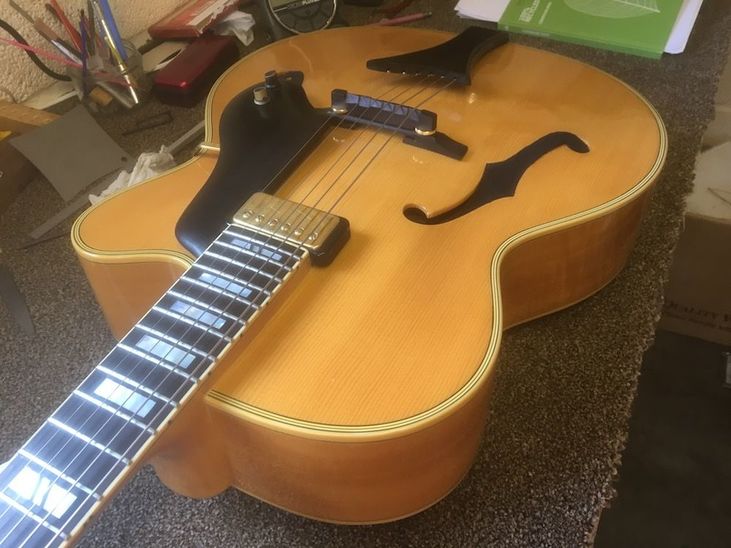 Faux tortoiseshell pickguards made their first appearance in 1959, when most (but not all) Fender instruments were fitted with multi-ply pickguards made of celluloid (cellulose nitrate). The Jazzmaster received four-ply pickguards with a faux tortoiseshell layer on top of the white, black, white layers. Celluloid had some drawbacks however. Over time this particular material was prone to shrinking, warping , and cracking. Today you can see many old Fenders where the pick guard screws are angled inwards, the pickups are “squeezed” by the pickguard and cannot be raised or lowered any longer, or the tip of the pick guard has been broken off. Consequently, Fender switched to less temperamental plastics for its multi-ply pickguards around 1965. The faux tortoiseshell top layer of these improved pickguards, however, remained celluloid, which originally presented a problem: As the celluloid faux-tortoiseshell layer inevitably tried to shrink, it would warp the non-shrinking plastic layers beneath it into a bowl shape. Fender designers of the 1960's compensated for this troublesome tendency by increasing the number of pickguard screws, which did the trick. 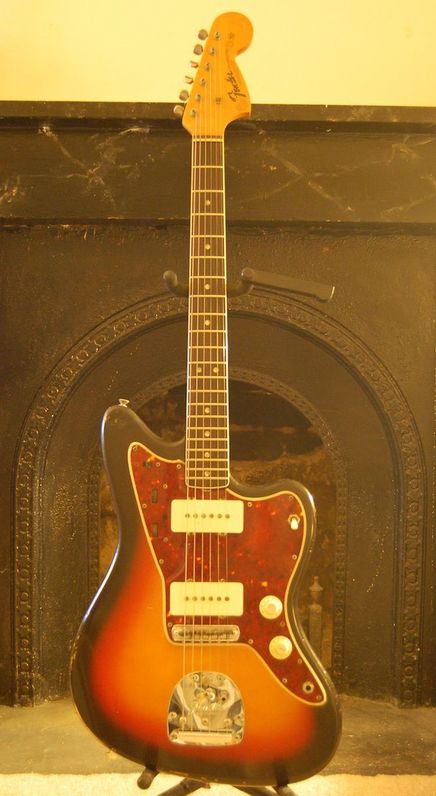 Here is a very cool 1966 Fender Jazzmaster which has some of these symptoms. The pick guard has curled up beneath the bridge, as it shrunk back over the bridge post grommets. The aluminium shielding underneath has been exposed in places, and the screw holes through the pick guard no longer align with holes in the shielding. A number of screws are angled inwards and a couple no longer have any grip (one is right on the edge of the control cavity and so has nothing to hold it in place). The pick guard has pressed inwards against the pickups, preventing them from being adjusted. The output of the neck pickup was considerably louder than the bridge. The pickups volume could not be balanced as it wasn't possible to raise the bridge pickup. Through some sympathetic work it was possible to get the pickups working again, relieve the strain that the screws were placing on the pick guard, and sort out the loose screw situation. It was important not to make any material changes to the originality of the guitar, so the adjustments were subtle, but enough to get the guitar fully functional again. First I made a sketch of the affected cavities and noted where the pick guard was tight against the pickups and misaligned with the bridge post grommets. This was to ensure no unnecessary filing or scraping was done on areas that didn't need it , but focussed on the areas that did. 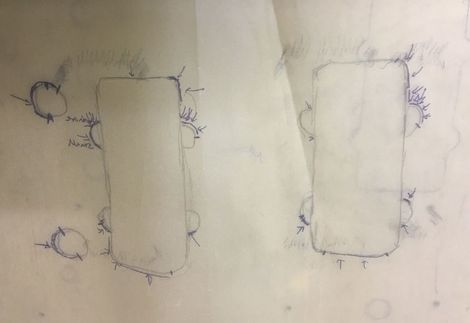 Here are pictures of the original pots, with codes 304 6515, dating them to 15th week of 1965. Removing the screws from the pick guard (except a couple of good screws to keep everything in situ), the position of the misaligned holes were marked on the aluminium screen. The electrics were removed from pick guard, separating the pick guard from the aluminium screen. The holes in the aluminium were widened to line up with the hole positions in the pickguard.. I made a plywood backing, with cavities cut out, to which the pickguard is screwed down to prevent it from shrinking further (if left unsupported it will continue to shrink in the direction it’s been wanting to go for the last 50 years).The plywood also serves as a backing template through which it will be easier to scrape and file the pick guard cavities. I then carefully scraped and filed the pickguard in the appropriate areas, blending the edges so that the work wasn’t noticeable, and making several test fits back on the guitar to check progress and ensure the minimum amount of material is taken off. 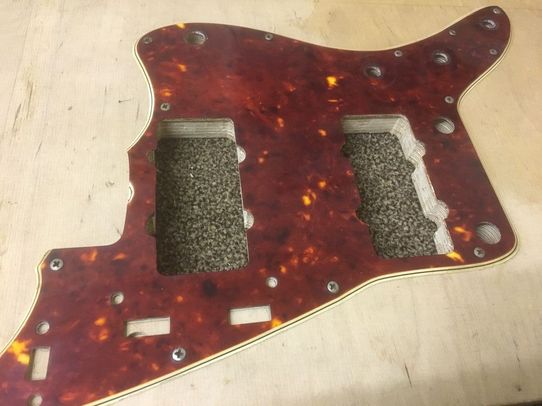 Once the pickguard is refitted the worst misaligned holes (there were 4 of them) were carefully marked, drilled, and plugged with 1/8" hardwood dowels. The holes were then redrilled so the screws could go in vertically. I shaped and glued a small piece of mahogany to the side of the cavity so the screw can grip onto something and not remain loose in the hole. Everything is put back together. The pickups can now be raised and adjusted for a balanced output. There are no loose screws, the worst affected screws now align straight relieving stress on the pick guard, and the aluminium shield no longer pokes out from under the pick guard. A not uncommon mishap that can befall an acoustic guitar is where the bridge becomes loose, or even snaps completely away from the body. When tuned to pitch terrific string tension pulls on the guitar top and bridge and so it is essential that there is a strong glue joint between these components. There are a number of reasons that a bridge can come loose on an acoustic guitar - an improper or poor glue joint, low humidity or heat, loose braces or other structural issues inside the guitar putting undue strain on the bridge, or a combination of these. Typically a bridge will come loose along the back edge, forming a gap between the guitar top and the bottom of the bridge. This may be difficult to see and not obvious so a good way of testing to see whether there is any gap under the bridge is to try and slide the flap of a guitar string packet underneath. This will determine the extent to which the bridge is loose. If the bridge is loose it is usually preferable to have it carefully removed ( I use heat blankets specially designed for this job) and have it re-glued properly, rather that running the risk of the bridge suddenly giving way under string tension and damaging the top in the process. In the example below, the bridge snapped clean away from the top, taking chunks of the spruce top fibres away with it. Here's how I fixed it. The old glue and fibres left on the bottom of the bridge are carefully scraped off so that a clean gluing surface remains. You can clearly see a ledge all around the perimeter of the bridge where no glue was applied during manufacture (quite common on lower end, and less expensive, acoustics). This lessens the overall gluing surface and makes the joint weaker than if the whole bridge was glued down.
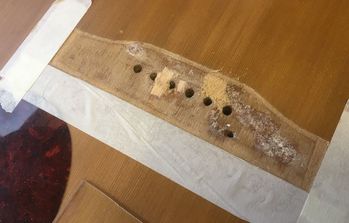
A big lump of spruce stuck to the bottom of the bridge was removed and used to patch the top in its original position between the G and B string holes. Luckily the damage caused when the bridge came away wasn't too severe in this case, it could have been worse. Here the spruce patch is glued and clamped, and the result.
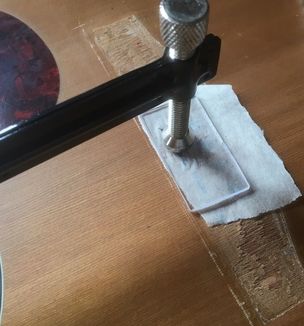
The footprint of where the bridge sat on the top shows a ledge of lacquer around the perimeter. The lacquer is carefully removed to provide for full contact with the bridge, and a flat and even surface when the bridge is glued back down. All the old glue is removed from the top and any remaining gaps in the spruce filled or patched and then sanded flat to create a level gluing surface.
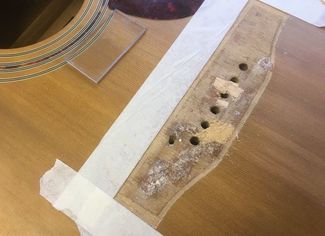
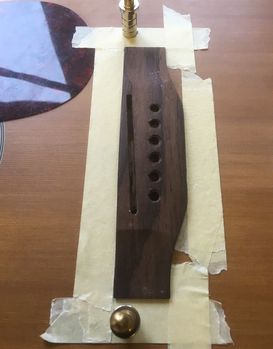
Bridge footprint with lacquer removed and holes filled, ready to be finally sanded and scraped flat in preparation for gluing. The bridge is located in the correct position and held in place, ready to be glued and clamped. When the bridge is clamped, a caul has to be custom made to go inside the guitar and over the top braces to protect the delicate top from the strong clamping pressure, by spreading the load. Any glue squeeze out from clamping is cleaned up before the glue drys.
The guitar is left clamped overnight for the glue to dry. Any remnants of dried glue in the bridge pin holes are then cleaned out. The guitar is ideally left for another day or two before stringing up to pitch. The bridge transfers the vibrations of the string through the top so good coupling between these elements has the added benefit of improving the tone of the guitar. Job done! 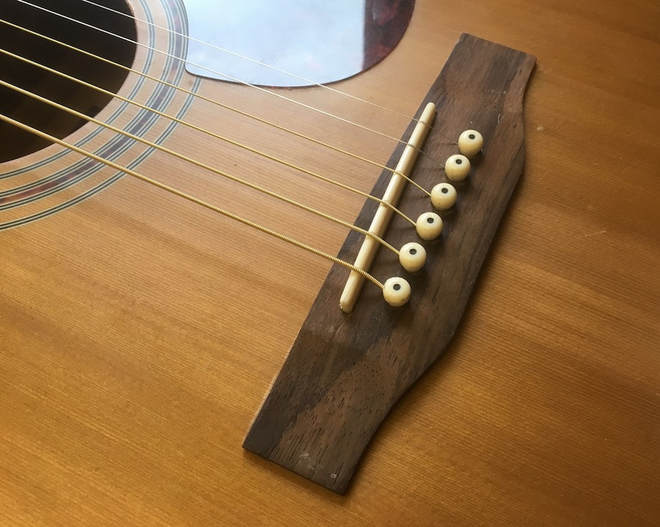 |
AuthorAs a luthier, and also a vintage guitar enthusiast, I'll be posting articles about guitar repair, guitar construction, and also vintage instruments Archives
December 2022
Categories |
| About | |


 RSS Feed
Menu |
Contact"The Engine Room"
Flax Drayton Farm Drayton South Petherton Somerset TA13 5LR Telephone: 07732 074088 Email: info@fretandnut.co.uk |
© COPYRIGHT 2017. ALL RIGHTS RESERVED.
|