|
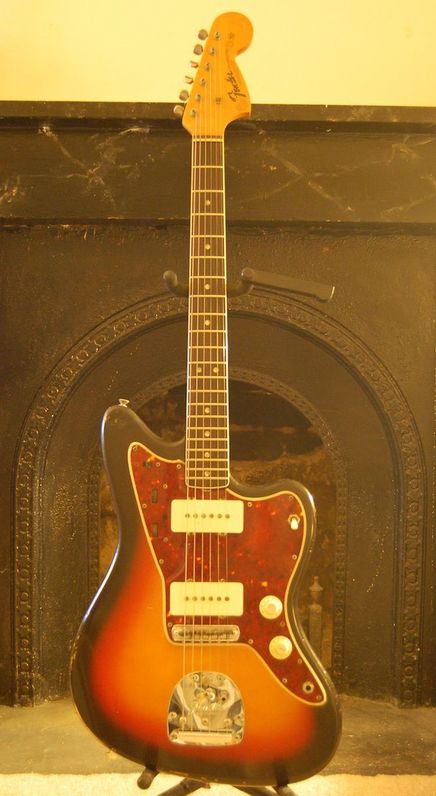
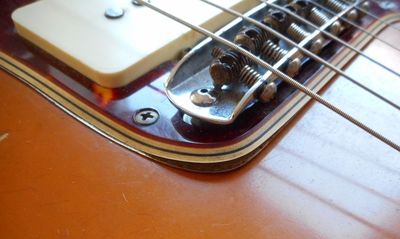
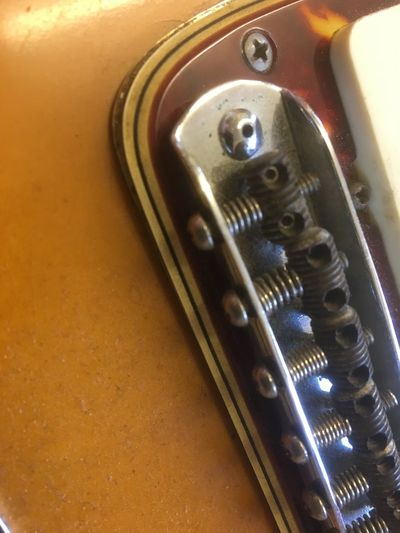
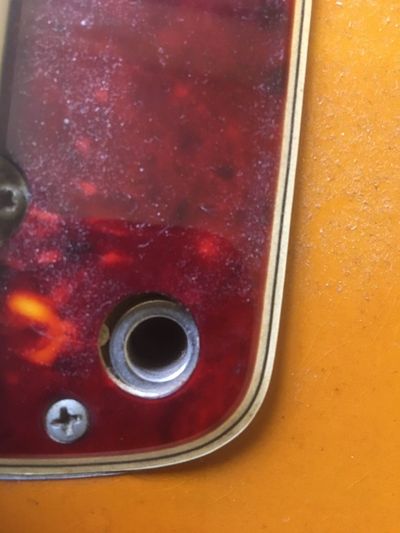
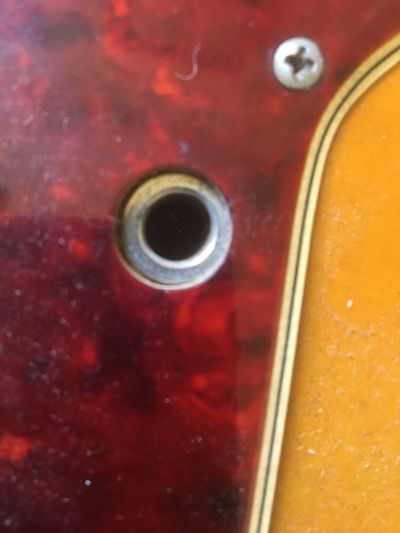
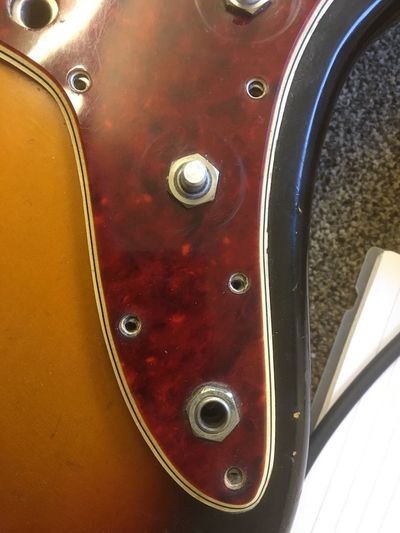
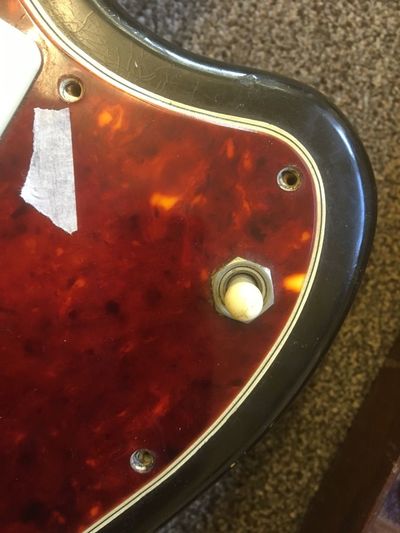
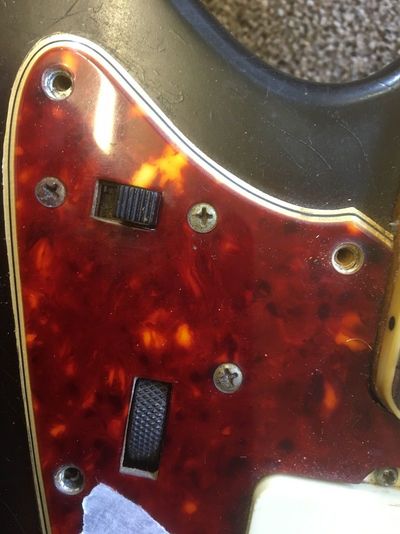
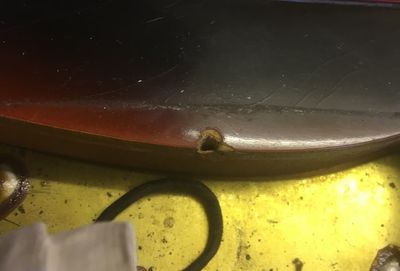
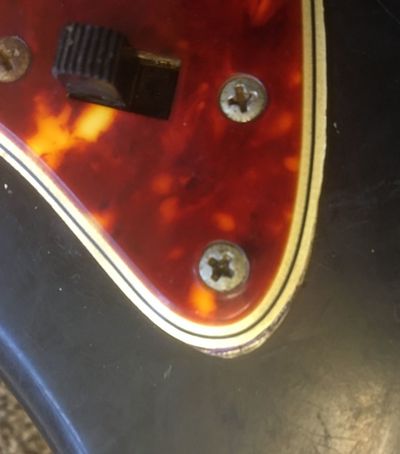
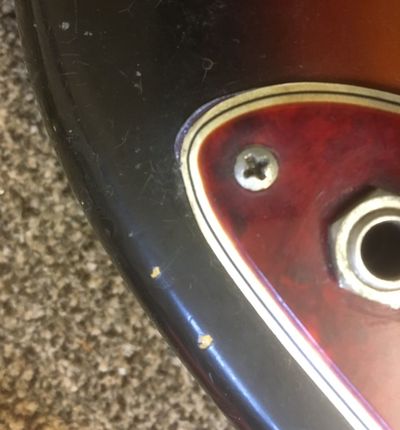
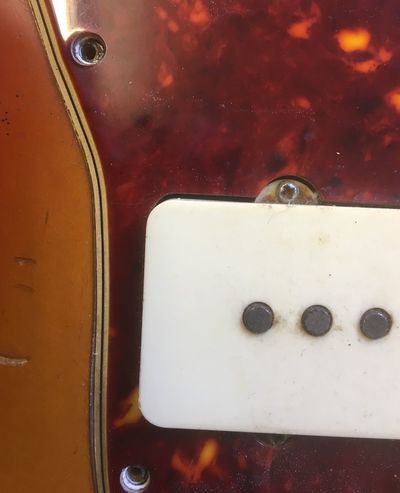
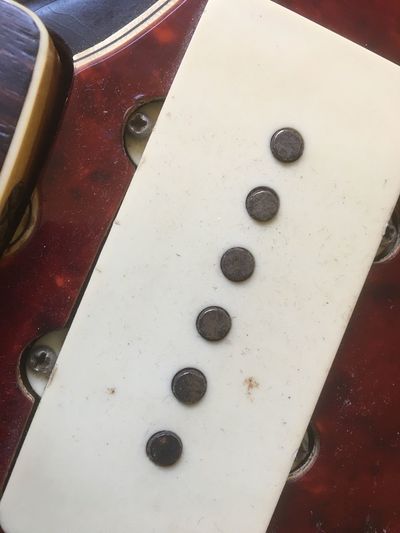
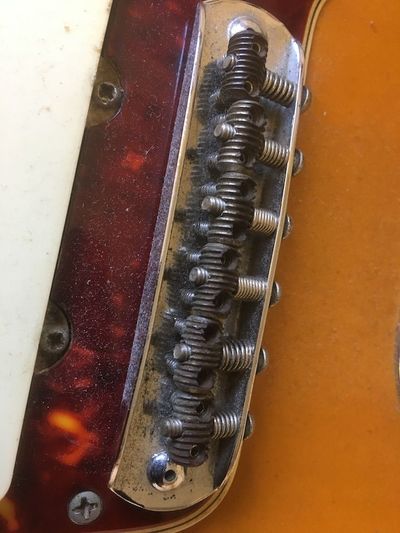
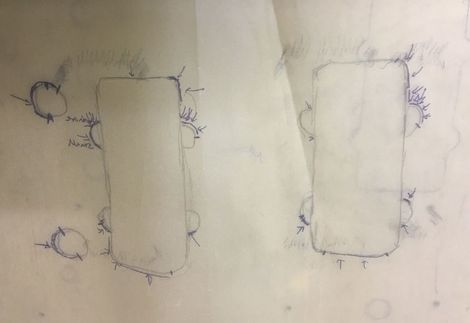
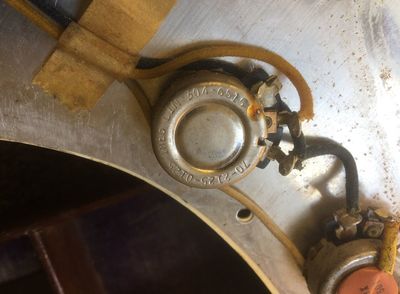
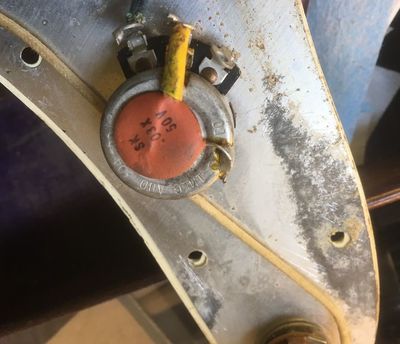
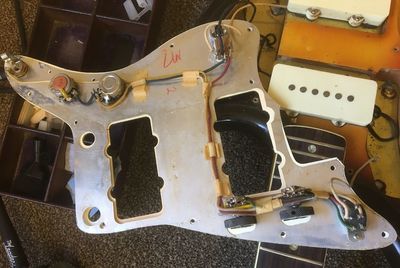
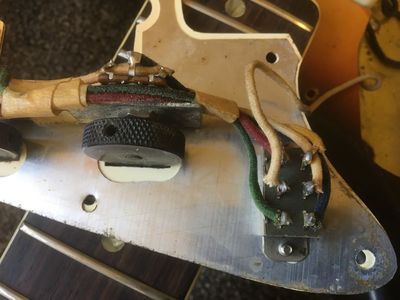
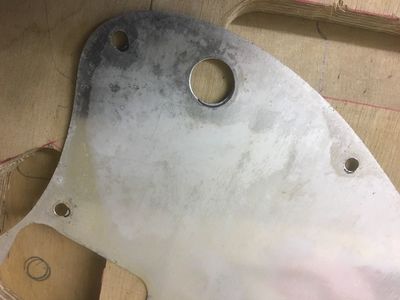
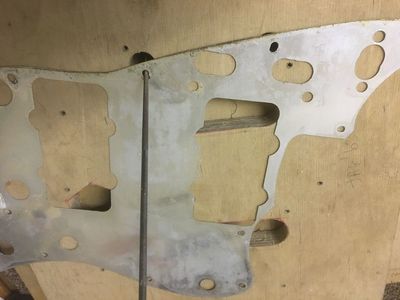
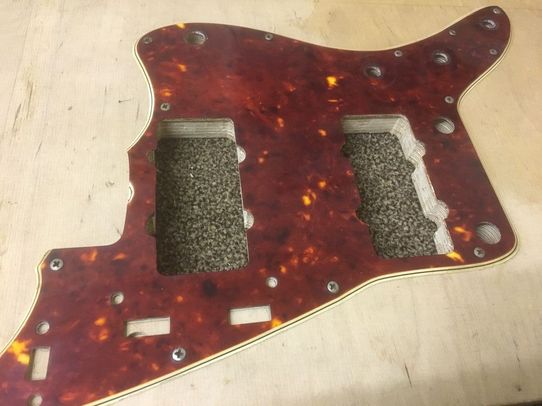
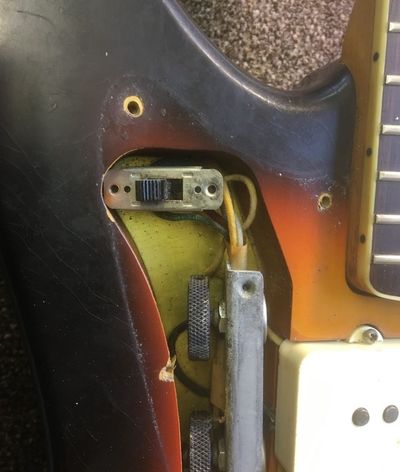
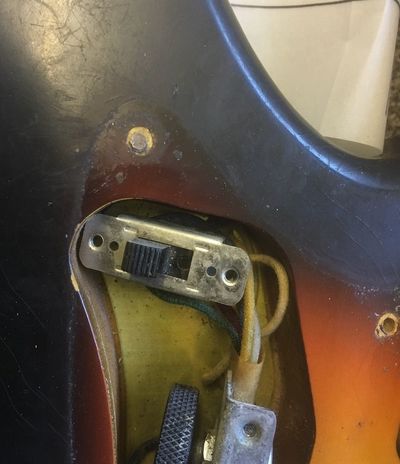
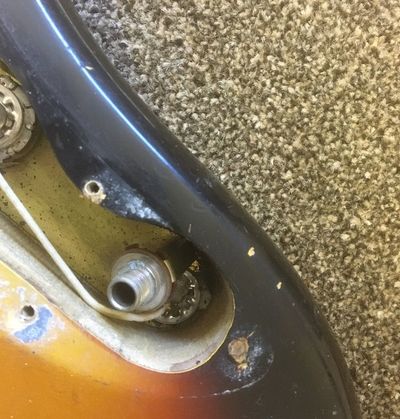
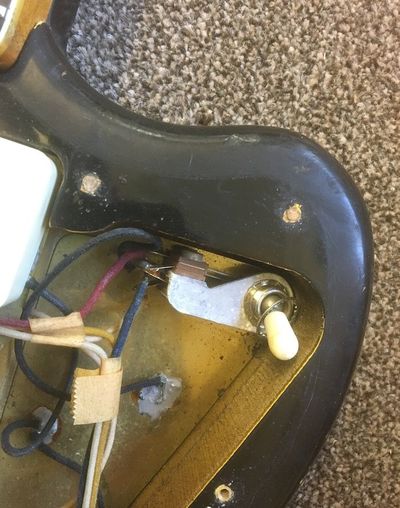
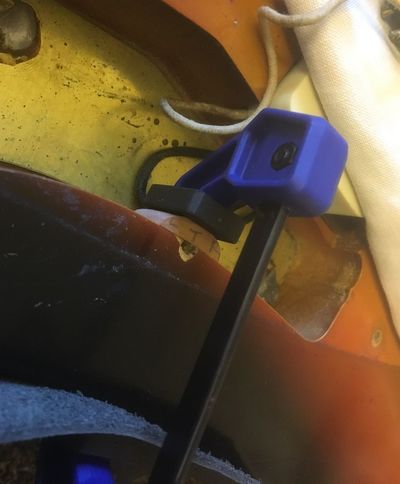
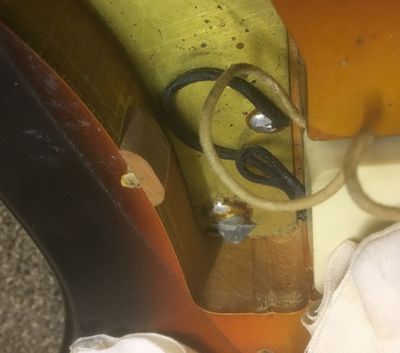
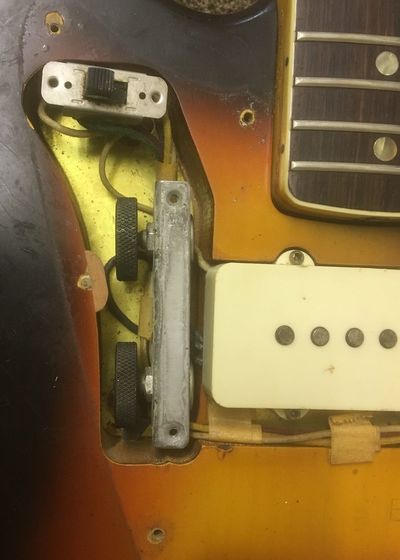
Faux tortoiseshell pickguards made their first appearance in 1959, when most (but not all) Fender instruments were fitted with multi-ply pickguards made of celluloid (cellulose nitrate). The Jazzmaster received four-ply pickguards with a faux tortoiseshell layer on top of the white, black, white layers. Celluloid had some drawbacks however. Over time this particular material was prone to shrinking, warping , and cracking. Today you can see many old Fenders where the pick guard screws are angled inwards, the pickups are “squeezed” by the pickguard and cannot be raised or lowered any longer, or the tip of the pick guard has been broken off. Consequently, Fender switched to less temperamental plastics for its multi-ply pickguards around 1965. The faux tortoiseshell top layer of these improved pickguards, however, remained celluloid, which originally presented a problem: As the celluloid faux-tortoiseshell layer inevitably tried to shrink, it would warp the non-shrinking plastic layers beneath it into a bowl shape. Fender designers of the 1960's compensated for this troublesome tendency by increasing the number of pickguard screws, which did the trick. Here is a very cool 1966 Fender Jazzmaster which has some of these symptoms. The pick guard has curled up beneath the bridge, as it shrunk back over the bridge post grommets. The aluminium shielding underneath has been exposed in places, and the screw holes through the pick guard no longer align with holes in the shielding. A number of screws are angled inwards and a couple no longer have any grip (one is right on the edge of the control cavity and so has nothing to hold it in place). The pick guard has pressed inwards against the pickups, preventing them from being adjusted. The output of the neck pickup was considerably louder than the bridge. The pickups volume could not be balanced as it wasn't possible to raise the bridge pickup. Through some sympathetic work it was possible to get the pickups working again, relieve the strain that the screws were placing on the pick guard, and sort out the loose screw situation. It was important not to make any material changes to the originality of the guitar, so the adjustments were subtle, but enough to get the guitar fully functional again. First I made a sketch of the affected cavities and noted where the pick guard was tight against the pickups and misaligned with the bridge post grommets. This was to ensure no unnecessary filing or scraping was done on areas that didn't need it , but focussed on the areas that did. Here are pictures of the original pots, with codes 304 6515, dating them to 15th week of 1965. Removing the screws from the pick guard (except a couple of good screws to keep everything in situ), the position of the misaligned holes were marked on the aluminium screen. The electrics were removed from pick guard, separating the pick guard from the aluminium screen. The holes in the aluminium were widened to line up with the hole positions in the pickguard.. I made a plywood backing, with cavities cut out, to which the pickguard is screwed down to prevent it from shrinking further (if left unsupported it will continue to shrink in the direction it’s been wanting to go for the last 50 years).The plywood also serves as a backing template through which it will be easier to scrape and file the pick guard cavities. I then carefully scraped and filed the pickguard in the appropriate areas, blending the edges so that the work wasn’t noticeable, and making several test fits back on the guitar to check progress and ensure the minimum amount of material is taken off. Once the pickguard is refitted the worst misaligned holes (there were 4 of them) were carefully marked, drilled, and plugged with 1/8" hardwood dowels. The holes were then redrilled so the screws could go in vertically. I shaped and glued a small piece of mahogany to the side of the cavity so the screw can grip onto something and not remain loose in the hole. Everything is put back together. The pickups can now be raised and adjusted for a balanced output. There are no loose screws, the worst affected screws now align straight relieving stress on the pick guard, and the aluminium shield no longer pokes out from under the pick guard. Comments are closed.
|
AuthorAs a luthier, and also a vintage guitar enthusiast, I'll be posting articles about guitar repair, guitar construction, and also vintage instruments Archives
December 2022
Categories |
| About | |
Menu |
Contact"The Engine Room"
Flax Drayton Farm Drayton South Petherton Somerset TA13 5LR Telephone: 07732 074088 Email: info@fretandnut.co.uk |
© COPYRIGHT 2017. ALL RIGHTS RESERVED.
|
 RSS Feed